|
|
Post by kdog on Dec 29, 2011 10:56:51 GMT -7
Like many of you the Dog couldn't wait to get his paws on the latest Auto World 4-Gear Top Fuel offering. When I first saw the photos, I liked the overall car, but had an issue with the detail on the engine. When my cars arrived, I looked through all my parts boxes for a subtable donor engine. The size of the auto world block was a bit larger than anything I had.....Alright than.... time for MAD SCIENCE ! here is the victim....The Army Top Fuel. 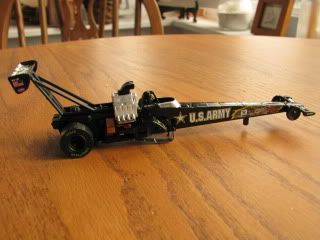 The dragster disassembles fairly easily, I carefully pop off the bottom frame, with a flat blade screwdriver....Carefull with the very tip, that is the most fragile area. Next the driver / rollcage, and engine like most Auto World parts are melted from the bottom. The Dog loves this method, a little work with a dremel and the part pops out with reinstall tabs in tact. When finished the parts look like this.... 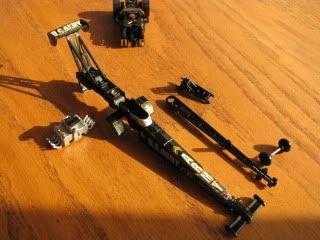 Next we get started... |
|
|
|
Post by kdog on Dec 29, 2011 11:24:26 GMT -7
Oh that engine.... I decided my issue with the stock engine was 1.the lack of detail on the blower, 2.the way the valve covers look. Thanks to folks like Sam, The Mead Brothers, and latly Rick at Hairy Canary I have a nice selection of Resin Blowers. I decided my only hope was to cut off the stock valve covers and make my own. 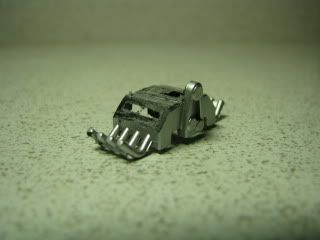 As you can see I have cut off the valve covers at an angle more like what I feel they should look like. The pullies are cut lose from the supercharger, than the supercharger it self is cut off. I found the perfict size stireen for the new valve covers 3/16 x 1/16 with my supplys, but it's easy to find at your local hobby shop. I cut it to size.& rounded the edges slightly and drilled the holes for the spark plug wires... I know...the Dog gets carryed away easly. 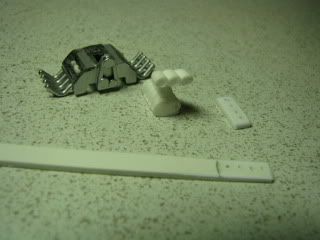 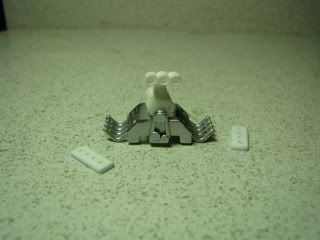 here is the engine with the blower I picked, and the finished valve covers. Next up MORE DETAIL ! |
|
|
|
Post by kdog on Dec 29, 2011 11:50:16 GMT -7
And now I will take a step back to the last project The Door Slammer 56 Ford Pickup, when I detailed that Blower I actually did 2 so this one was ready for this project, but lets look back at the process. First i drill linkage, and plunbing holes... 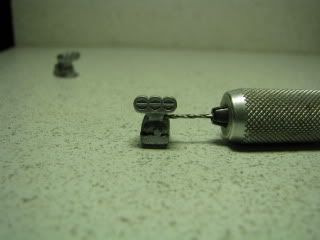 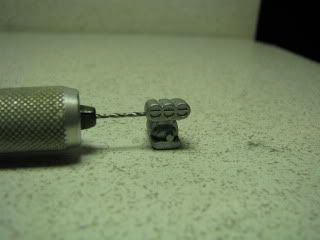 Than the linkage... 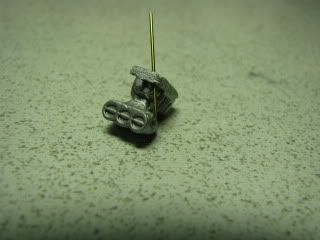 I use thin brass wire make a bend and glue into place. Next some plumbing. I start with 3/32 x 3/32 square rod drill holes thorugh both directions. 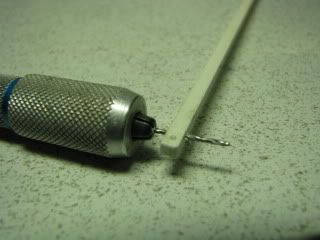 After spraying flat black, I use some blue wire i glue into the holes I made in the block 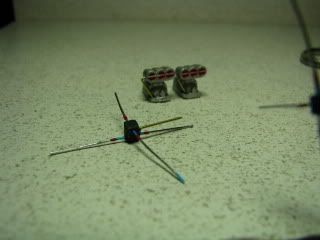 the wire is painted with a red band than the rest of the length is silver. Here is the finished blower. 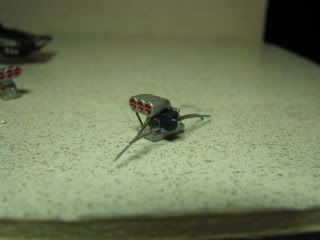 Next body work |
|
|
|
Post by kdog on Dec 29, 2011 12:09:52 GMT -7
Ok on to the rail itself, after masking the areas I want to remain Black a quick light coat of silver (to kill the stock black paint) The Dog applyes some testres red medalflake laquor. 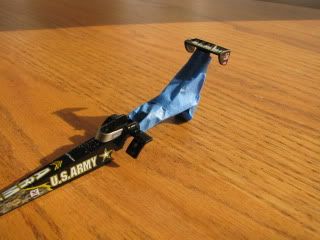 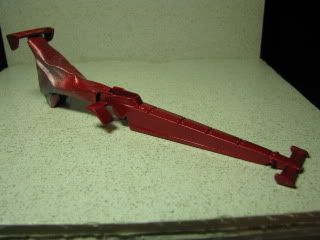 cool ready for decals. Some time back I got a set of Budweiser King decals from Pattos Place to use on one of the Mead rails But they quite casting their rails so I was stuck with the decals till NOW ! 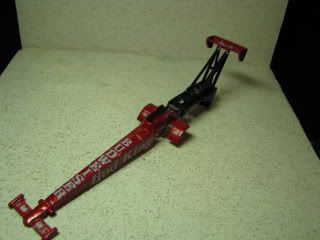 After a few coats of laquor the Dog sets the rail aside to dry, and on to the engine.... |
|
|
|
Post by kdog on Dec 29, 2011 12:28:09 GMT -7
I mask the silver pipes and spray the engine block black, the Valve covers are sprayed silver, when dry they are glued to the block. I glue yellow spark plug wire into the eight holes of the new valve covers. I am useing 3/32 aluminum tubing around 1/4" long for the Magneto a bit large but anything smaller won't hold the 8 wires that need to fit in. Here is the finished plumbed, and wired engine.... 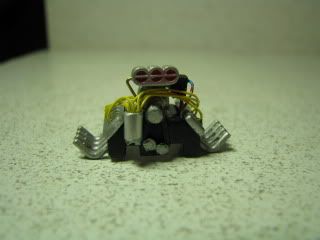 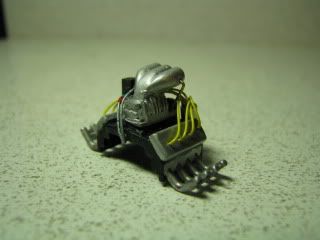 Ya know this Auto World Engine don't look bad at all ! Next the the finished Budweiser King Top Fuel ! |
|
|
|
Post by kdog on Dec 29, 2011 13:59:39 GMT -7
Ok the Dog learned his lession the last build up I did...This time I finished the whole project before I posted it...To see it in the right order go to The Chop Shop....Auto World Top Fuel 101 And now the Bud King Top Fuel..... 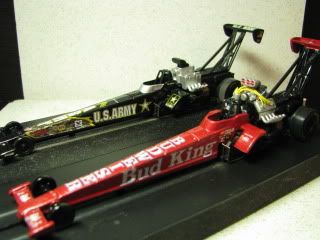 These are the before and the finished Dragster. 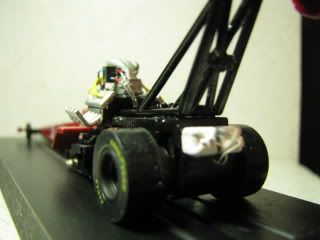 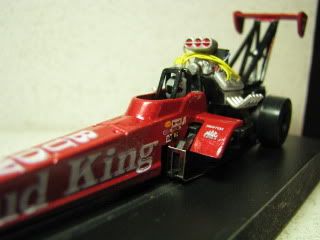 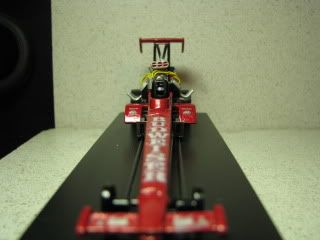 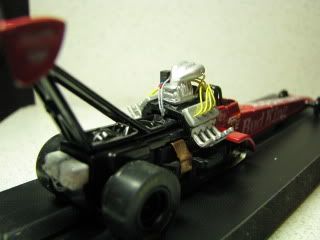 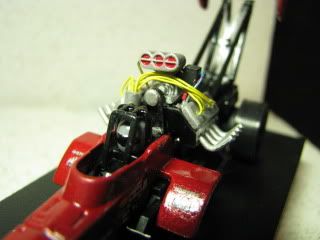 I have enjoyed this building this Top Fuel and I hope you can get some usefull imformation to do your own project...If you have questions feel free to send me a PM...Always glad to help. KDOG |
|
|
|
Post by kdog on Dec 31, 2011 14:15:27 GMT -7
Thanks for all the complments, I am enjoying the place the hobby is at right now, with great resins from guys Like Rick at Hairy Canary, Decals from Road Race replicas,super stuff from Auto World, I don't intend to bash Auto World after all i don't know what i would have worked on the last few years without their cool cars.
As long as you guys keep racing I will keep building stuff, and as I said before don't hesitate to send me a PM for any questions you have about the stuff I use or how I do it
Thanks....Dog
|
|
|
|
Post by kdog on Jan 14, 2012 8:36:52 GMT -7
The tag on the brass rod says 3/64 just a tad over 1/32 and I could go a bit smaller. As for the wire I get it from Model Car garage.com they don't list a size on the package, but you can find it under Spark Plug Wire on their site. I use the yellow for plug wire, gray, & white for paracute cord, and blue for the fuel lines. The wire is I think $3, but because of shipping I buy at least 6 or more packs. 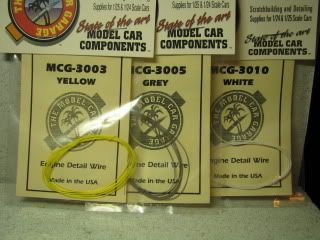 I once found the same size in a large roll at Radio Shack but havn't seen it latly, but I always have my eyes open for cool stuff to build with. |
|
|
|
Post by kdog on Jan 14, 2012 11:02:52 GMT -7
Thanks Bob always good to hear from local Drag Racers, if fact I get some of my inspiration from the local racers here in St Louis
like John Schfico with all his challenges he still manages to Drag Race with us........in fact I may dedicate one of my future projects to the Rambler Motor Co. in Johns honor.........................NA !
For the rest of you sorry local joke !
|
|