Post by SKR on Dec 4, 2008 11:12:07 GMT -7
Here is a window install technique that will make your cars look a little more realistic. It's mounting your Lexan windows flush with the body. We have all seen the way lexan windows look mounted on the inside. Looks fine and is a heck of a lot easier than doing them flush with the body.
Windows mounted from the inside
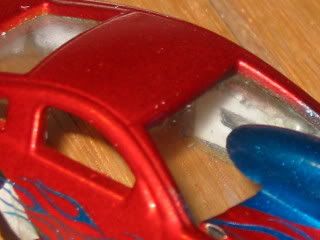
To start with get some lexan or clear styrene from your local hobby shop. I'm using .010" thick lexan. Hold the lexan against the car window opening and trace the window pattern. It doesn't have to be traced perfect just close. I always cut out side the lines. It's better to have a little more than not enough. After cutting out the window and holding it up to the body to see if it is close I'll trim the edges until it fits right.
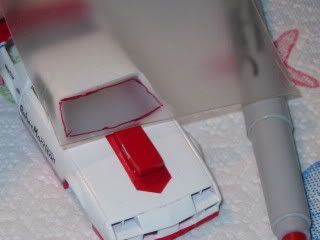
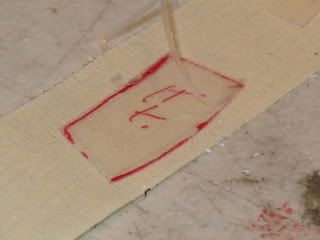
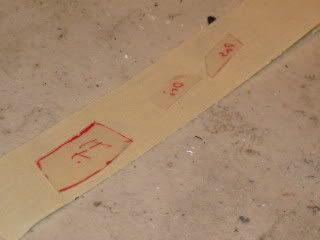
Another way to make them look more realistic is to trim them in black. The lexan I'm using has a protective film on both sides which makes it perfect for this next trick. If you don't have the film on yours you can use tape and get the same results. What I do is take my X-Acto knife and cut along the side about 1/16" of from the edge. Make sure you use a sharp blade. A dull blade requires too much down pressure and can ruin your window. I placed all the windows on a piece of masking tape with the outside of the window facing down stuck to the tape. This will hold them in place for easier cutting and it also comes in handy when you spray on your paint.
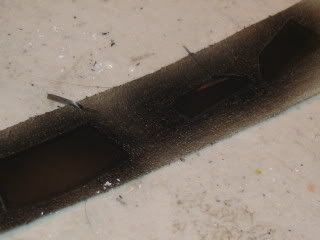
Once you have your lines cut and the film/tape pulled off it's time to paint. If you spray, put on light coats until it's covered completely.
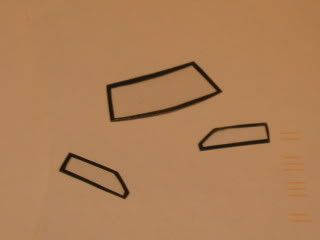
They should look something like this when all the tape/film has been removed.
To put them in place I use tape. This allows me to get them into position a little easier.
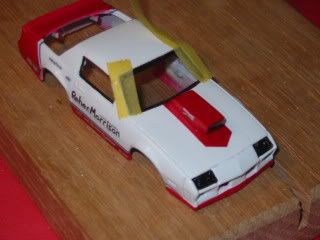
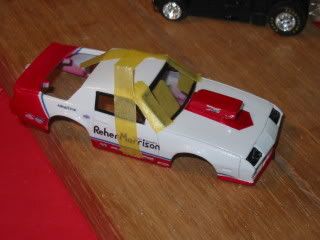
Once they are held into position I bond the windows to the body with 5 minute epoxy from the inside of the body. I use a tooth pick and place a little in each corner and about the middle of each window. Once the epoxy has set up pull off your tape. Now you can add decals to the windows.

Windows mounted from the inside

To start with get some lexan or clear styrene from your local hobby shop. I'm using .010" thick lexan. Hold the lexan against the car window opening and trace the window pattern. It doesn't have to be traced perfect just close. I always cut out side the lines. It's better to have a little more than not enough. After cutting out the window and holding it up to the body to see if it is close I'll trim the edges until it fits right.

Another way to make them look more realistic is to trim them in black. The lexan I'm using has a protective film on both sides which makes it perfect for this next trick. If you don't have the film on yours you can use tape and get the same results. What I do is take my X-Acto knife and cut along the side about 1/16" of from the edge. Make sure you use a sharp blade. A dull blade requires too much down pressure and can ruin your window. I placed all the windows on a piece of masking tape with the outside of the window facing down stuck to the tape. This will hold them in place for easier cutting and it also comes in handy when you spray on your paint.

Once you have your lines cut and the film/tape pulled off it's time to paint. If you spray, put on light coats until it's covered completely.


They should look something like this when all the tape/film has been removed.

To put them in place I use tape. This allows me to get them into position a little easier.


Once they are held into position I bond the windows to the body with 5 minute epoxy from the inside of the body. I use a tooth pick and place a little in each corner and about the middle of each window. Once the epoxy has set up pull off your tape. Now you can add decals to the windows.


