Post by SKR on Jan 18, 2010 20:45:33 GMT -7
One of the cool things about NF/C are the wild paint jobs from back in the day. Multi color candies, metallic and pin striping could be found on the floppers. Although not as detailed as the 1/1 guys I'll show you how you can personalise your favorite F/C or whatever you choose to paint.
First thing first. Work on the body prep. I'm working on a resin body here so I had to cut away all the excess flashing. Seems like you can never do enough and just when you think you have it! You find more when you start painting.
Sanded the whole body with some 400 wet/dry sand paper then thoroughly washed the body with soap and water. After it had dried I sprayed primer on the body.
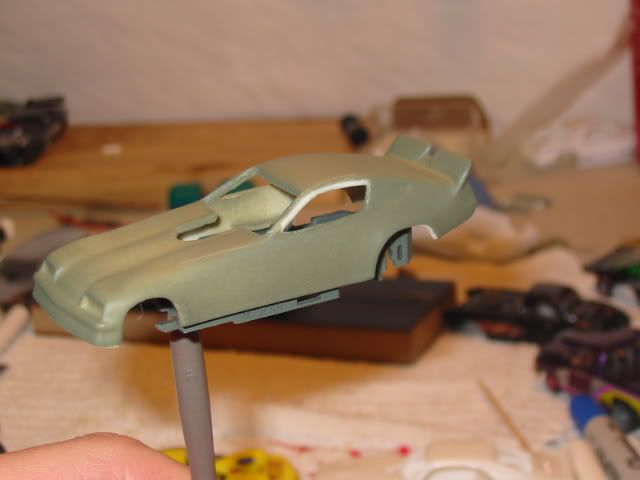
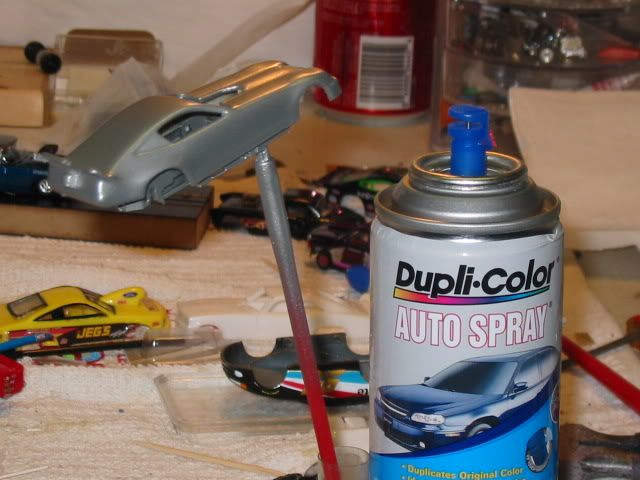
Next up I sprayed a silver metallic base coat on the body. The best tip for spray cans is to warm the can up before spraying. To do this you can sit the can in Hot water or under a lamp for about 20 minutes. Be sure and shake the can every 5 minutes so that the paint warms evenly.
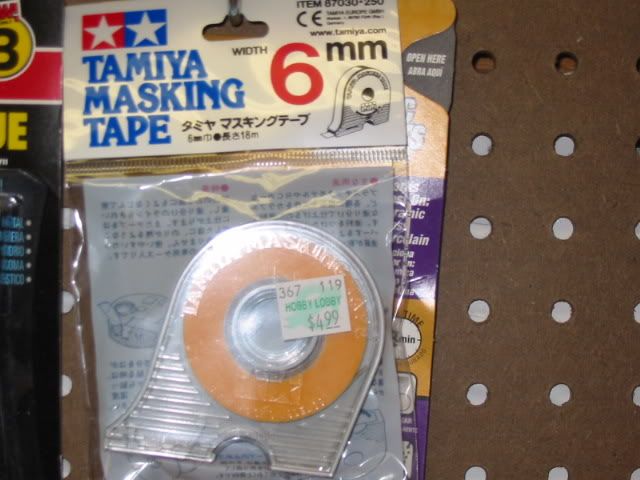
After your base coat has dried start taping off the body in the areas you want to stay the same color as the base coat. Hands down the best tape to use for this is Tamiya. I've been using it for a few years now and love the stuff. It's very thin and sticks well. Once you have laid down the tape. get a sharpie out and draw some reference lines on it so you have a guide for where you want to cut it.
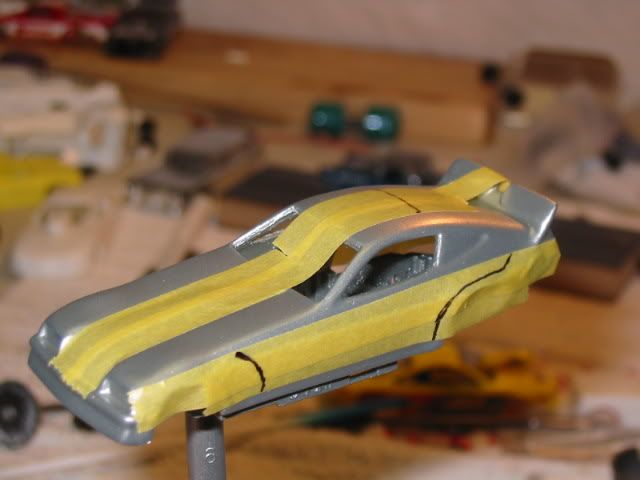
Always use a new X-Acto blade when cutting tape, otherwise you will get frustrated because a dull blade will want to tear and pull instead of slice.
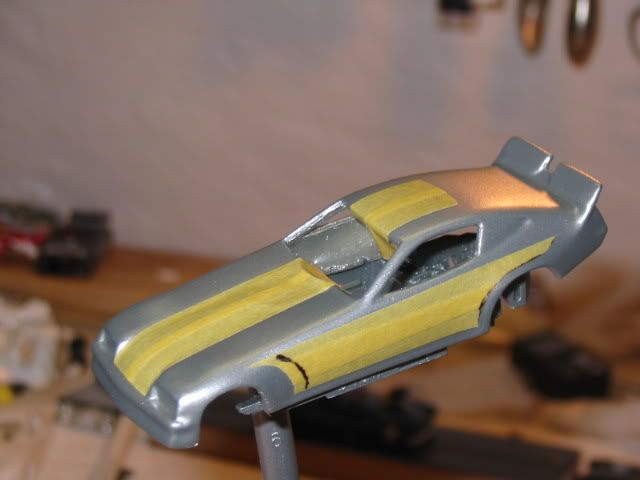
Next step is to decide what other colors you want to add. I went with a candy yellow using my air brush and laid the paint on thin.
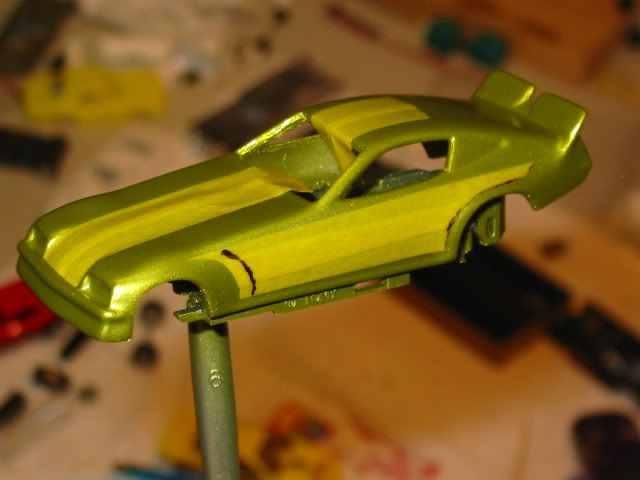
Next I decided to add some orange for a cool looking fade effect around the tape.
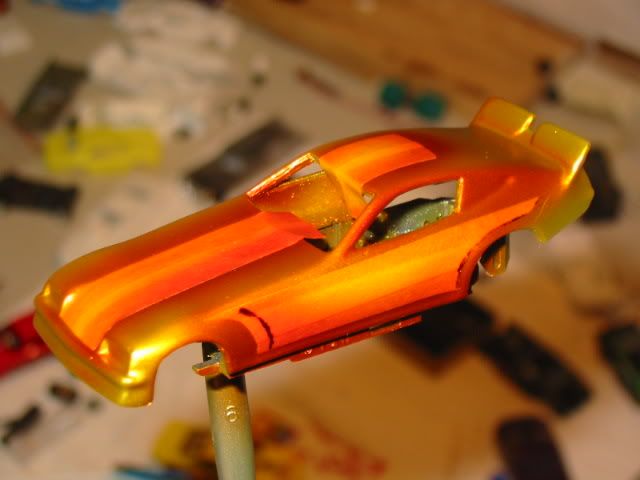
Here is how it what it looks like after pulling tape
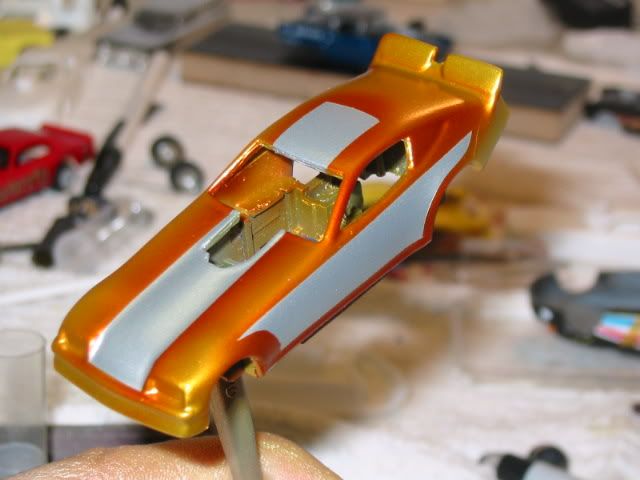
Still wanting some more color on this one so I sprayed a light clear coat on the body before I added more tape. I've had paint pull off when I remove my tape from not clear coating in between coats . Very frustrating. Let the clear coat dry before taping.
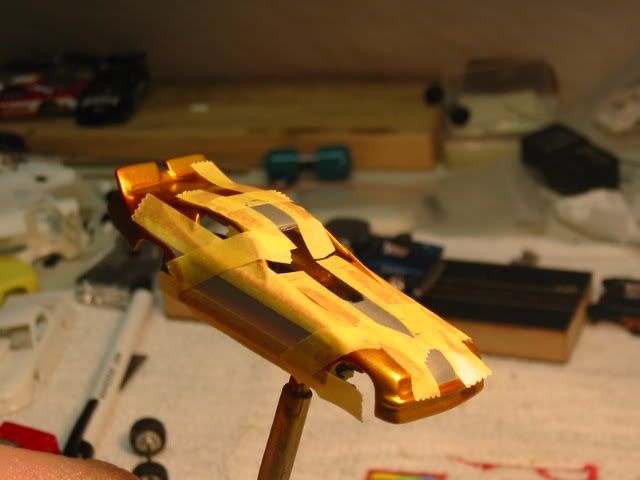
Tape off the rest of the areas you don't want painted and then apply your next color. I went with a candy blue here.
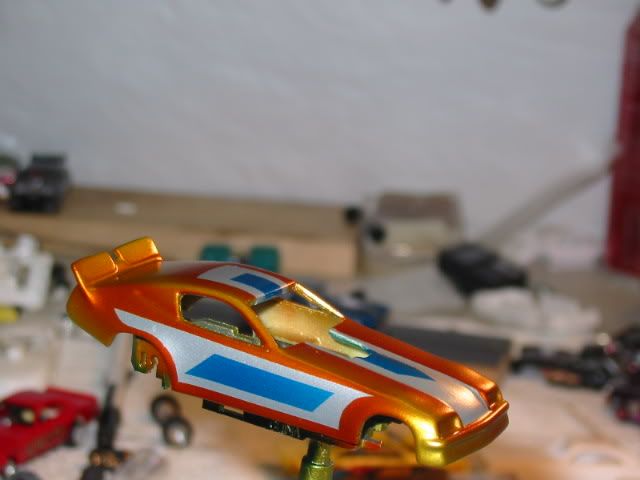
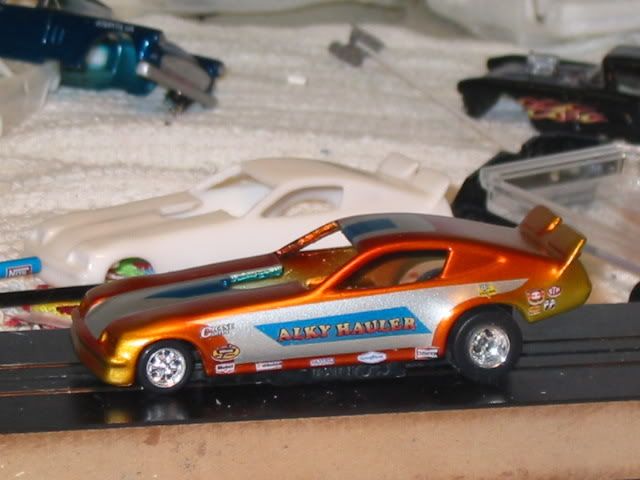
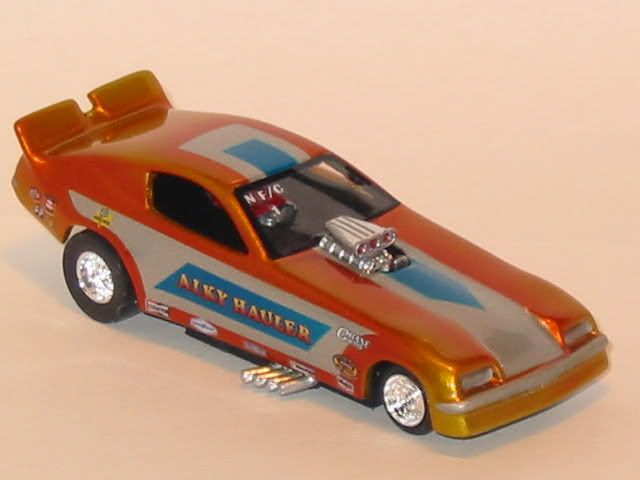
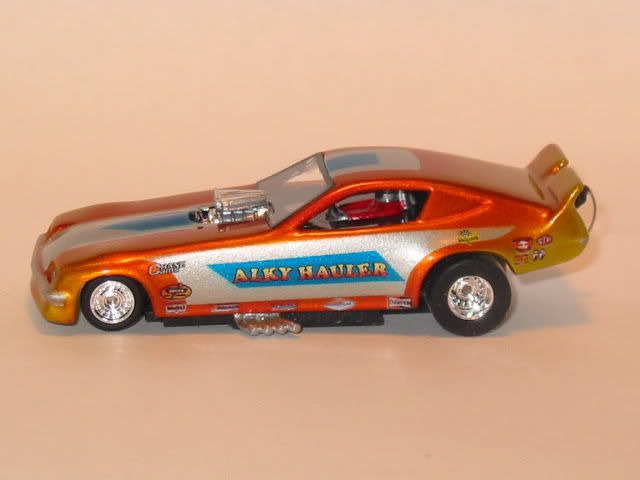
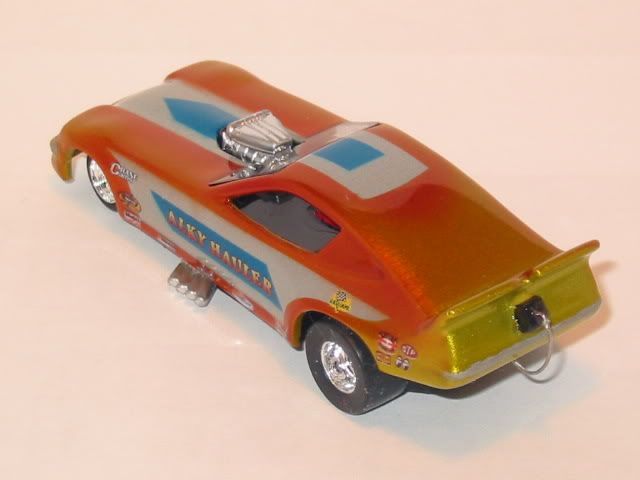
I'll finish this one off with some decals and a clear coat.
First thing first. Work on the body prep. I'm working on a resin body here so I had to cut away all the excess flashing. Seems like you can never do enough and just when you think you have it! You find more when you start painting.
Sanded the whole body with some 400 wet/dry sand paper then thoroughly washed the body with soap and water. After it had dried I sprayed primer on the body.

Next up I sprayed a silver metallic base coat on the body. The best tip for spray cans is to warm the can up before spraying. To do this you can sit the can in Hot water or under a lamp for about 20 minutes. Be sure and shake the can every 5 minutes so that the paint warms evenly.

After your base coat has dried start taping off the body in the areas you want to stay the same color as the base coat. Hands down the best tape to use for this is Tamiya. I've been using it for a few years now and love the stuff. It's very thin and sticks well. Once you have laid down the tape. get a sharpie out and draw some reference lines on it so you have a guide for where you want to cut it.


Always use a new X-Acto blade when cutting tape, otherwise you will get frustrated because a dull blade will want to tear and pull instead of slice.

Next step is to decide what other colors you want to add. I went with a candy yellow using my air brush and laid the paint on thin.

Next I decided to add some orange for a cool looking fade effect around the tape.

Here is how it what it looks like after pulling tape

Still wanting some more color on this one so I sprayed a light clear coat on the body before I added more tape. I've had paint pull off when I remove my tape from not clear coating in between coats . Very frustrating. Let the clear coat dry before taping.

Tape off the rest of the areas you don't want painted and then apply your next color. I went with a candy blue here.

I'll finish this one off with some decals and a clear coat.






 I use to live in a apartment (early 90's) and had a window fan set up to exhaust fumes and overspray. Still had a lingering odor and don't suggest it to anyone. Have you tried the water base paints like Parma or Createx? that might work better for your painting situation. I use 28-30 psi.