Post by SKR on Mar 24, 2010 20:42:08 GMT -7
Here are the steps I take in making my molds.
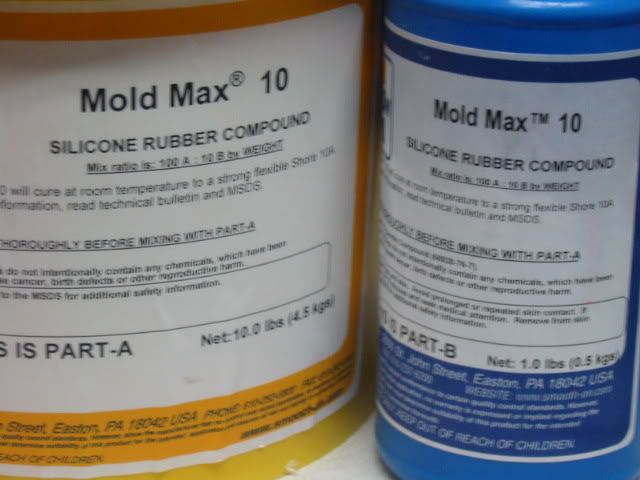
The RTV that I've been using is by Smooth On, Mold Max 10
www.smooth-on.com/Silicone-Rubber-an/c2_1113_1135/index.html
You've probably have read that guys use Legos for their mold boxes. I have found that the 1/64 scale die cast individual display cases work fine after you modify them by cutting the bottoms out and making a cut along the side of them so they will open up a little easier. I've found these display cases at Hobby Lobby. They are something like 8 for $8 or $9.
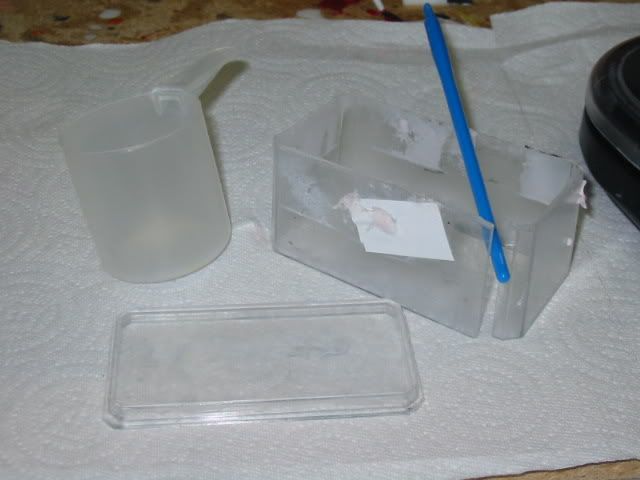
I use electrical tape to seal the box up for pouring. I place the lid on the bottom opposite of how you would place the lid for displaying cars. This gives me a deeper box.
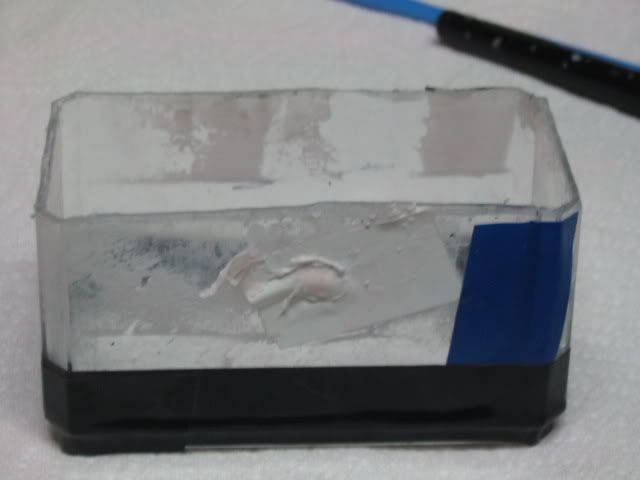
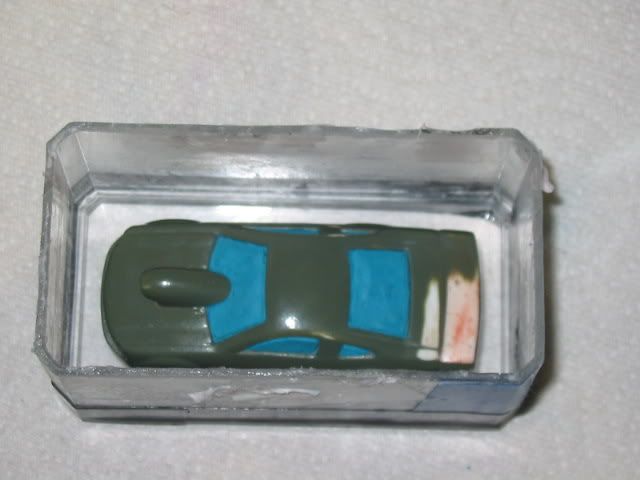
Picture shows the box sealed up and ready for a pour.
Use Kleen Klay clay to fill the inside of your Master.
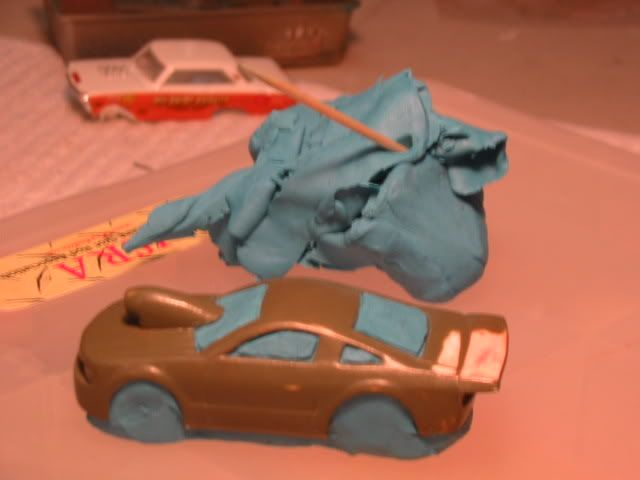
Go around the edges with a tooth pick to clean up window lines, wheel openings etc..... The more time you spend here the better off you are later by not having as much body prep to do after pouring Resin.
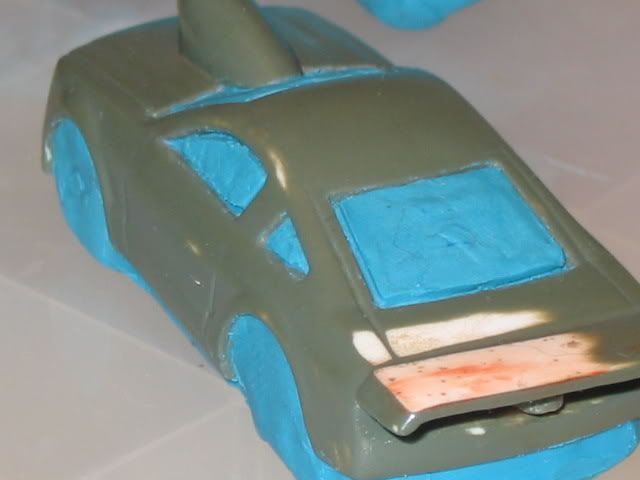
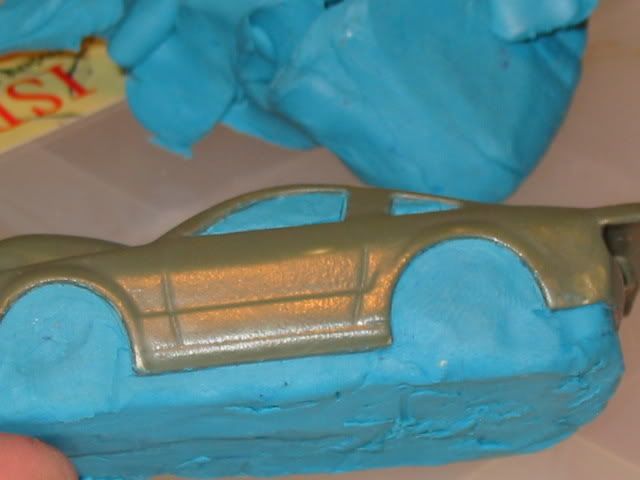
Be sure and polish the body up after the the clay steps. Otherwise you will have plenty of unwanted fingerprints in your mold
Place your Master in the mold box and set it aside for now.
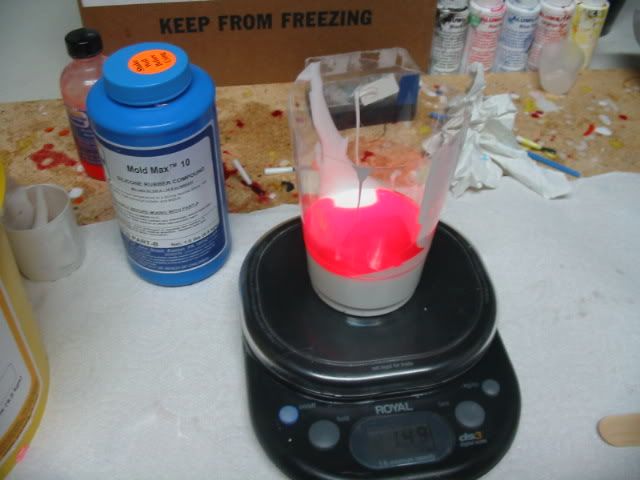
Time to mix some RTV. I use a Gram scale to weigh out my portions of each A and B part. The mix ratio is 10 parts A to 1 part B
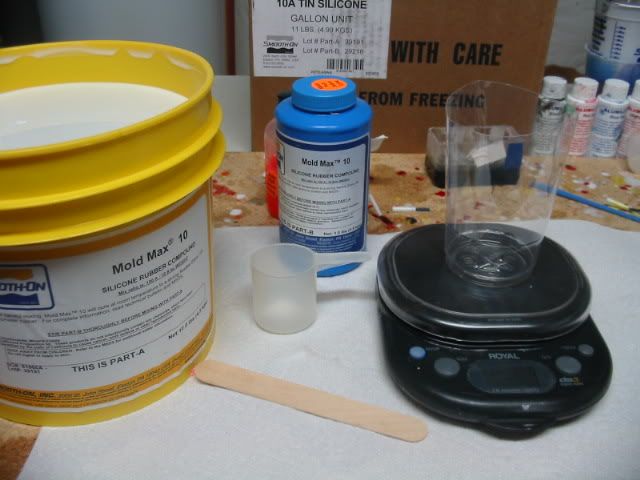
I over poured this one a bit but I usually like to add 110 Grams of part A and 11 parts of B. This gives me the right amount of RTV to pour my first part of the mold.
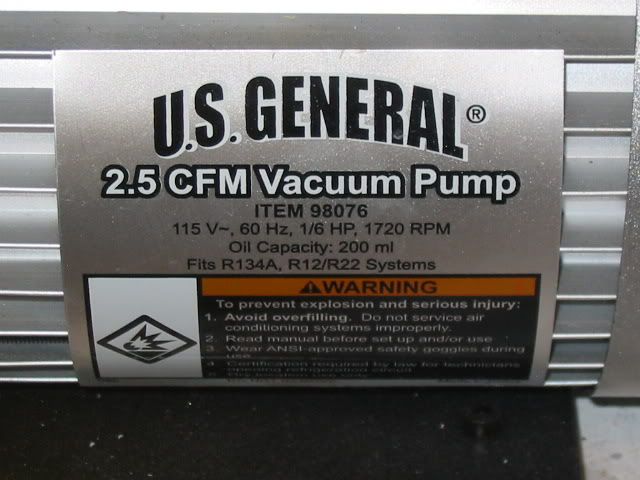
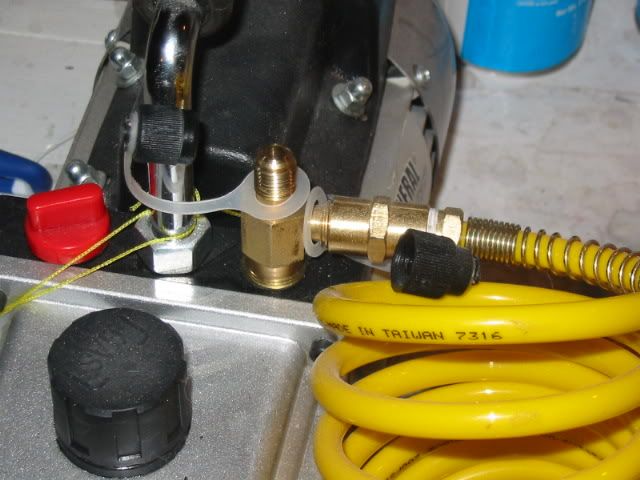
Off to the Garage to Degas the RTV. I use a US General 2.5 CFM Vac Pump that I purchased at Harbor Freight. The Jar is from Walmart. It's a 2 quart glass jar. I had to purchase a 2 QT plastic jar as well so I could rob the plastic lid off of it for a better seal than the metal lid that came with the glass jar.
www.harborfreight.com/cpi/ctaf/displayitem.taf?Itemnumber=98076
Here is what my set up looks like.
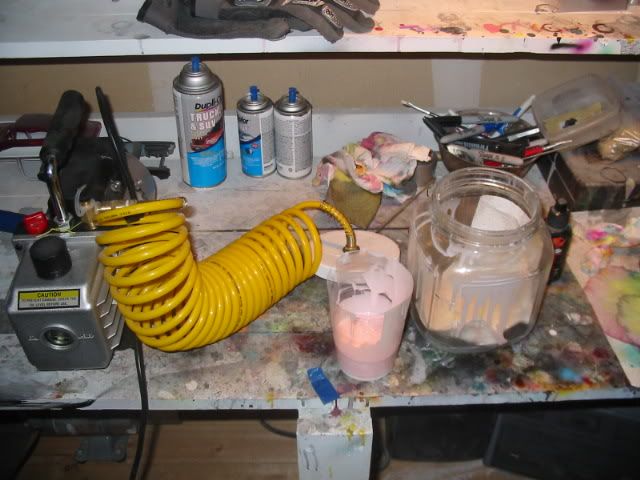
Degassing the RTV will save you some headaches. It's very easy to get air bubbles trapped in the RTV from mixing. Before I started Degassing, I would have a lot of small craters in my mold from the air bubbles. I've heard of ways to lessen the amount of air trapped in the RTV but was unsuccessful in my own attempts of trying them. I highly recommend the Vac pump method.
After placing the cup of mixed RTV into the 2 qt jar and sealing the lid. I turn the pump on and watch the RTV rise inside. It will rise to about triple the original level then Fall once the bulk amount of air has been sucked out. I then leave the pump running for an additional minute or two.
Hard to see but the RTV has risen. You can see by my Jar that some of my past Degassing may have had a little more RTV in the cup than it could contain once it rose.
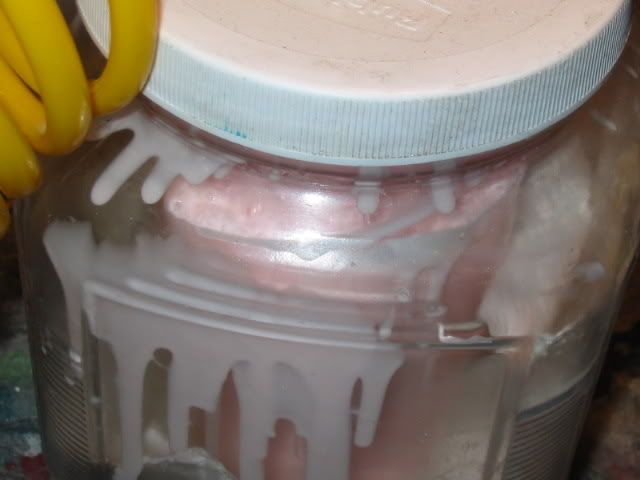
When you shut the pump off. Open up the relief to re pressurise the jar. This shows the cap removed in doing so.
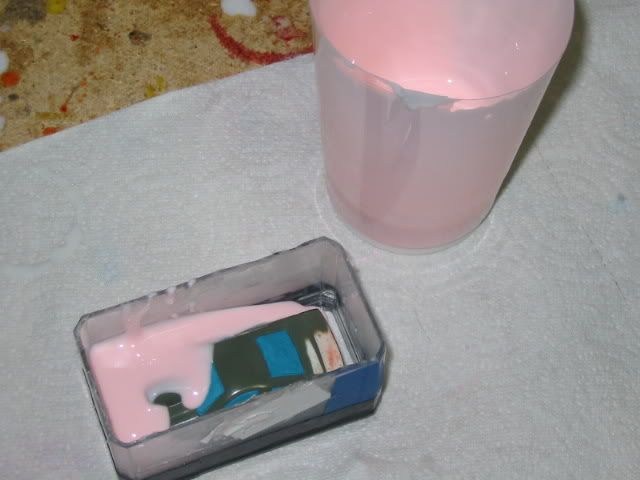
Time to pour. I stopped to take this photo. I started in one corner and am slowly pouring the RTV so it spread around the Master. Fill it up to about a 1/4" above the roof line.
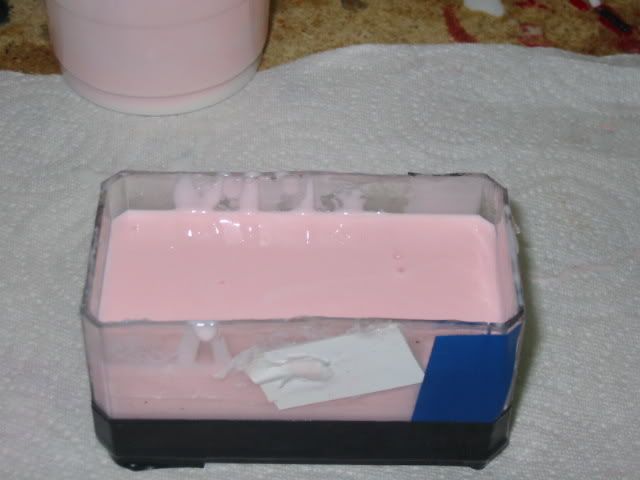
Almost finished. I will place my mold box that I have just poured back into the Degassing Jar one more time. I'll let it run for about a minute just to get rid of any trapped air that might have occurred while pouring.
After the RTV sets up (about 6 hours), take your mold out of the box and pull all of the clay out of the body. Be sure and get the fine detail around the wheel wells and windows.

Place your mold back into the mold box. This next step is very important. Brush Vaseline all on the inside of your new mold before placing the body back in. What will happen if you don't use Vaseline is that the new RTV your about to pour will bond to the first part of your mold which does suck . After you coated the first half of the mold, place your master back in. You're now ready to mix more RTV and pour into the box. Let it set up, remove the body and as much Vaseline as you can before pouring resin.

The RTV that I've been using is by Smooth On, Mold Max 10
www.smooth-on.com/Silicone-Rubber-an/c2_1113_1135/index.html

You've probably have read that guys use Legos for their mold boxes. I have found that the 1/64 scale die cast individual display cases work fine after you modify them by cutting the bottoms out and making a cut along the side of them so they will open up a little easier. I've found these display cases at Hobby Lobby. They are something like 8 for $8 or $9.

I use electrical tape to seal the box up for pouring. I place the lid on the bottom opposite of how you would place the lid for displaying cars. This gives me a deeper box.
Picture shows the box sealed up and ready for a pour.

Use Kleen Klay clay to fill the inside of your Master.

Go around the edges with a tooth pick to clean up window lines, wheel openings etc..... The more time you spend here the better off you are later by not having as much body prep to do after pouring Resin.


Be sure and polish the body up after the the clay steps. Otherwise you will have plenty of unwanted fingerprints in your mold

Place your Master in the mold box and set it aside for now.

Time to mix some RTV. I use a Gram scale to weigh out my portions of each A and B part. The mix ratio is 10 parts A to 1 part B

I over poured this one a bit but I usually like to add 110 Grams of part A and 11 parts of B. This gives me the right amount of RTV to pour my first part of the mold.

Off to the Garage to Degas the RTV. I use a US General 2.5 CFM Vac Pump that I purchased at Harbor Freight. The Jar is from Walmart. It's a 2 quart glass jar. I had to purchase a 2 QT plastic jar as well so I could rob the plastic lid off of it for a better seal than the metal lid that came with the glass jar.
www.harborfreight.com/cpi/ctaf/displayitem.taf?Itemnumber=98076

Here is what my set up looks like.

Degassing the RTV will save you some headaches. It's very easy to get air bubbles trapped in the RTV from mixing. Before I started Degassing, I would have a lot of small craters in my mold from the air bubbles. I've heard of ways to lessen the amount of air trapped in the RTV but was unsuccessful in my own attempts of trying them. I highly recommend the Vac pump method.
After placing the cup of mixed RTV into the 2 qt jar and sealing the lid. I turn the pump on and watch the RTV rise inside. It will rise to about triple the original level then Fall once the bulk amount of air has been sucked out. I then leave the pump running for an additional minute or two.
Hard to see but the RTV has risen. You can see by my Jar that some of my past Degassing may have had a little more RTV in the cup than it could contain once it rose.

When you shut the pump off. Open up the relief to re pressurise the jar. This shows the cap removed in doing so.

Time to pour. I stopped to take this photo. I started in one corner and am slowly pouring the RTV so it spread around the Master. Fill it up to about a 1/4" above the roof line.


Almost finished. I will place my mold box that I have just poured back into the Degassing Jar one more time. I'll let it run for about a minute just to get rid of any trapped air that might have occurred while pouring.
After the RTV sets up (about 6 hours), take your mold out of the box and pull all of the clay out of the body. Be sure and get the fine detail around the wheel wells and windows.

Place your mold back into the mold box. This next step is very important. Brush Vaseline all on the inside of your new mold before placing the body back in. What will happen if you don't use Vaseline is that the new RTV your about to pour will bond to the first part of your mold which does suck
 . After you coated the first half of the mold, place your master back in. You're now ready to mix more RTV and pour into the box. Let it set up, remove the body and as much Vaseline as you can before pouring resin.


