Post by Deleted on Mar 29, 2010 12:56:56 GMT -7
Well' as i mentioned in the previous thread i have no vacuum pump as i dint want to shell out for one yet, i wanted to get to know the basic "inn's & outs" first to see if I'm up to it!
So ill share my techniques I'm using for making a mold without the de-gassing stage, I'm no expert though' but they are working o.k for me, i just take my time doing this' on a quick note, I'm using Smooth-on Mold Max 20 RTV which has a 40-minute work window so i find i have plenty of time!
O.k so i have my car clayed up and a few mist coats of ease release.
I'm using Lego blocks for my mold box as it allows me work up a layer at a time, as you will see in the pics this is very handy!
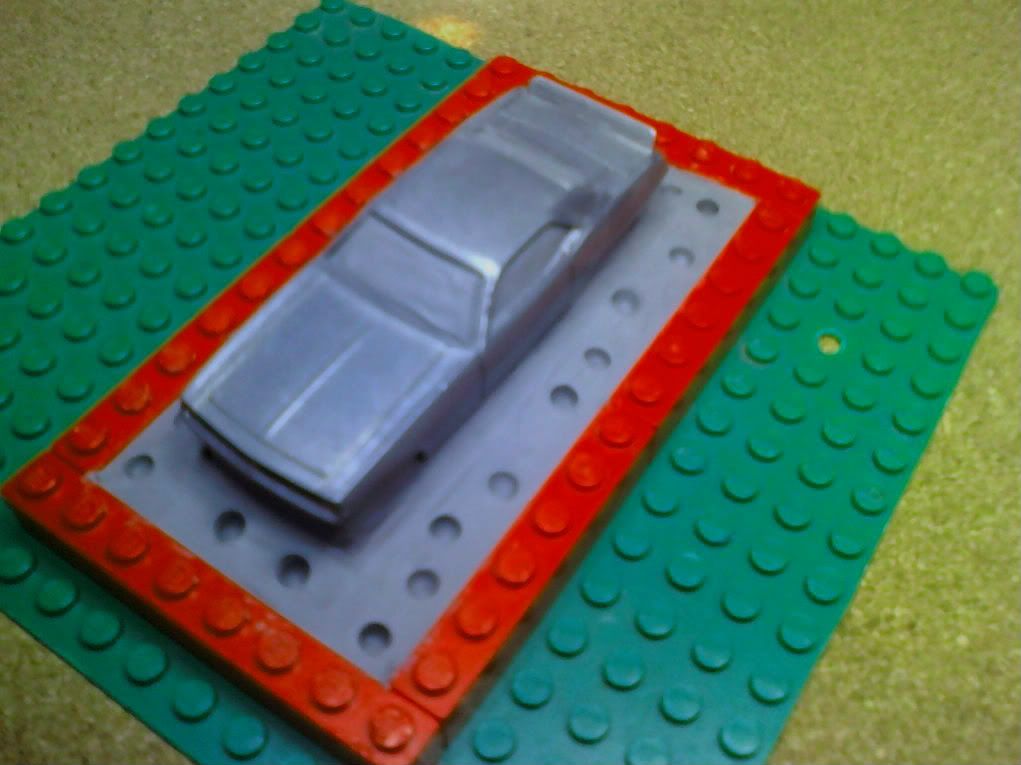
as you can also see i make small indents in my bed of clay, this helps the two halves of my molds line up properly later on.
Now i have me RTV mixed up, i dip a plastic knife in it and swirl some round the tip, i use this to sort of "ladle" it round the base of the car, filling up the indents i made in the clay, and lightly over the car its-self...
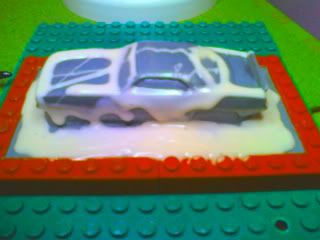
i then use a soft modelers paint brush and gently paint the RTV round the base on to the car making sure it gets in all the openings/panel lines e.t.c, and the body as-well'
just like painting the car with a brush!
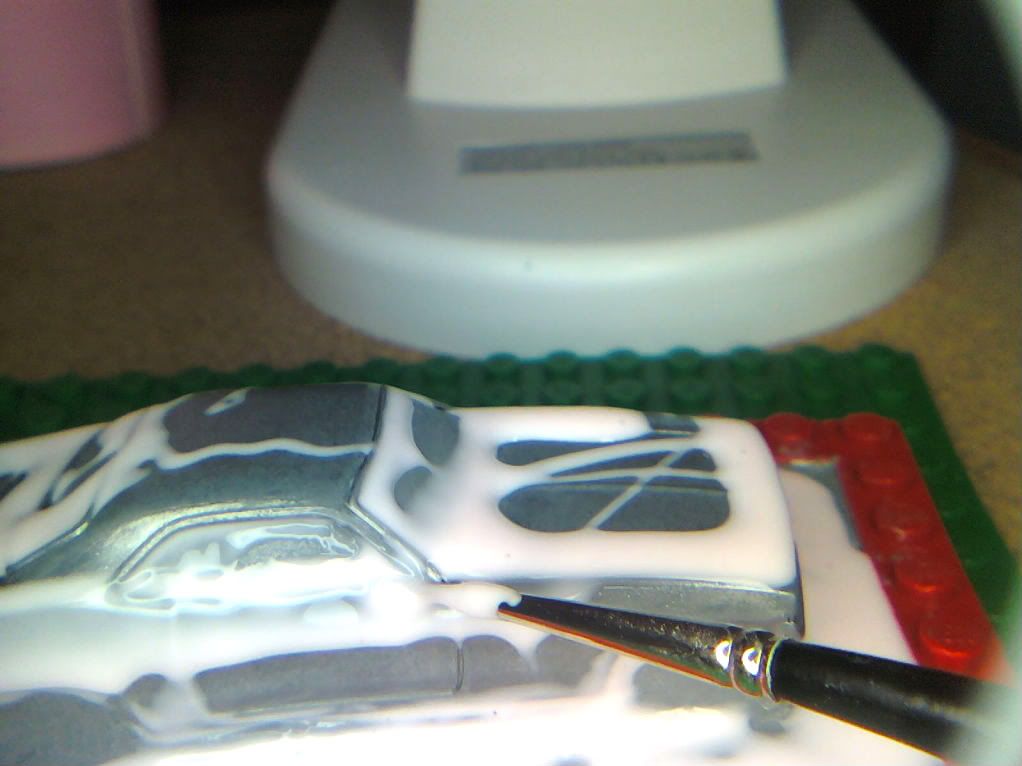
paint it all over and now it looks like this...
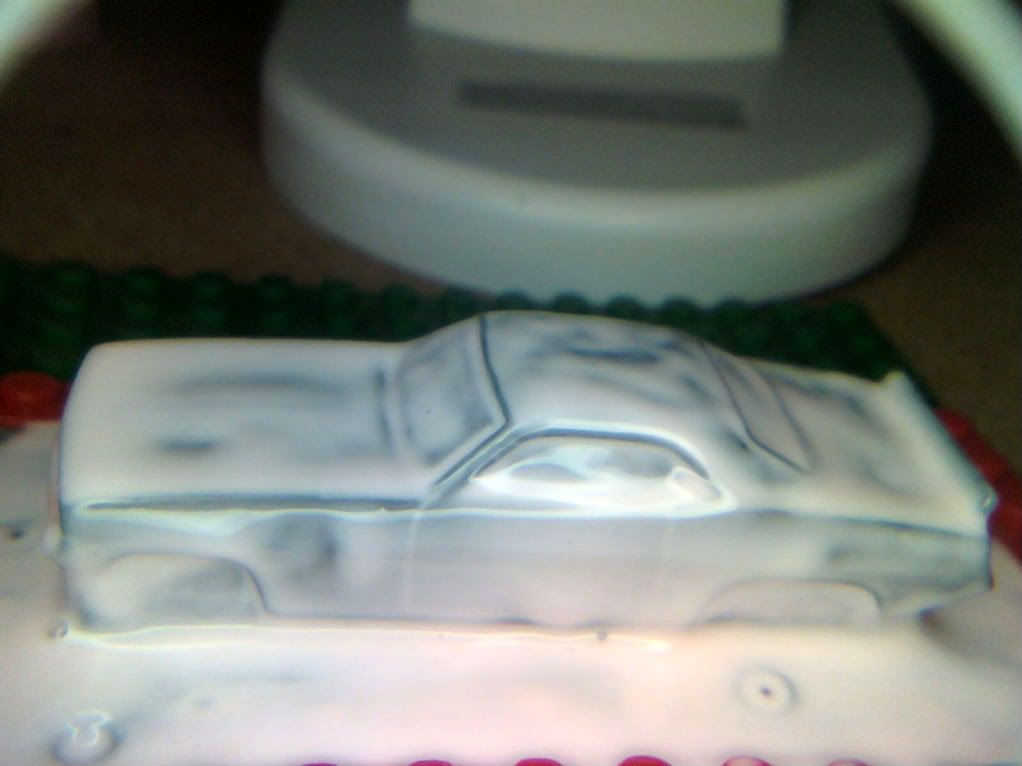
i leave it for a moment to allow the bubbles to rise to the surface and pop em with a needle. the RTV is quite sticky stuff so it doesnt run back down the car which helps!
O.k, now i build another layer of Lego's round the car and repeat the process again, i try to let the RTV run of the tip of the knife around the car and not over it this time though to avoid trapping air, just let the RTV flow up naturally...
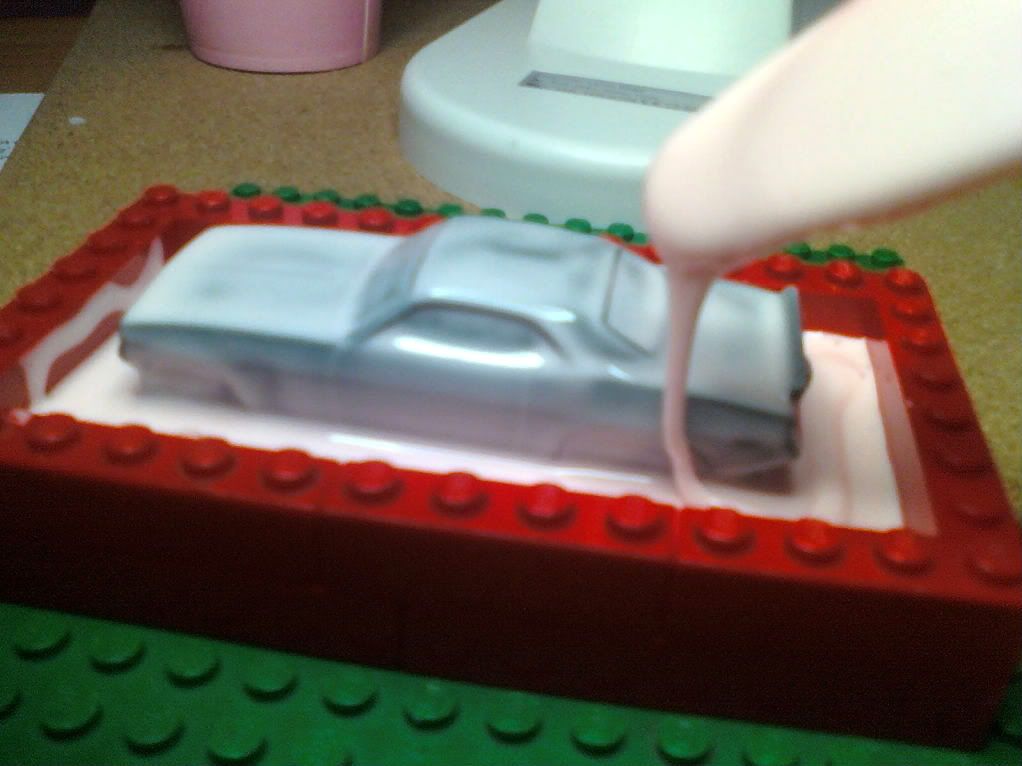
i wrap some masking tape round the mold box as i work my way up, stops the RTV seeping out the cracks!
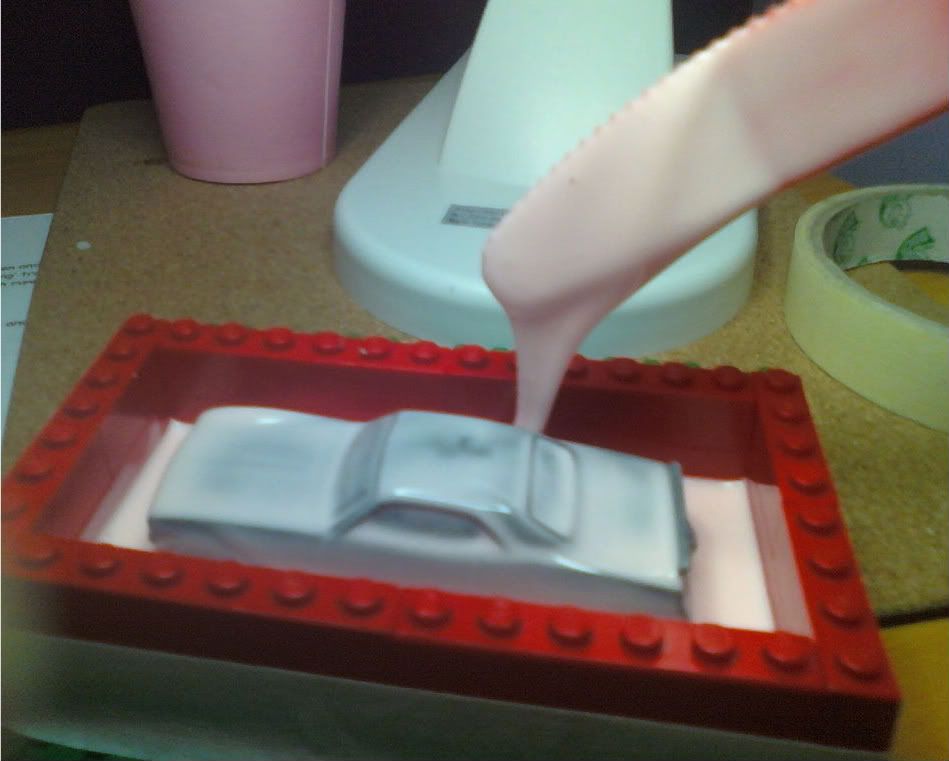
again, let it sit for a few moments as you work your way up and pop any bubbles...
another layer of Lego's and I'm there...
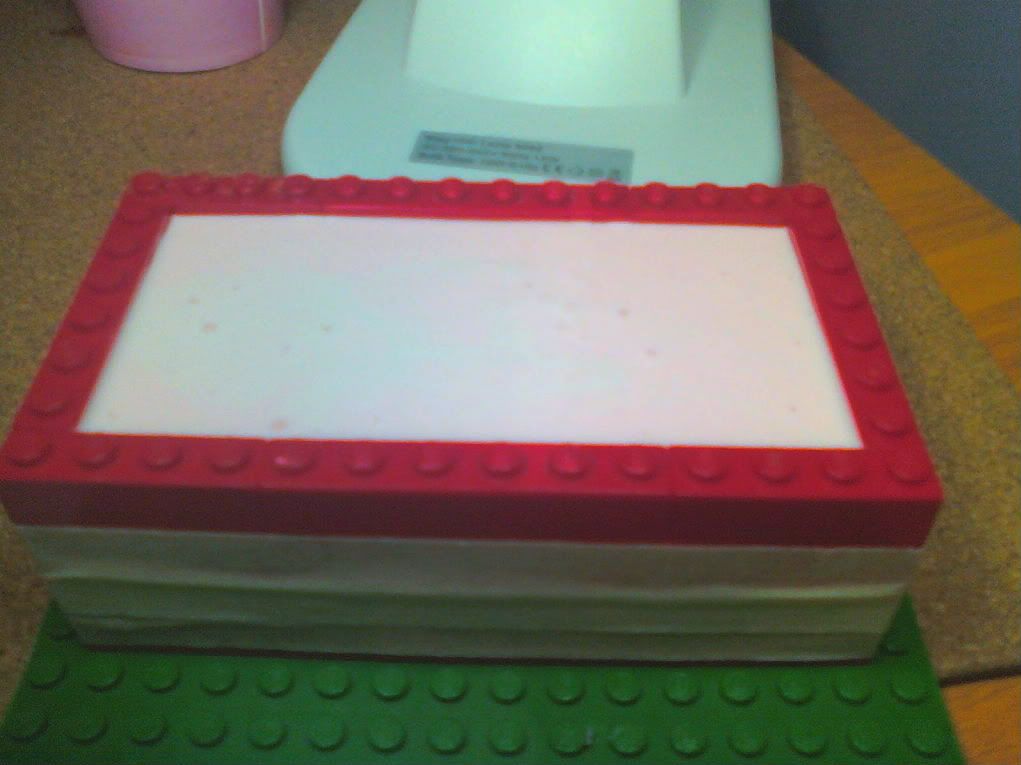
and now we play the waiting game! as i say im new to this but i been sucesfull so far, i will post the second part of the mold making in the next few days.
i hope this helps for anyone else who wants to try resin casting before they shell out the big bucks for equipment.
Later!
So ill share my techniques I'm using for making a mold without the de-gassing stage, I'm no expert though' but they are working o.k for me, i just take my time doing this' on a quick note, I'm using Smooth-on Mold Max 20 RTV which has a 40-minute work window so i find i have plenty of time!
O.k so i have my car clayed up and a few mist coats of ease release.
I'm using Lego blocks for my mold box as it allows me work up a layer at a time, as you will see in the pics this is very handy!

as you can also see i make small indents in my bed of clay, this helps the two halves of my molds line up properly later on.
Now i have me RTV mixed up, i dip a plastic knife in it and swirl some round the tip, i use this to sort of "ladle" it round the base of the car, filling up the indents i made in the clay, and lightly over the car its-self...

i then use a soft modelers paint brush and gently paint the RTV round the base on to the car making sure it gets in all the openings/panel lines e.t.c, and the body as-well'
just like painting the car with a brush!

paint it all over and now it looks like this...

i leave it for a moment to allow the bubbles to rise to the surface and pop em with a needle. the RTV is quite sticky stuff so it doesnt run back down the car which helps!
O.k, now i build another layer of Lego's round the car and repeat the process again, i try to let the RTV run of the tip of the knife around the car and not over it this time though to avoid trapping air, just let the RTV flow up naturally...

i wrap some masking tape round the mold box as i work my way up, stops the RTV seeping out the cracks!

again, let it sit for a few moments as you work your way up and pop any bubbles...
another layer of Lego's and I'm there...

and now we play the waiting game! as i say im new to this but i been sucesfull so far, i will post the second part of the mold making in the next few days.
i hope this helps for anyone else who wants to try resin casting before they shell out the big bucks for equipment.
Later!




 I been doing this for a while (ask Sam how long we both been messing with it..lol) and I too do not have the vacuum pump. Just haven't had the bux.


