|
|
Post by SKR on Apr 16, 2010 22:34:52 GMT -7
Here are the steps I take in a resin pour. I add these holes using a small brass tube to help air escape when the molds come together. 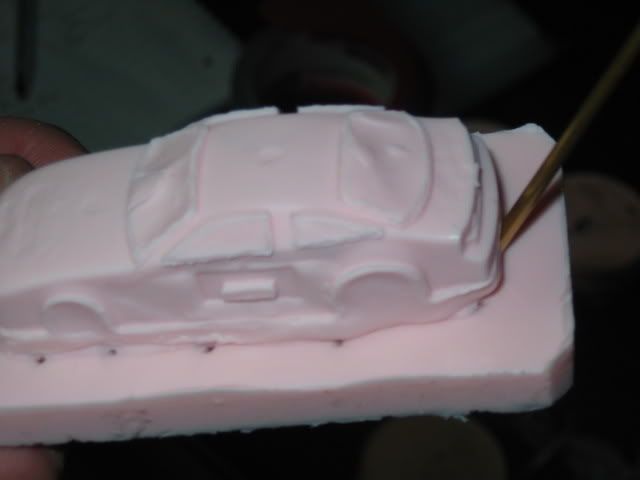 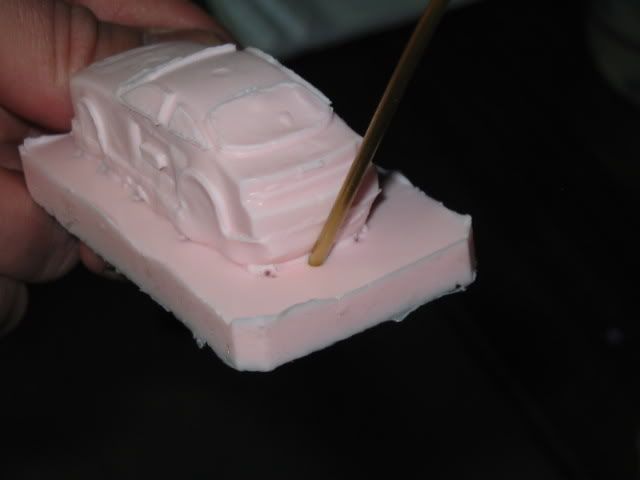 I heat my molds up under a heat lamp. This helps the resin set up faster. I leave them under a heat lamp for about 10 minutes. Pour parts A and part B as suggested by manufacture. 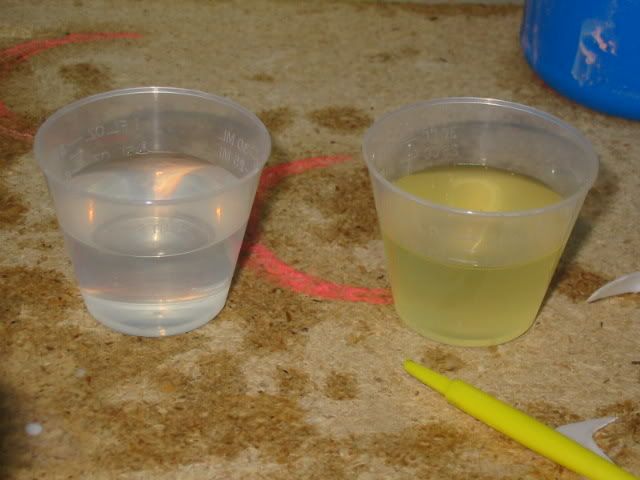 Mix together 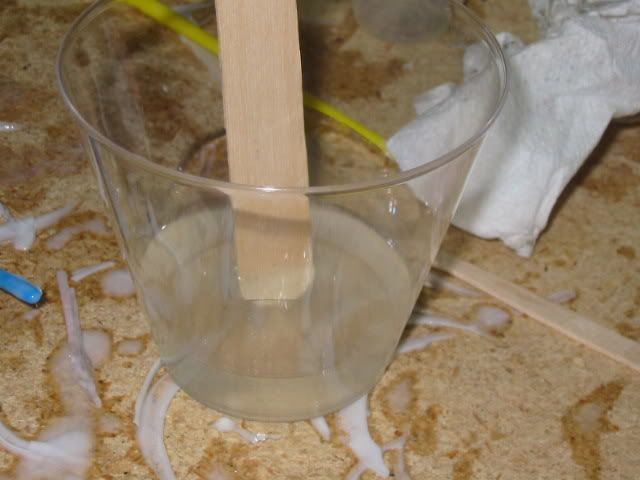 I use the end of a small paint brush to push air bubbles out of areas such as wings and hood scoops. 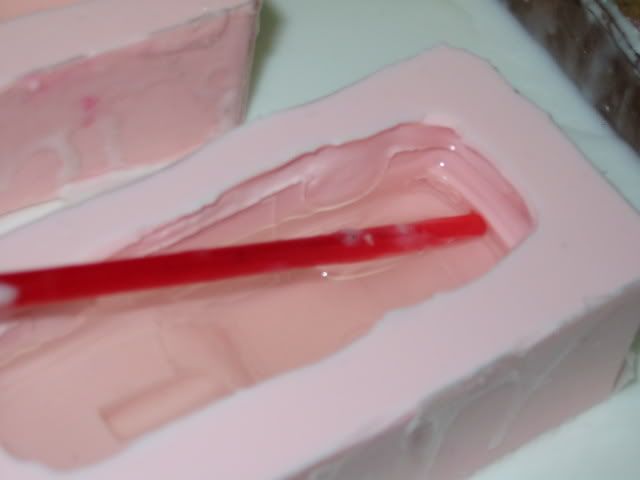 Time to make a mess. As you can see by my box you will get excess resin out of your molds when they come together. 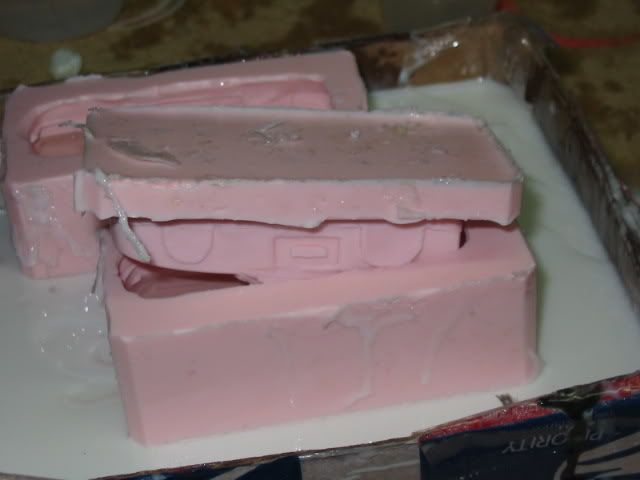 From here I'll take it out to the garage and throw it into my paint pot. www.harborfreight.com/cpi/ctaf/displayitem.taf?Itemnumber=66839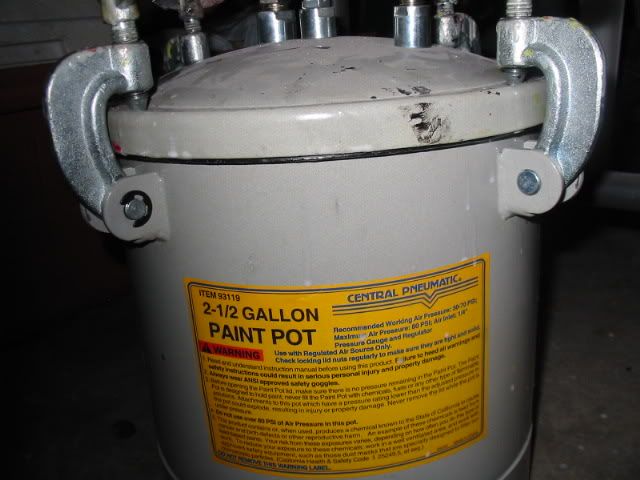 After closing up the pot I'll turn on my air supply valve and pressure it up to 30 to 40 psi. This helps in squeezing the air bubbles out of the resin. I'll leave it in here for about 10 minutes. When you are ready to open the pot. Open the relief valve on the pot to depressurize it. When it's depressurized you are safe to open it up. 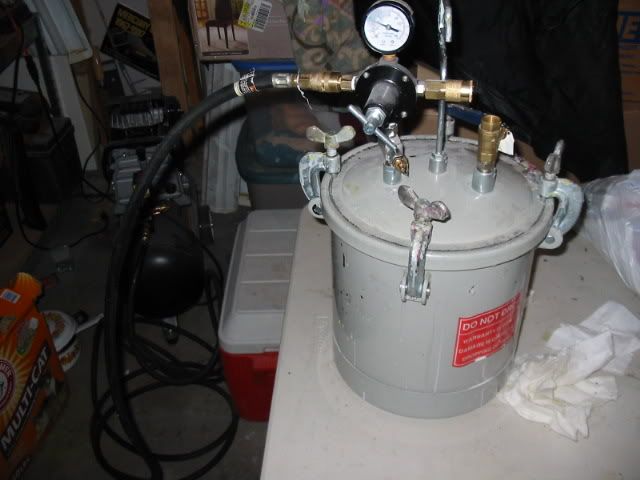 After about 20 minutes I have a new body. 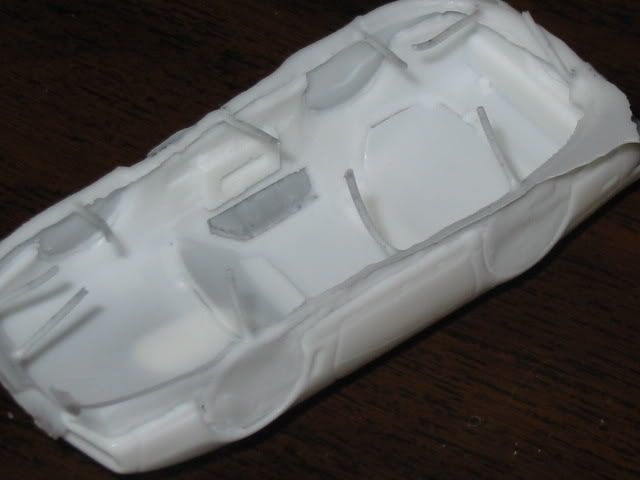 If you pour a bunch of bodies then this to me is the best way to go. If you don't pour many and don't have a air compressor or paint pot then it probably isn't worth investing the money for this system. For the guys that don't use this method....myself and I'm sure the guys here would like to see and hear about the way you go about it. Sam |
|
Deleted
Deleted Member
Posts: 0
|
Post by Deleted on Apr 17, 2010 5:38:39 GMT -7
Ah, i think i need more air vents in my molds!  what kind of resin are you using? i gather its a slow curing kind or do you add something to slow it down a bit? |
|
|
|
Post by SKR on Apr 17, 2010 10:01:06 GMT -7
|
|
|
|
Post by hilltopspeedway on Apr 17, 2010 10:41:30 GMT -7
Thanks for the pics Sam!!! Hobby Lobby carrries the Amazing Resin, it's in the craft section. Don't forget to take the 40% off coupon with ya...RM
|
|