Post by SKR on Jan 19, 2017 12:02:14 GMT -7
Here is a little "How to" when working with resin bodies.
The following steps are how I prep resin body before paint.
Some of the tools that have helped me out.
-Dremel
-X-Acto Knife
-Sandpaper. 400 grit wet/dry and dry 220 fine used for wood projects
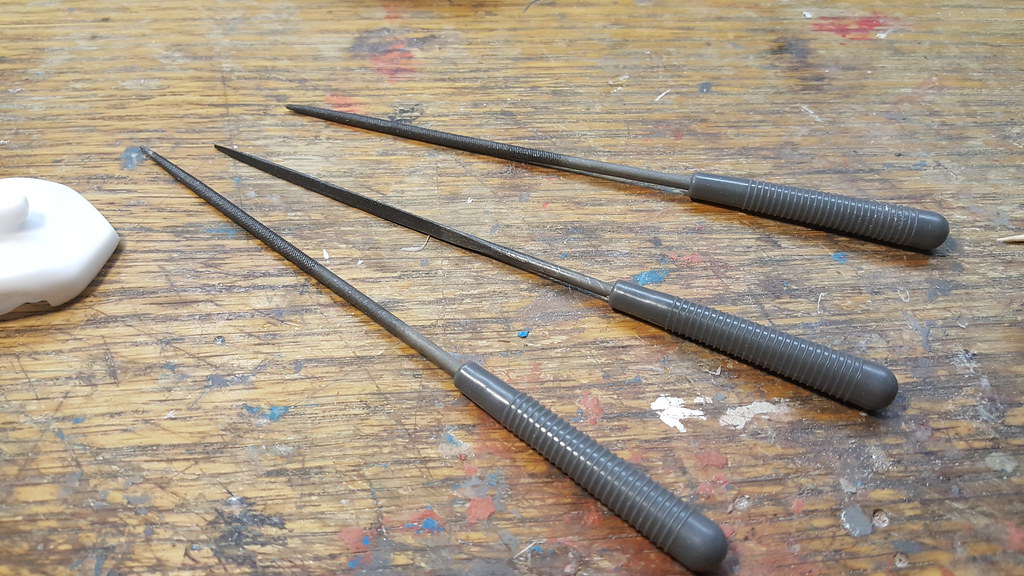
-Small Files. You can get a complete set of various shapes at Harbor Freight for less than $5, well worth it.
-Primer
-Anti-Bacterial Soap
-Super Glue, Zip Kicker optional. Epoxy and JB weld can also be used for filler. 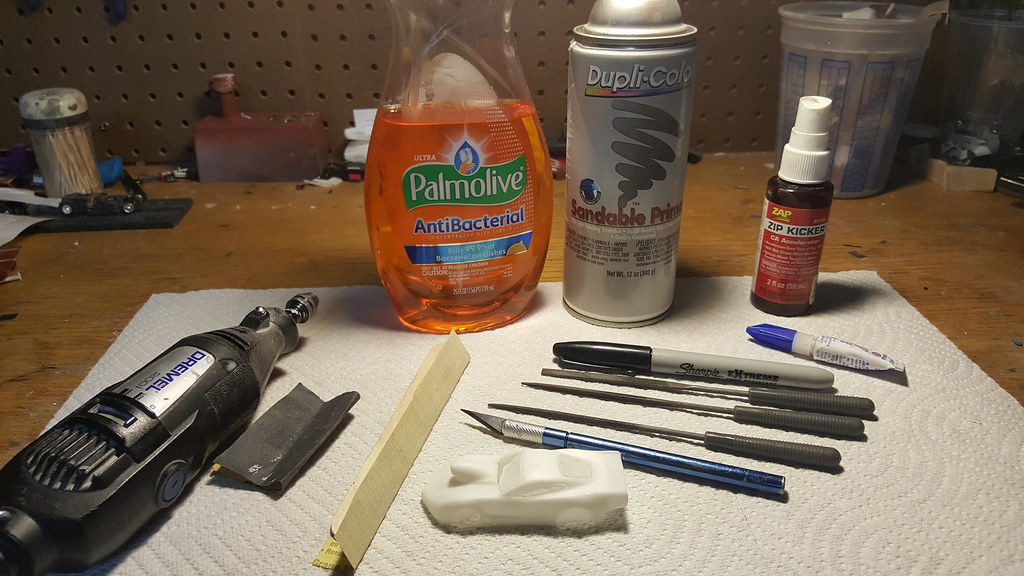
First step is to wash the body. I Iike using a small container that I can take to my work area.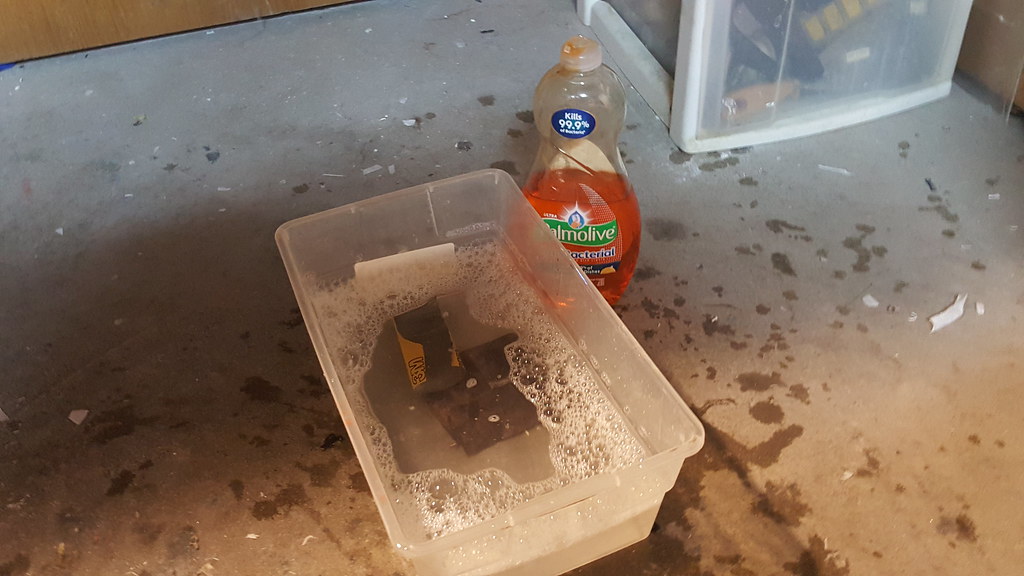
Next I work on the small voids. I like to sand the areas with a file which roughs up the area and give the super glue a better surface to adhere to. Zip kicker speeds up the super glue hardening but is not necessary.
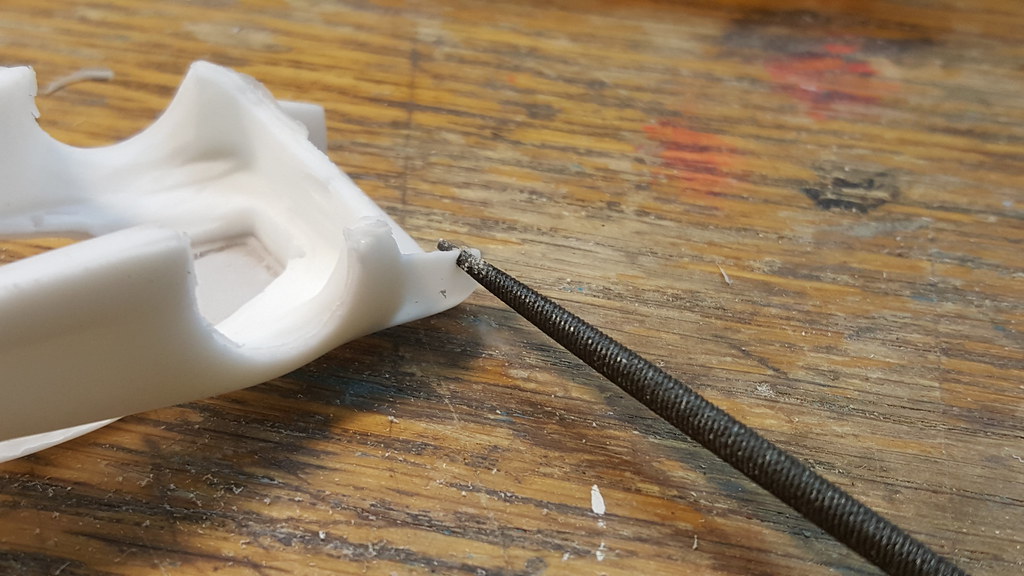
I'll put tape behind the void so that the glue doesn't run out the back. 
I gotta a little crazy with the super glue. 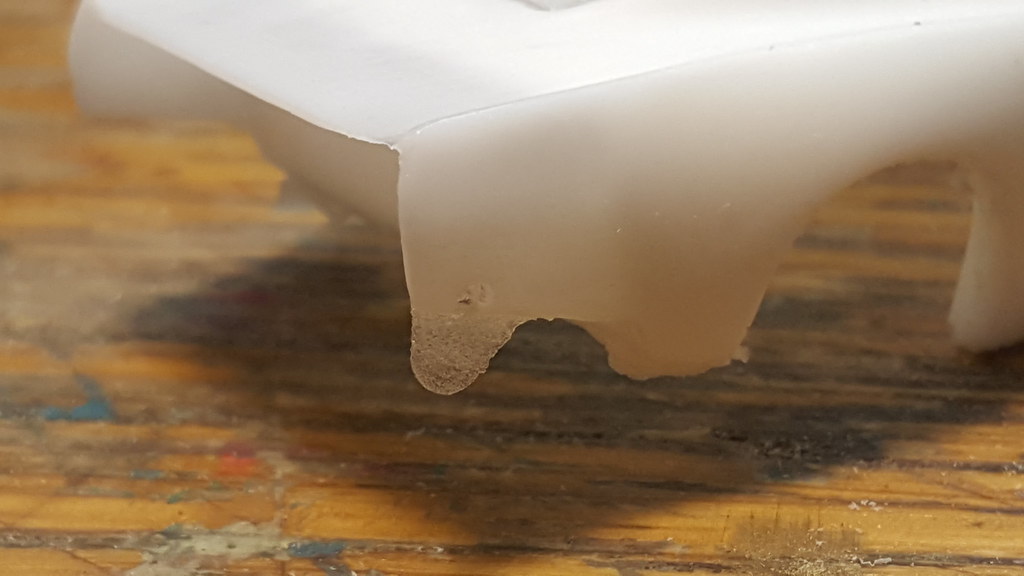
Bad pic, void after sanding with 220 grit. 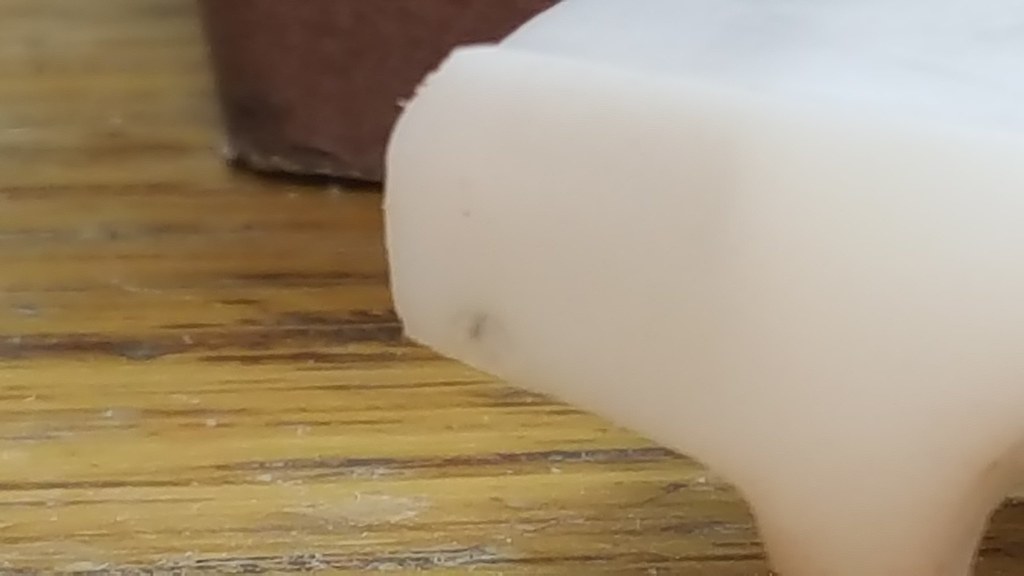
I then remove the excess flashing around the windows and wheel wells using an X-Acto knife 
Next I'll use a dremel with a round stone bit to clean up the wheel wells to get rid of any flashing lines that might be visible. 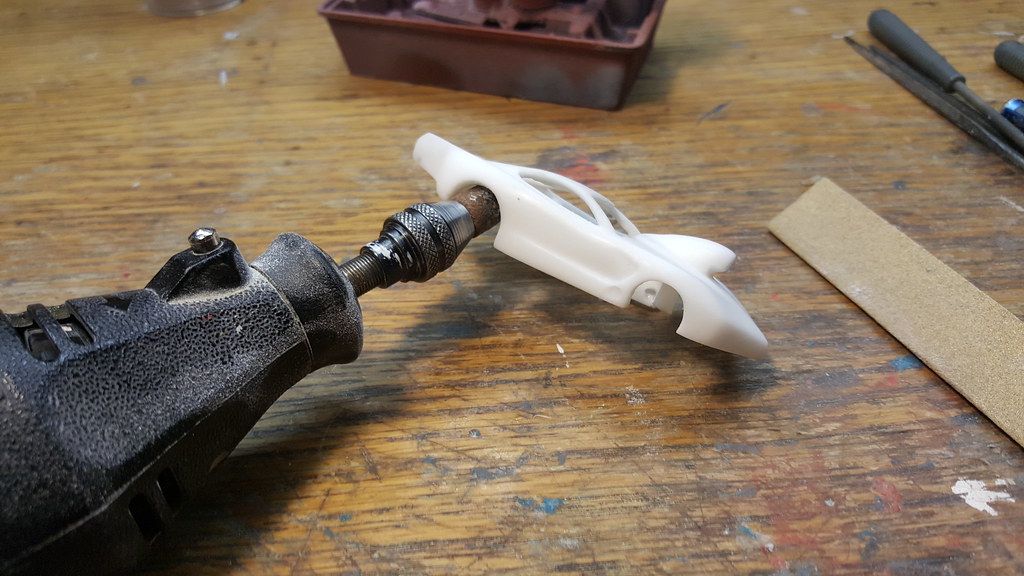
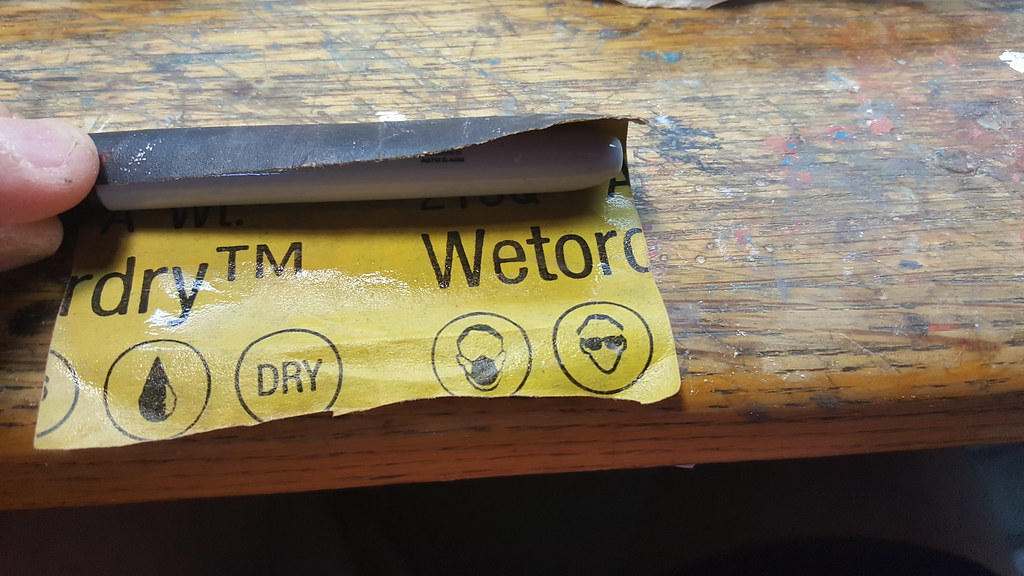
Last step on the wheel wells is to take some 400 grit wet/dry sandpaper to the wheel wells. I wrap the sandpiper around a pen. Anything round will work.
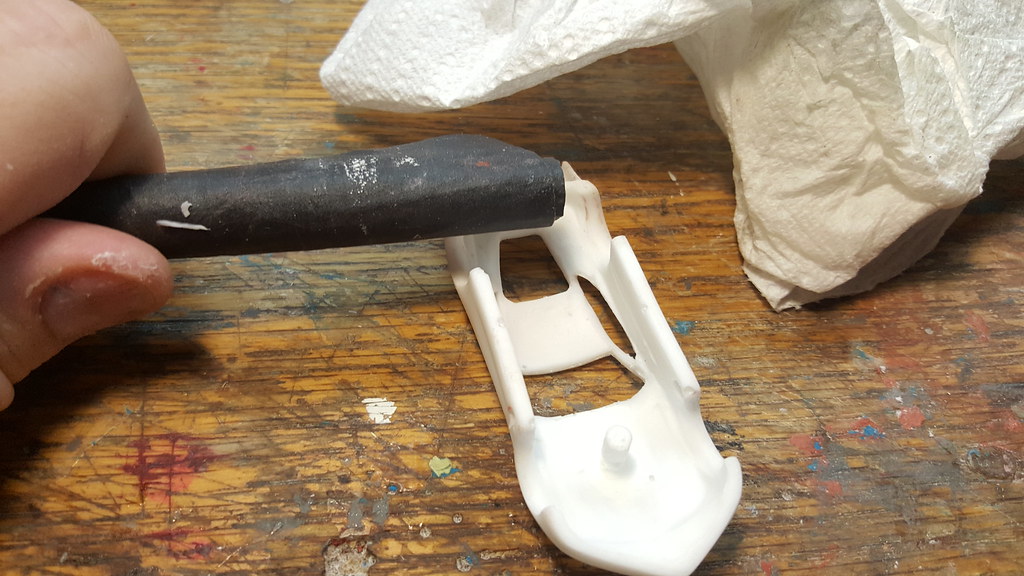
Using files I'll smooth out the window openings
At this point I'll wet sand the body in soap and water making sure to get into all the nook and crannies.

After wet sanding I'll wash the body with clean water and let it dry.

Time to prime. The Vette is getting white primer since the main body color will be white. I'm used a darker primer on the Camaro.
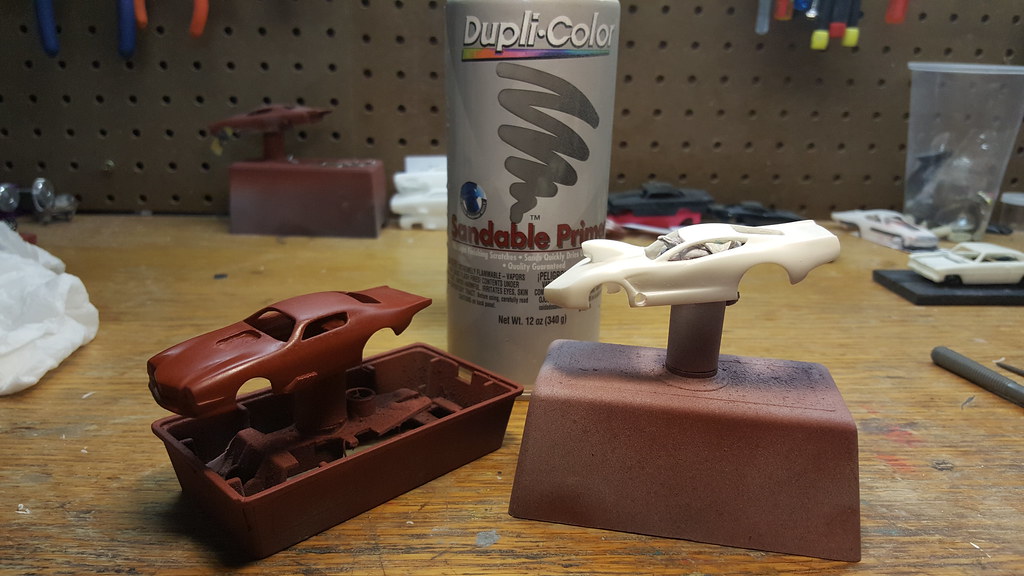
Primer shows up a lot of imperfections that you might not have noticed. The windows on this one need cleaned up some more.
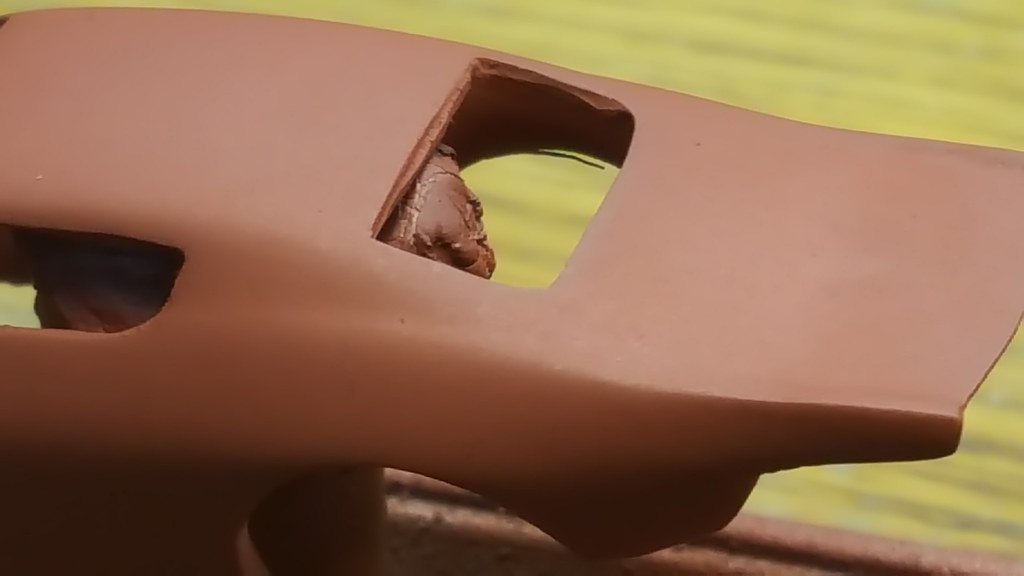
At this point you're basically repeating the steps above until you're happy with the results. Once you've laid down you're final primer. Wet sand the body one more time with 400 grit paper. You're now ready to paint.

