Post by SKR on Mar 16, 2011 14:08:52 GMT -7
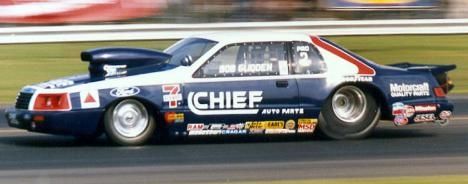
Thought some of you might be interested in this timing system that we use to use in the early 90's. Being avid HO road racers and drag racing fans back then we wanted to start HO drag racing at our local hobby shop after we concluded our road race program for the day. Our Drag strip consisted of Tyco plastic track that was a 1/64 scale 1/4 mile. We had a blast with that old drag strip. Cars were simply started out evenly with one toggle switch that gave power to both cars at the same time. We had to have someone at the finish line watch the cars to see who won, if there was ever any doubt they would be re-ran. The class we had the most fun with was 1.00 second Index. Now this is before track mate existed and I believe Trick Trax was just getting started (?). Wouldn't of mattered anyways because the Hobby shop owner would never of bought us a timing system. My long time friend and slot racing buddy came up with this nifty little set up that we used.This set up was great for tuning up cars as well. It's always nice to see the car you poured time into make a quicker pass. These timers that I'm about to show are the originals that we used back then. Chuck brought them over awhile back and to our surprise they still work. Back then I think he said he paid a few dollars each for the stop watches. Thanks Chuck!! Who knew that you were ahead of our time back then ;D
A stop watch is wired to two magnetic reed switches which activated the stop and start button. I'm sure the same can be done just as easy with photo cells.
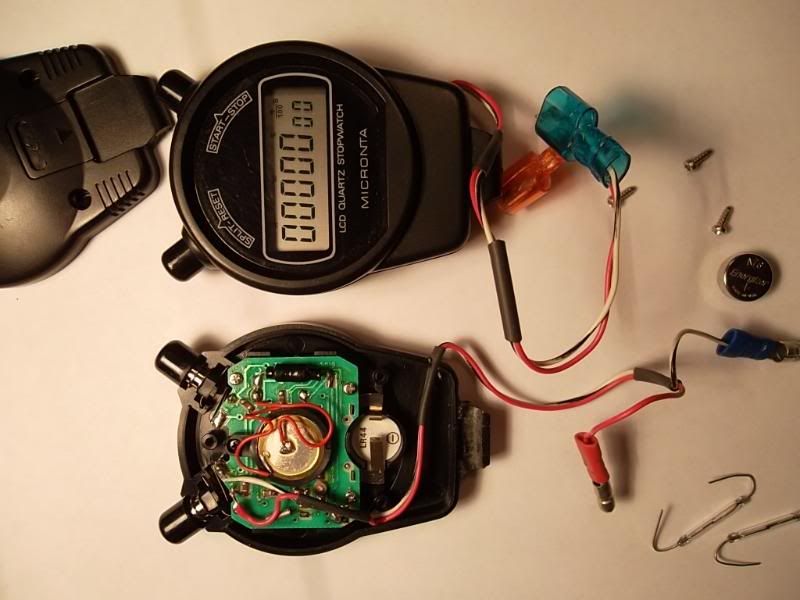
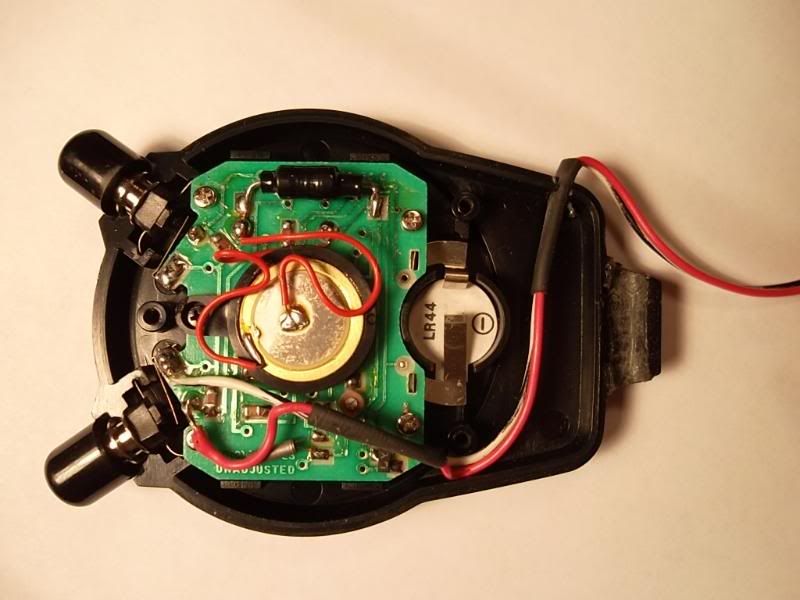
Here you can see where Chuck tapped into the start/stop side of the stop watch.
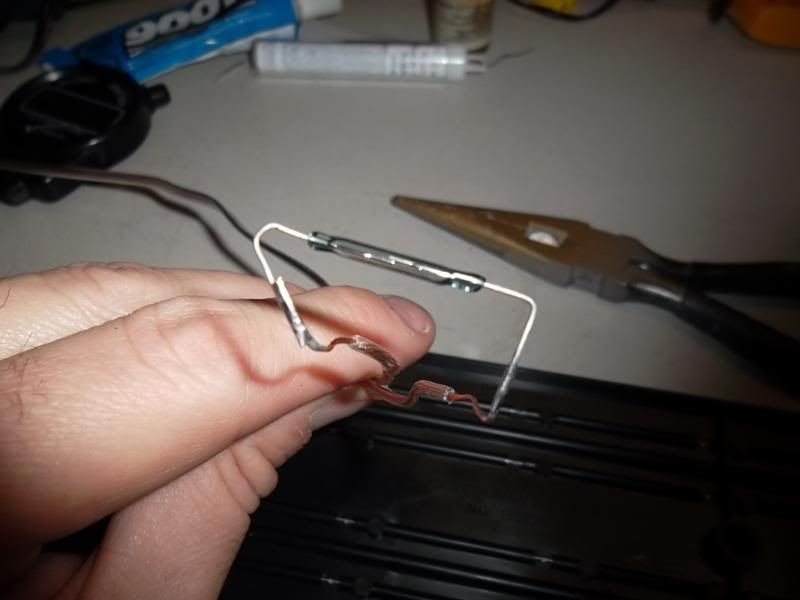
Magnetic reed switches. Google it to find them. All about reed aswitches here:
www.aleph-usa.com/rs_main.asp
en.wikipedia.org/wiki/Reed_switch
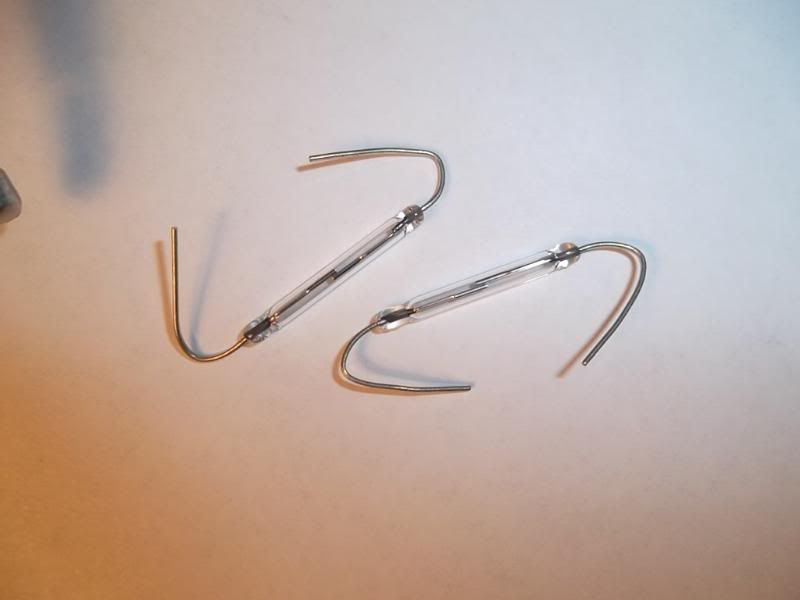
You'll need to cut two slots in your track. One at the Start and one at the Finish lines. If you use reed switches then make sure your not starting the car on top of it but placing the switch in front of the car.
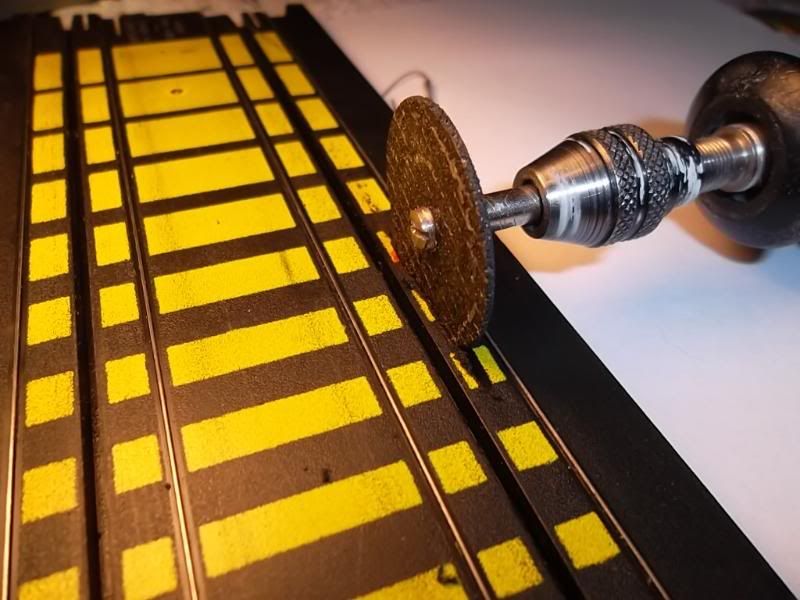
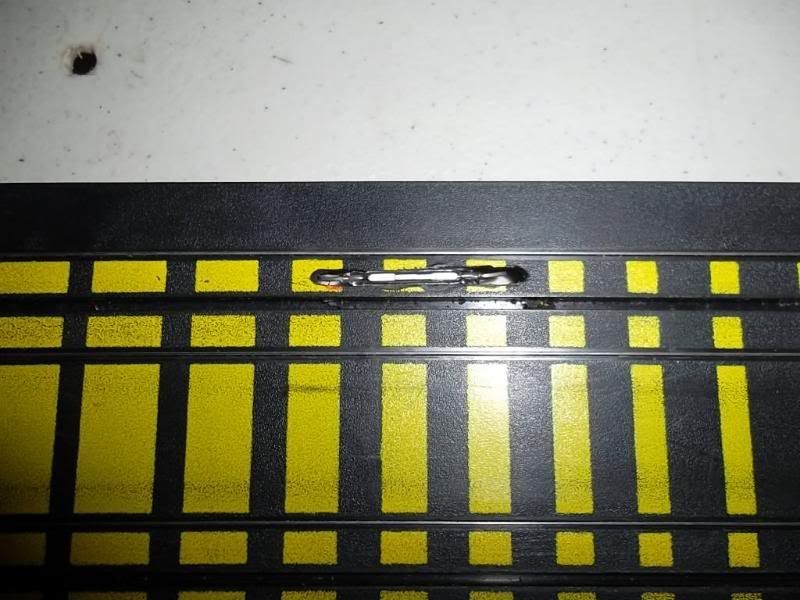
Shoe goo or epoxy the switches in flush with the top of the track.
Start Line
Finish Line
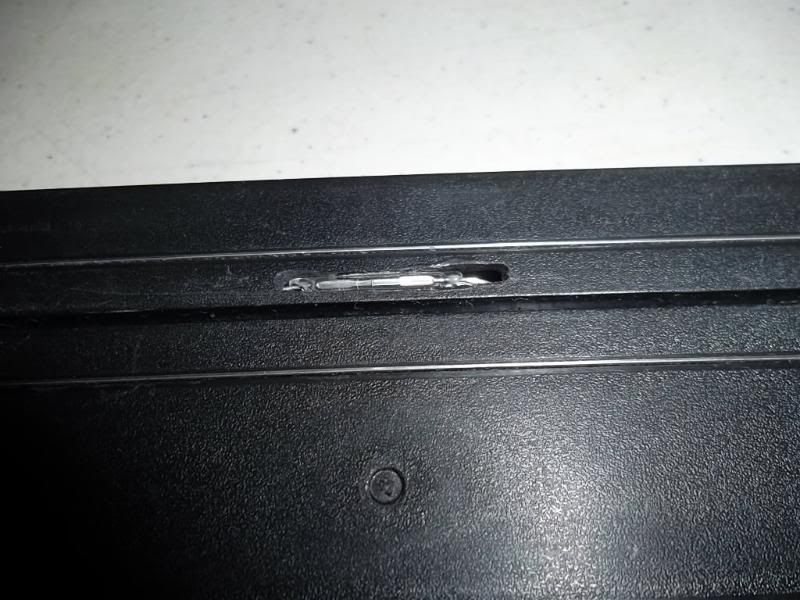
I used 22 gauge speaker wire for this demonstration. Wire the start and finish reed switches then join the two together at the stop watch.
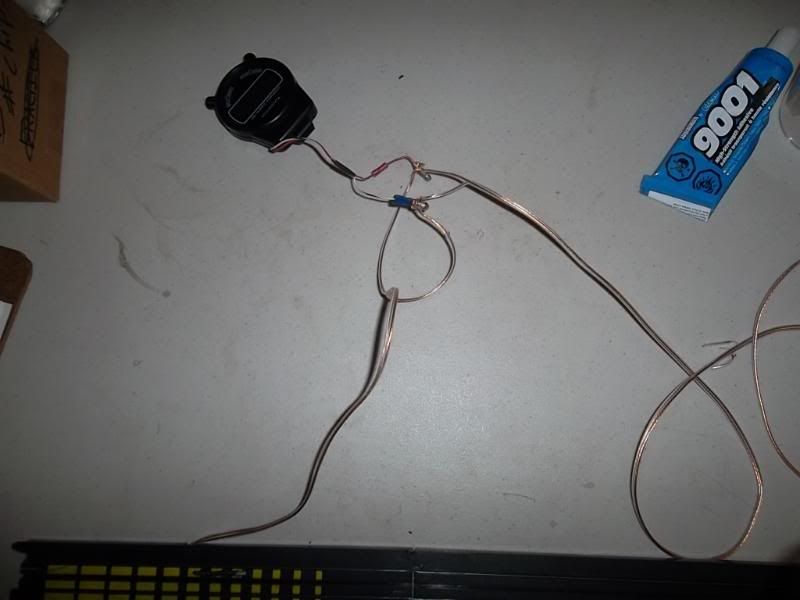
and two videos shown in action with an original Tjet.
Click on pictures below to watch video
A stop watch is wired to two magnetic reed switches which activated the stop and start button. I'm sure the same can be done just as easy with photo cells.

Here you can see where Chuck tapped into the start/stop side of the stop watch.

Magnetic reed switches. Google it to find them. All about reed aswitches here:
www.aleph-usa.com/rs_main.asp
en.wikipedia.org/wiki/Reed_switch

You'll need to cut two slots in your track. One at the Start and one at the Finish lines. If you use reed switches then make sure your not starting the car on top of it but placing the switch in front of the car.

Shoe goo or epoxy the switches in flush with the top of the track.
Start Line

Finish Line

I used 22 gauge speaker wire for this demonstration. Wire the start and finish reed switches then join the two together at the stop watch.


and two videos shown in action with an original Tjet.
Click on pictures below to watch video


