|
|
Post by dave632 on Nov 28, 2018 19:23:33 GMT -7
Waiting for the crew to arrive. Will post pics.
|
|
|
|
Post by AJR on Dec 3, 2018 17:14:07 GMT -7
Here's a sneek peek on the progression of the 62 C10 Pro Mod build. Im pretty happy with it so far. The front end needs to be longer, but this version I'm leaving it alone. Just a few more things to do and a little fine tuning here and there and it will be ready to mold.
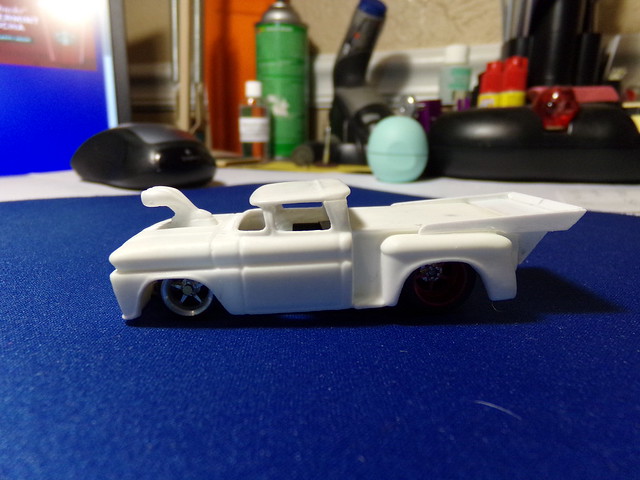
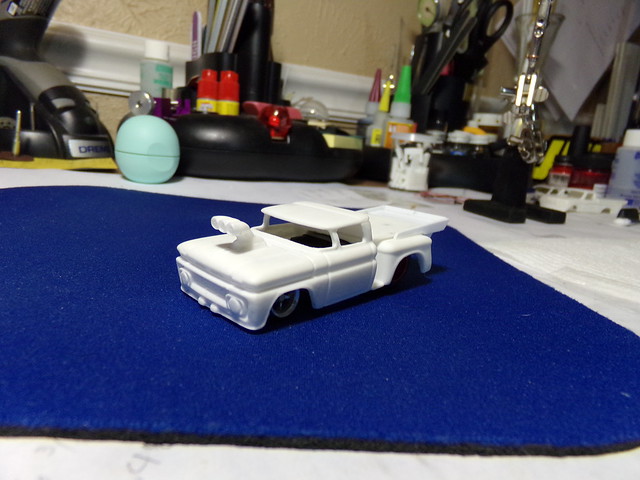
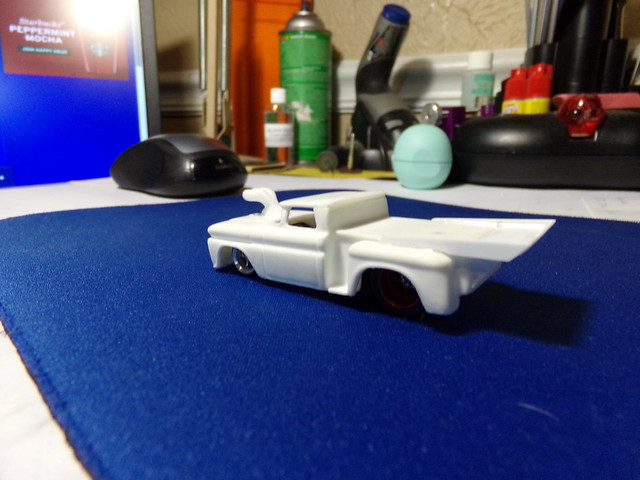
|
|
|
|
Post by hairycanary on Dec 4, 2018 6:47:45 GMT -7
Jeff Alls I can say is "MEAN and NASTY" I want dibbs on one of the first ones when ready. Awesome job ! Rick |
|
|
|
Post by AJR on Dec 4, 2018 16:15:24 GMT -7
Here's a sneek peek on the progression of the 62 C10 Pro Mod build. Im pretty happy with it so far. The front end needs to be longer, but this version I'm leaving it alone. Just a few more things to do and a little fine tuning here and there and it will be ready to mold.
Jeff Alls I can say is "MEAN and NASTY" I want dibbs on one of the first ones when ready. Awesome job ! Rick You got it Rick. I will let you know when I do pour the resin. Thanks for the good word! |
|
|
|
Post by Eagle Racing on Dec 5, 2018 15:23:35 GMT -7
Looks good Jeff.
|
|
|
|
Post by AJR on Dec 6, 2018 18:50:17 GMT -7
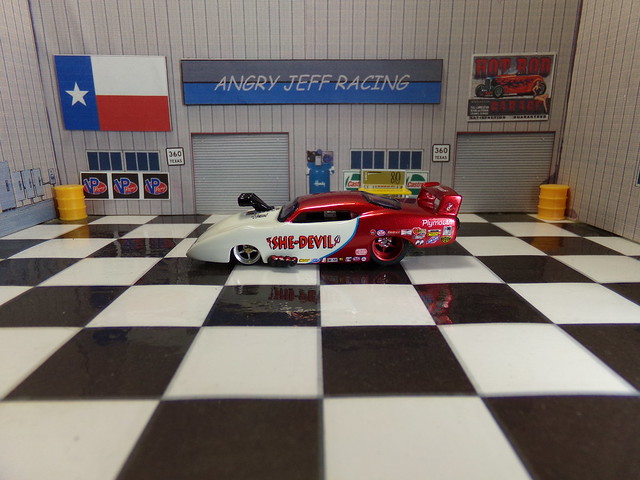
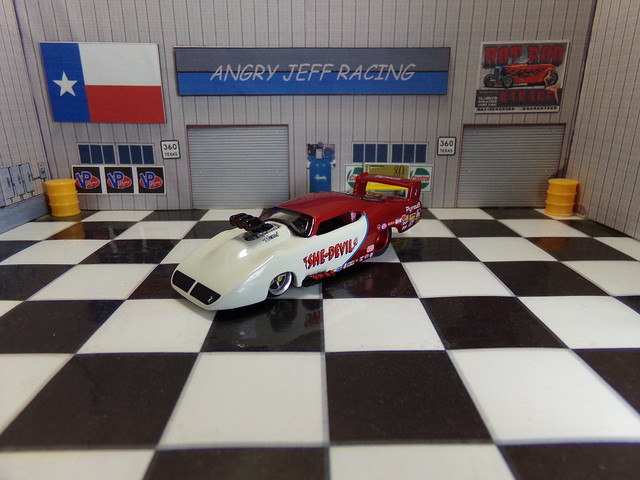
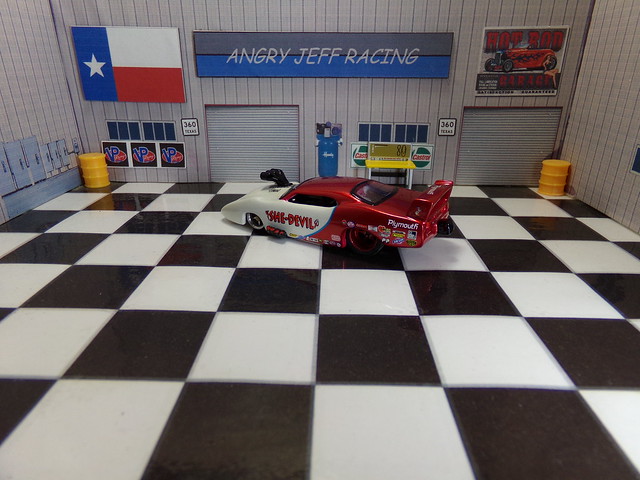
Putting the final details on a 660slots Plymouth Superbird. This one will make it to Ebay. I still need to narrow and set up a 4 gear chassis for this body. It is sitting on my mock up chassis in the pics. Sam's bodies are top notch in design and quality!
|
|
|
|
Post by kiwidave on Dec 6, 2018 21:49:56 GMT -7
Stunning looking race car. Really nice work!
|
|
|
|
Post by GTS on Dec 7, 2018 6:09:19 GMT -7
Absolutely beautiful in every way!
|
|
|
|
Post by AJR on Dec 7, 2018 16:38:03 GMT -7
As I said, I need a chassis for the Superbird to sit on. The chassis will be almost totally stock except this one will be sold with aluminum wheelie wheels on it. So I thought I would post how I narrow and set up a stock chassis here at Angry Jeff Racing using all stock parts. Maybe it will be of interest to some.
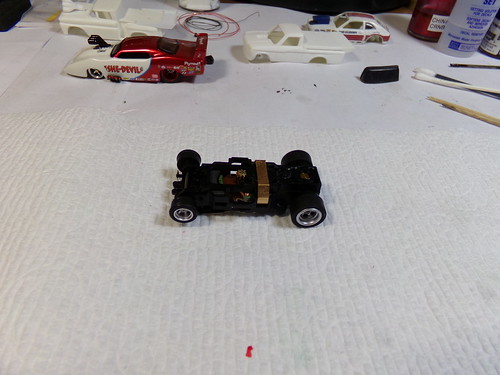
AW 4gear chassis right out of the bag.
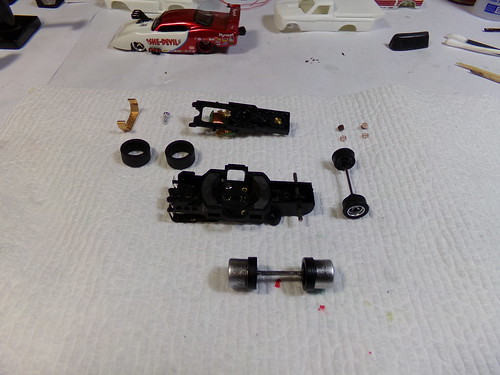
First step is to strip it down to the level I need it. Rear wheels need to be cut down and have been removed from chassis and remounted on another axle for this. I will be leaving a small inside flange on these.
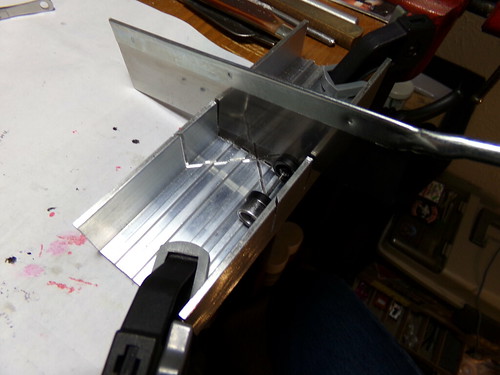
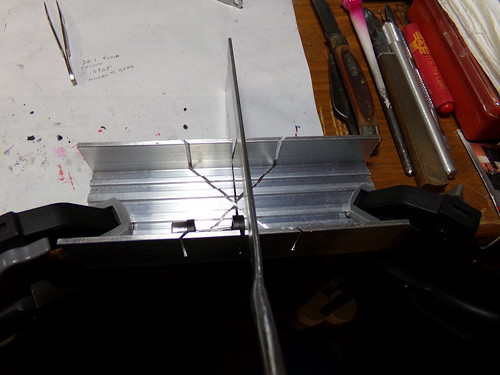
I use a pull saw and miter box for this. I mount them on another axle to keep them both straight while I cut. I first score the rim with the saw while holding and turning with my finger. I eventually cut through the rim and hub.
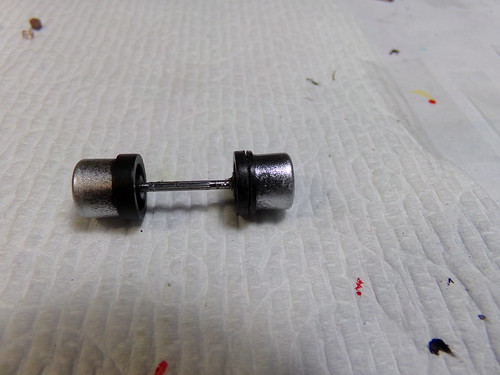
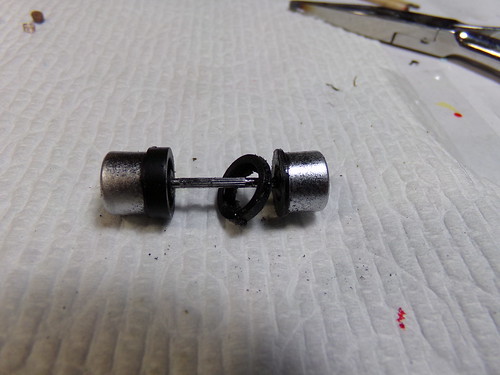
I do both rims this way.
|
|
|
|
Post by GTS on Dec 7, 2018 16:43:33 GMT -7
Very interesting!
Thanks for sharing!!
|
|
|
|
Post by AJR on Dec 7, 2018 16:59:42 GMT -7
|
|
|
|
Post by AJR on Dec 7, 2018 17:08:46 GMT -7
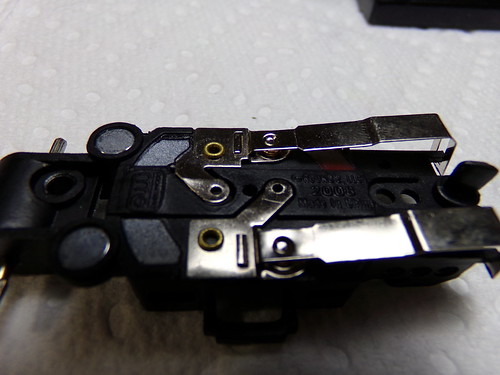 Brush tabs were all bent up on this one. I go back to a neutral flat setting on these. 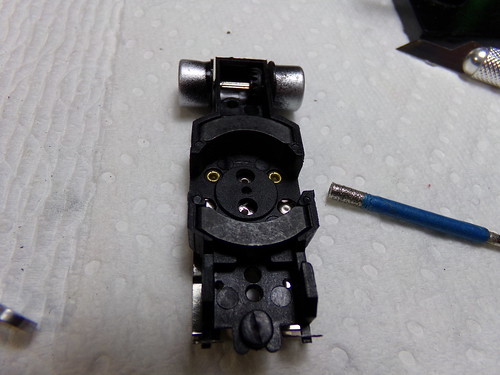 I hit the brush bores with a tool I found works well from a cheap dremel bit set. This removes any casting flash and evens out the bore to keep brushes from sticking. 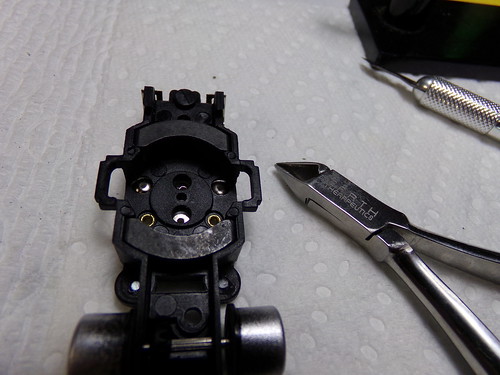  Removal of the stock body mounts comes next. A quick clip and some filing takes care of this. 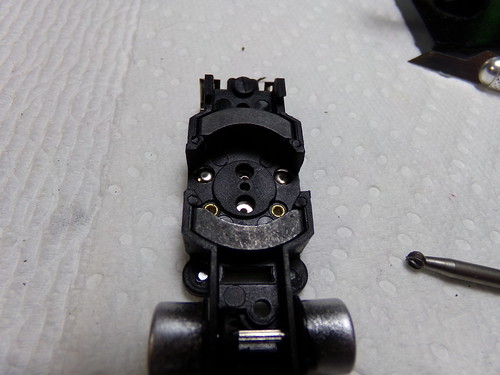 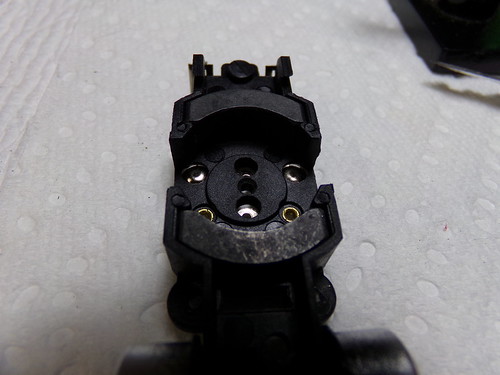 I open up the armature hole a little with a dremel round cutting bit just spinning it with my fingers. I found found that even stock armature sometimes rub here. This is a must when using a mean green arm in these chassis. 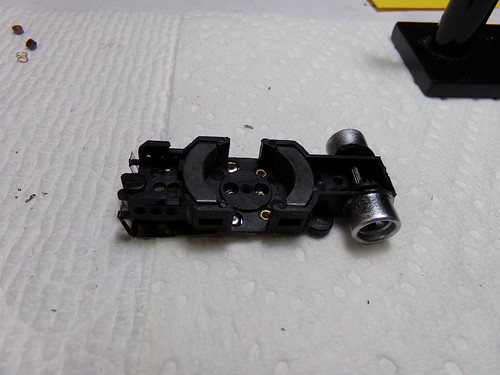 Chassis is complete and narrowed rear wheels are mounted. |
|
|
|
Post by AJR on Dec 7, 2018 17:30:23 GMT -7
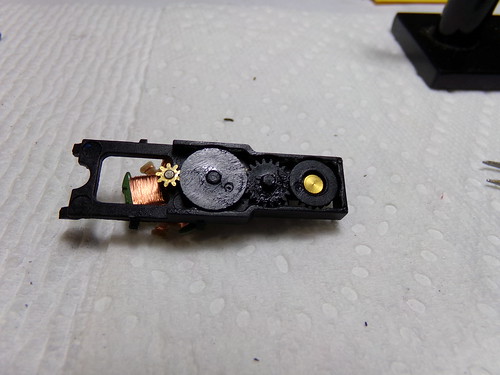 Top plate and a little armature work are next. Got to get rid of all that nasty grease they all come with. A Qtip does a good job here. Alcohol can be used but not necessary. 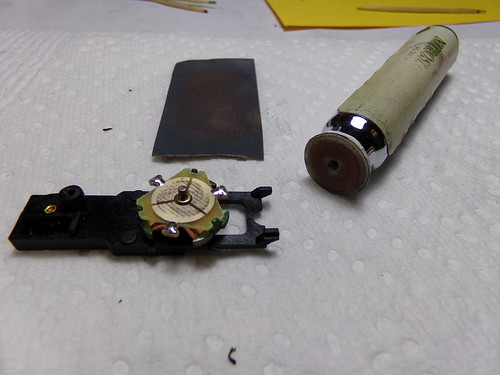 I will usually clean up the comm a little with a homemade tool. I don't get too crazy on initial chassis setup. 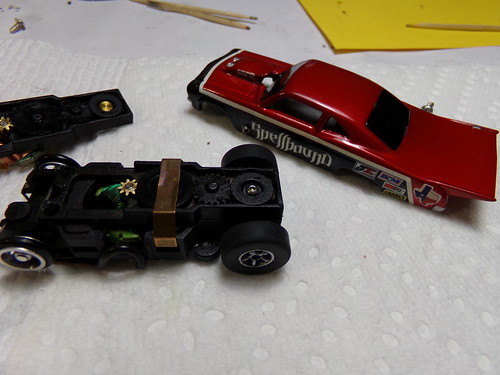 Cluster gear is ALWAYS an area that needs attention. This one is actually pretty tight as is. But the stock rivet can be "peened" to tighten the gear up if needed. Just don't go too far....they are hard to loosen back up. When allowed, I will normally do a screw and spacer modification on the cluster of any pancake chassis as shown here on the Spellbound Doorslammer. |
|
|
|
Post by AJR on Dec 7, 2018 17:49:45 GMT -7
Getting close to finishing the initial setup. Next focus is the front axle.
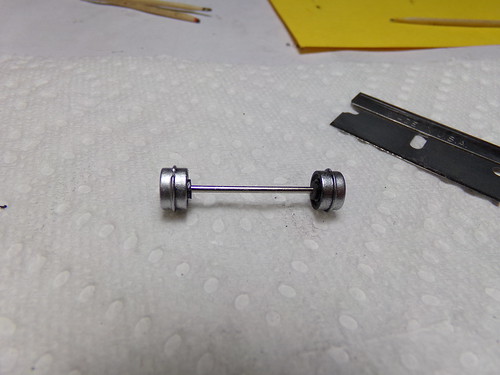
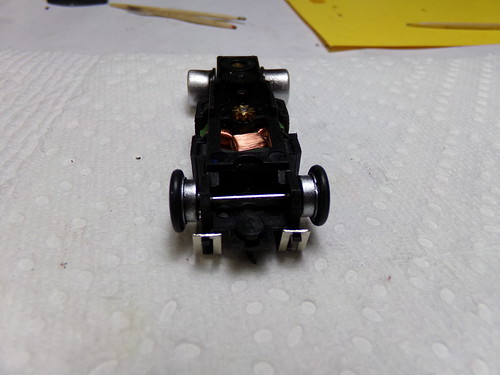
Narrowing the stock front wheels is as simple as cutting the hub off with a razor blade. I use the same technique as with the rear wheels and mount them on an axle to keep wheels straight. I carefully roll the assembly across a flat surface and cut the hub with the razor. Razor cuts fast so this needs to be done slowly. I will leave a small bit of the hub to reduce the surface area that rubs on the chassis. This shows how they look mounted with some o ring tires and axle shortened.
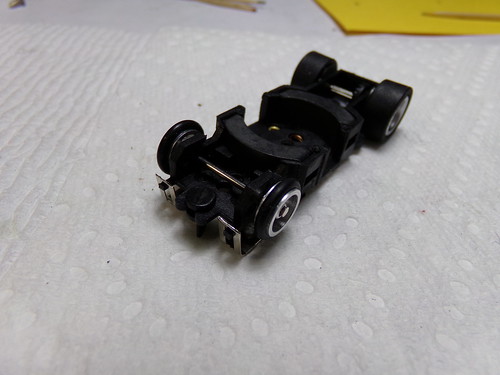
This chassis will have the aluminum wheelie wheels on it.
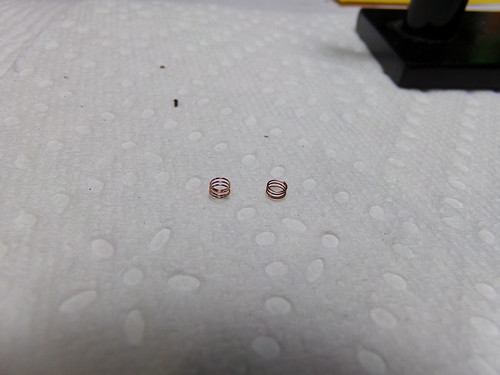
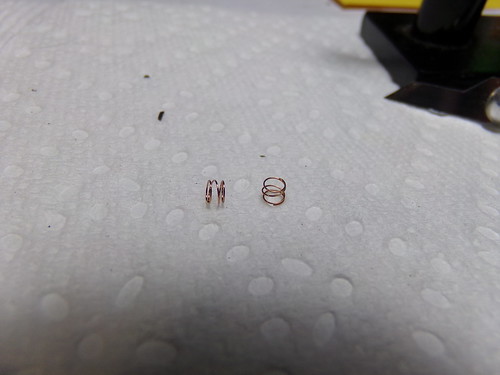
I stretch the brush springs slightly using tweezers and an hobby knife. Factory brushes I have found are normally not flat so I use a fine grit sand paper (1000g) and sand them flat.
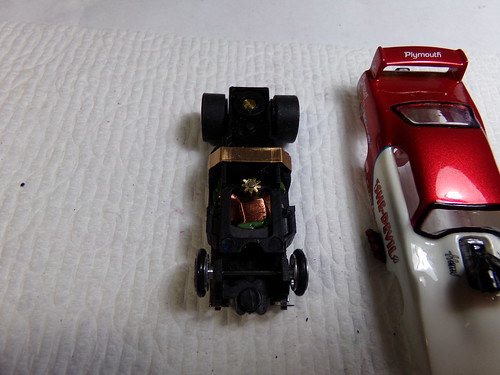
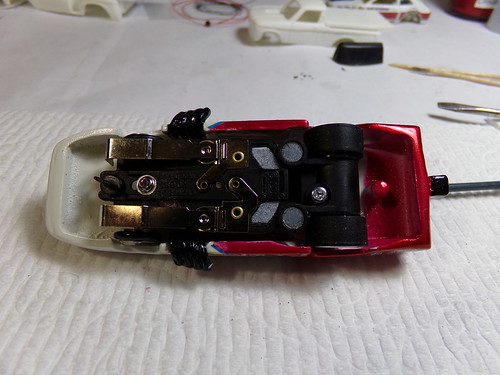
Everything gets assembled and I check rotating parts for binding, etc. and address anything that needs attention. Then mount body and reverify clearances and make any adjustments there.
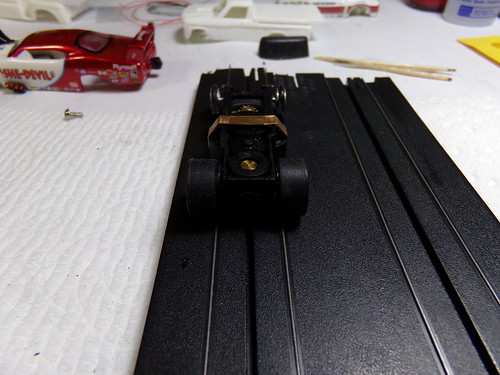
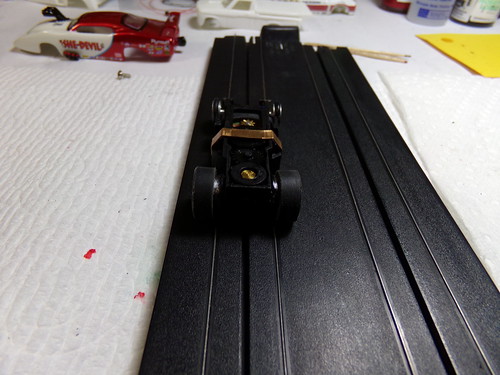
Last thing is to cut down the rear tires to clear the power rail on the track. This should be done obviously with the tire that car will run with. This car will have a stock tire on it.
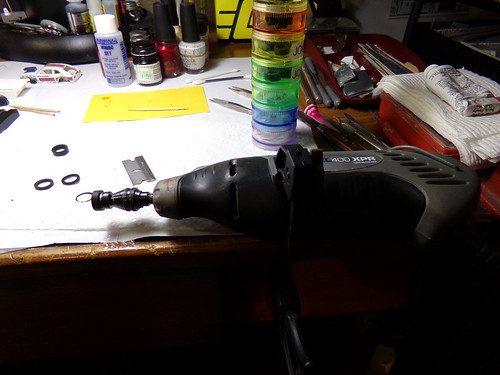
I use a dremel tool clamped to my desk with an axle and wheel chucked up in it. I use my caliper to lightly score the tire while its rotating to give me a mark for the razor.
|
|
|
|
Post by AJR on Dec 7, 2018 17:55:32 GMT -7
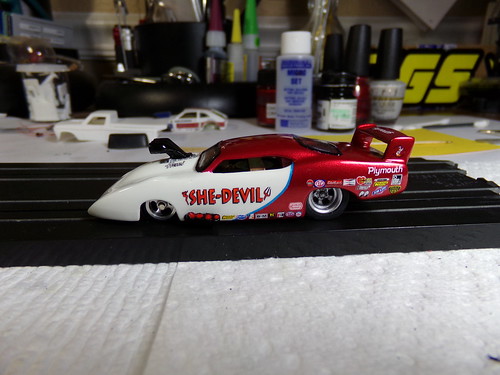 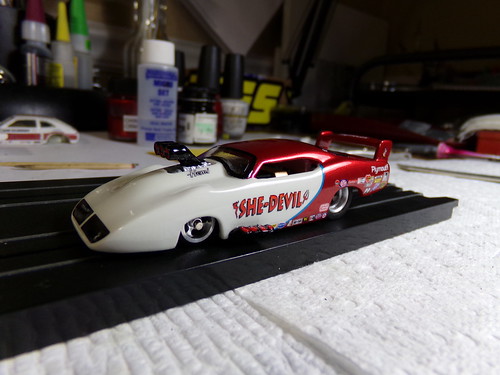 I glue the rear tires on the rims an that is the initial setup. Now any build can be applied that goes beyond these minor modifications. The sky is the limit as long as it is within the rules of that class. I hope this is helpful to some. There are lots of different ways to do things on these cars. Like I said, this is how I do it. Completed narrowed chassis under the Supebird body. |
|