|
|
Post by hilltopspeedway on Dec 7, 2018 19:36:54 GMT -7
Beautiful car, lik'n those colors...Also, appreciating the How To Do...!!! RM
|
|
|
|
Post by dave632 on Dec 7, 2018 21:12:03 GMT -7
Nice work Jeff thanks for sharing that build.
|
|
|
|
Post by AJR on Dec 13, 2018 19:10:46 GMT -7
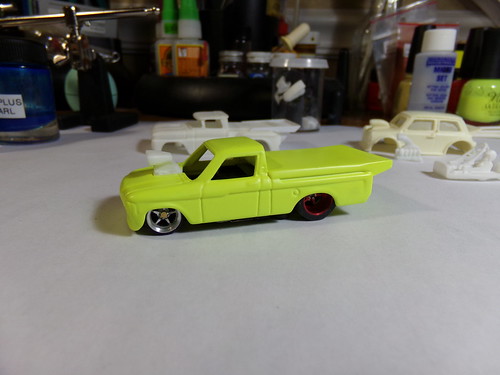
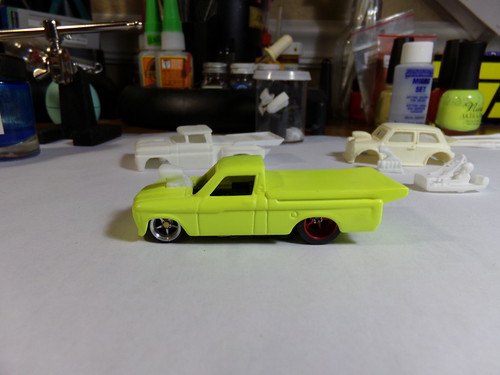
Trying to keep stuff rolling here...next up at AJR is a blown '72 Chevy Luv Pro Mod. I've seen a couple that others have done but I haven't done a blown version. Wanted a bright color to go with some of the Dry Bonz Custom color shift pearl that I recently received. I've never used anything like that before. I will be adding it to the clear as was recommended. I have a picture in my head so let's see what happens.
|
|
|
|
Post by GTS on Dec 21, 2018 8:28:55 GMT -7
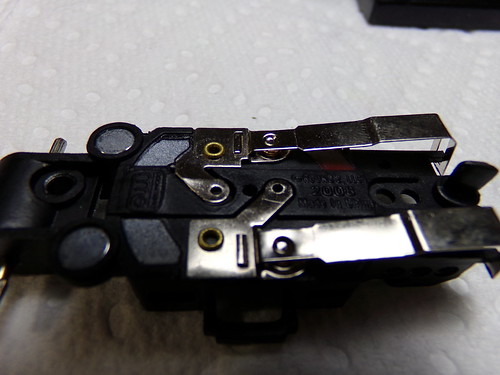 Brush tabs were all bent up on this one. I go back to a neutral flat setting on these. 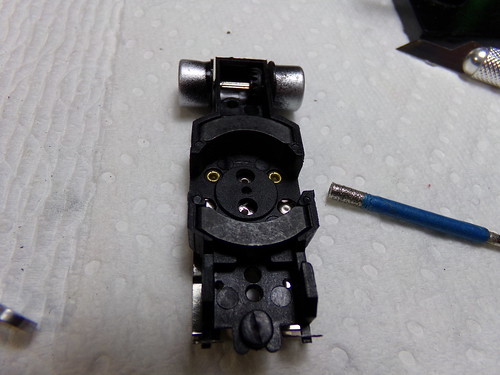 I hit the brush bores with a tool I found works well from a cheap dremel bit set. This removes any casting flash and evens out the bore to keep brushes from sticking. 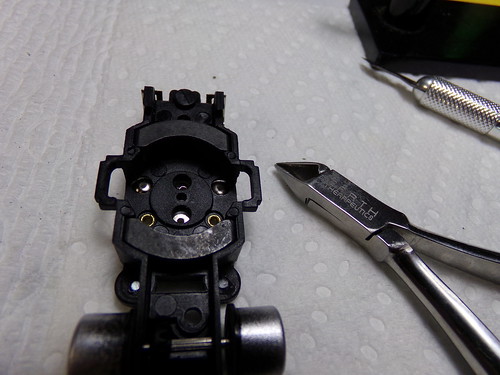  Removal of the stock body mounts comes next. A quick clip and some filing takes care of this. 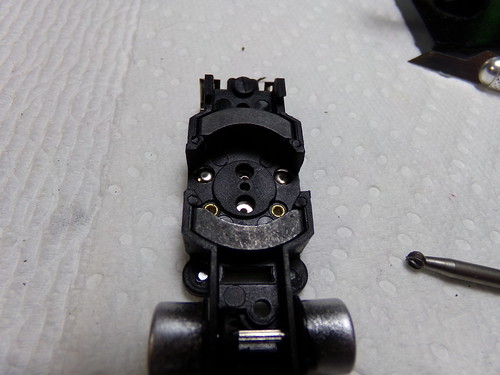 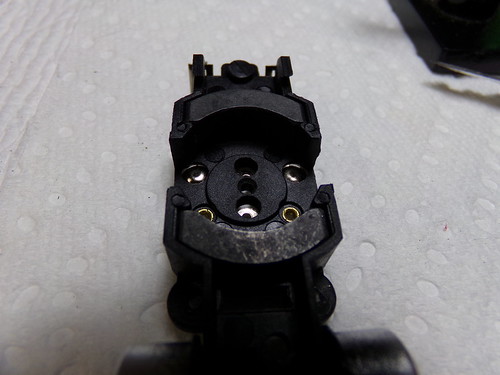 I open up the armature hole a little with a dremel round cutting bit just spinning it with my fingers. I found found that even stock armature sometimes rub here. This is a must when using a mean green arm in these chassis. 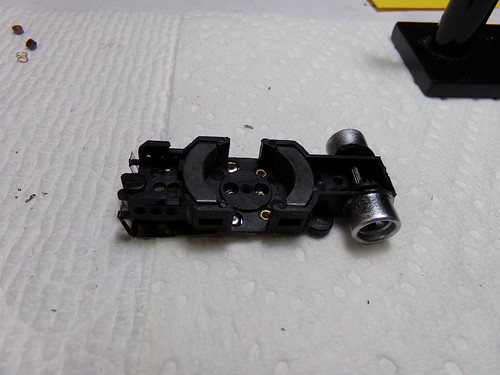 Chassis is complete and narrowed rear wheels are mounted. Jeff, I gotta tell ya', this "how to" is awesome! I review it often. This is extremely helpful to a newb, such as myself. Two AW 4G's should arrive today and anxious to give these modifications a go.
Very appreciative that you shared these insights!!!  |
|
|
|
Post by AJR on Dec 21, 2018 9:57:06 GMT -7
Thank you Gale. Like I said, this is just basic set up out of the box to fix factory issues and make the chassis a little more solid to work with. Theres a lot more that can be done.
|
|
|
|
Post by AJR on Dec 21, 2018 18:05:48 GMT -7
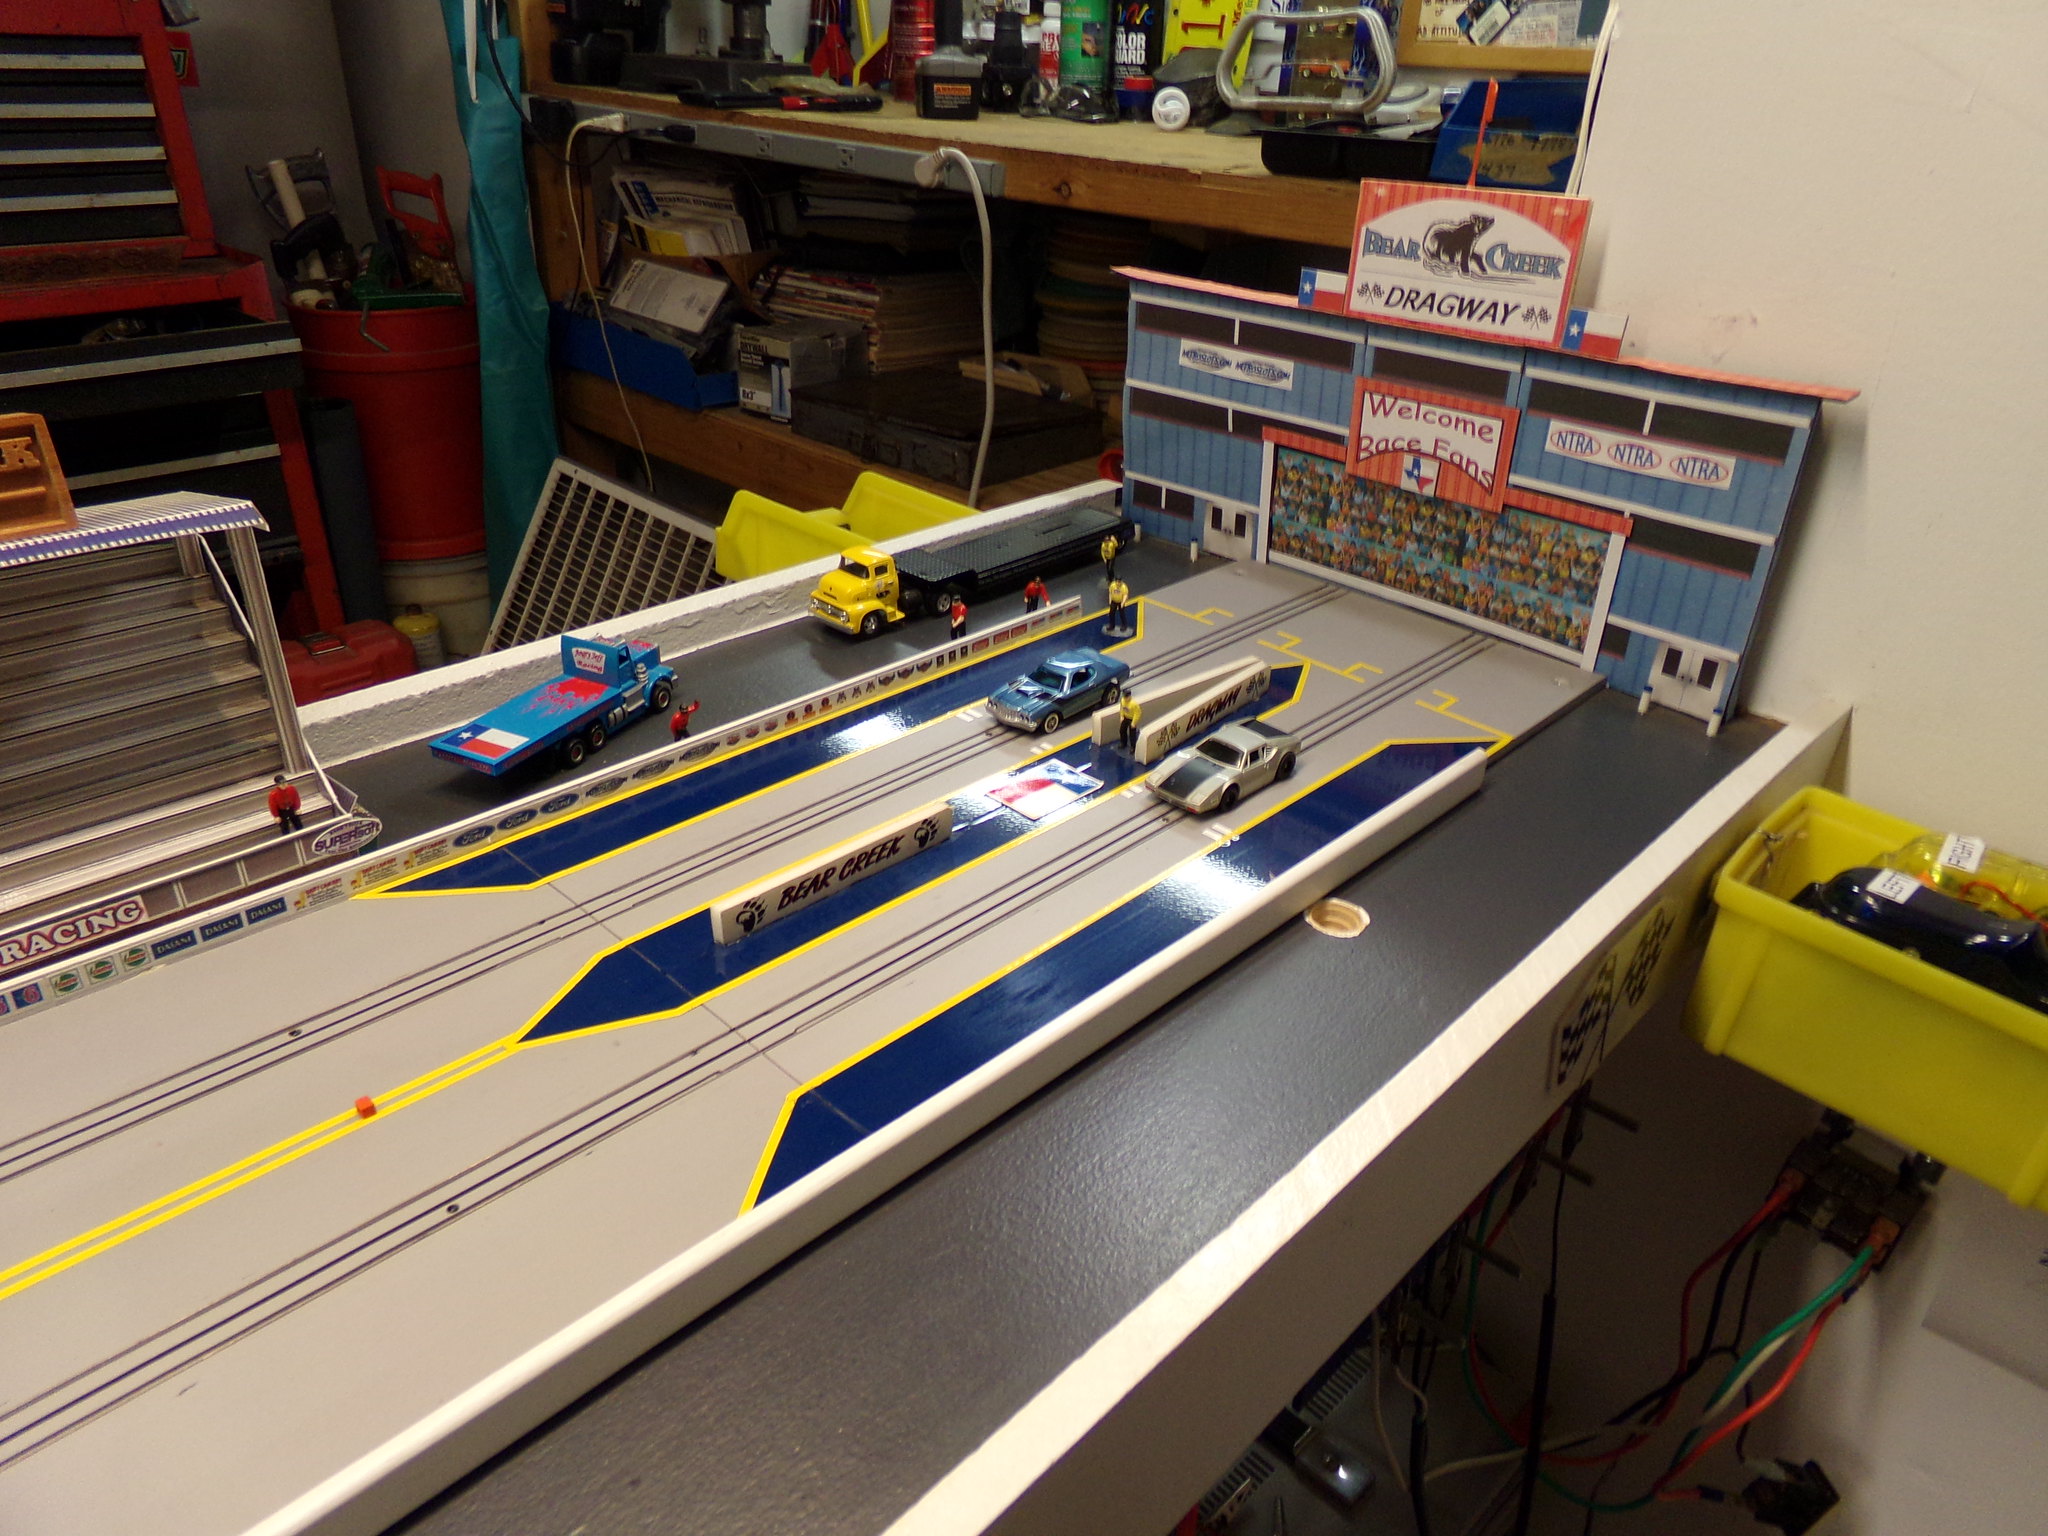
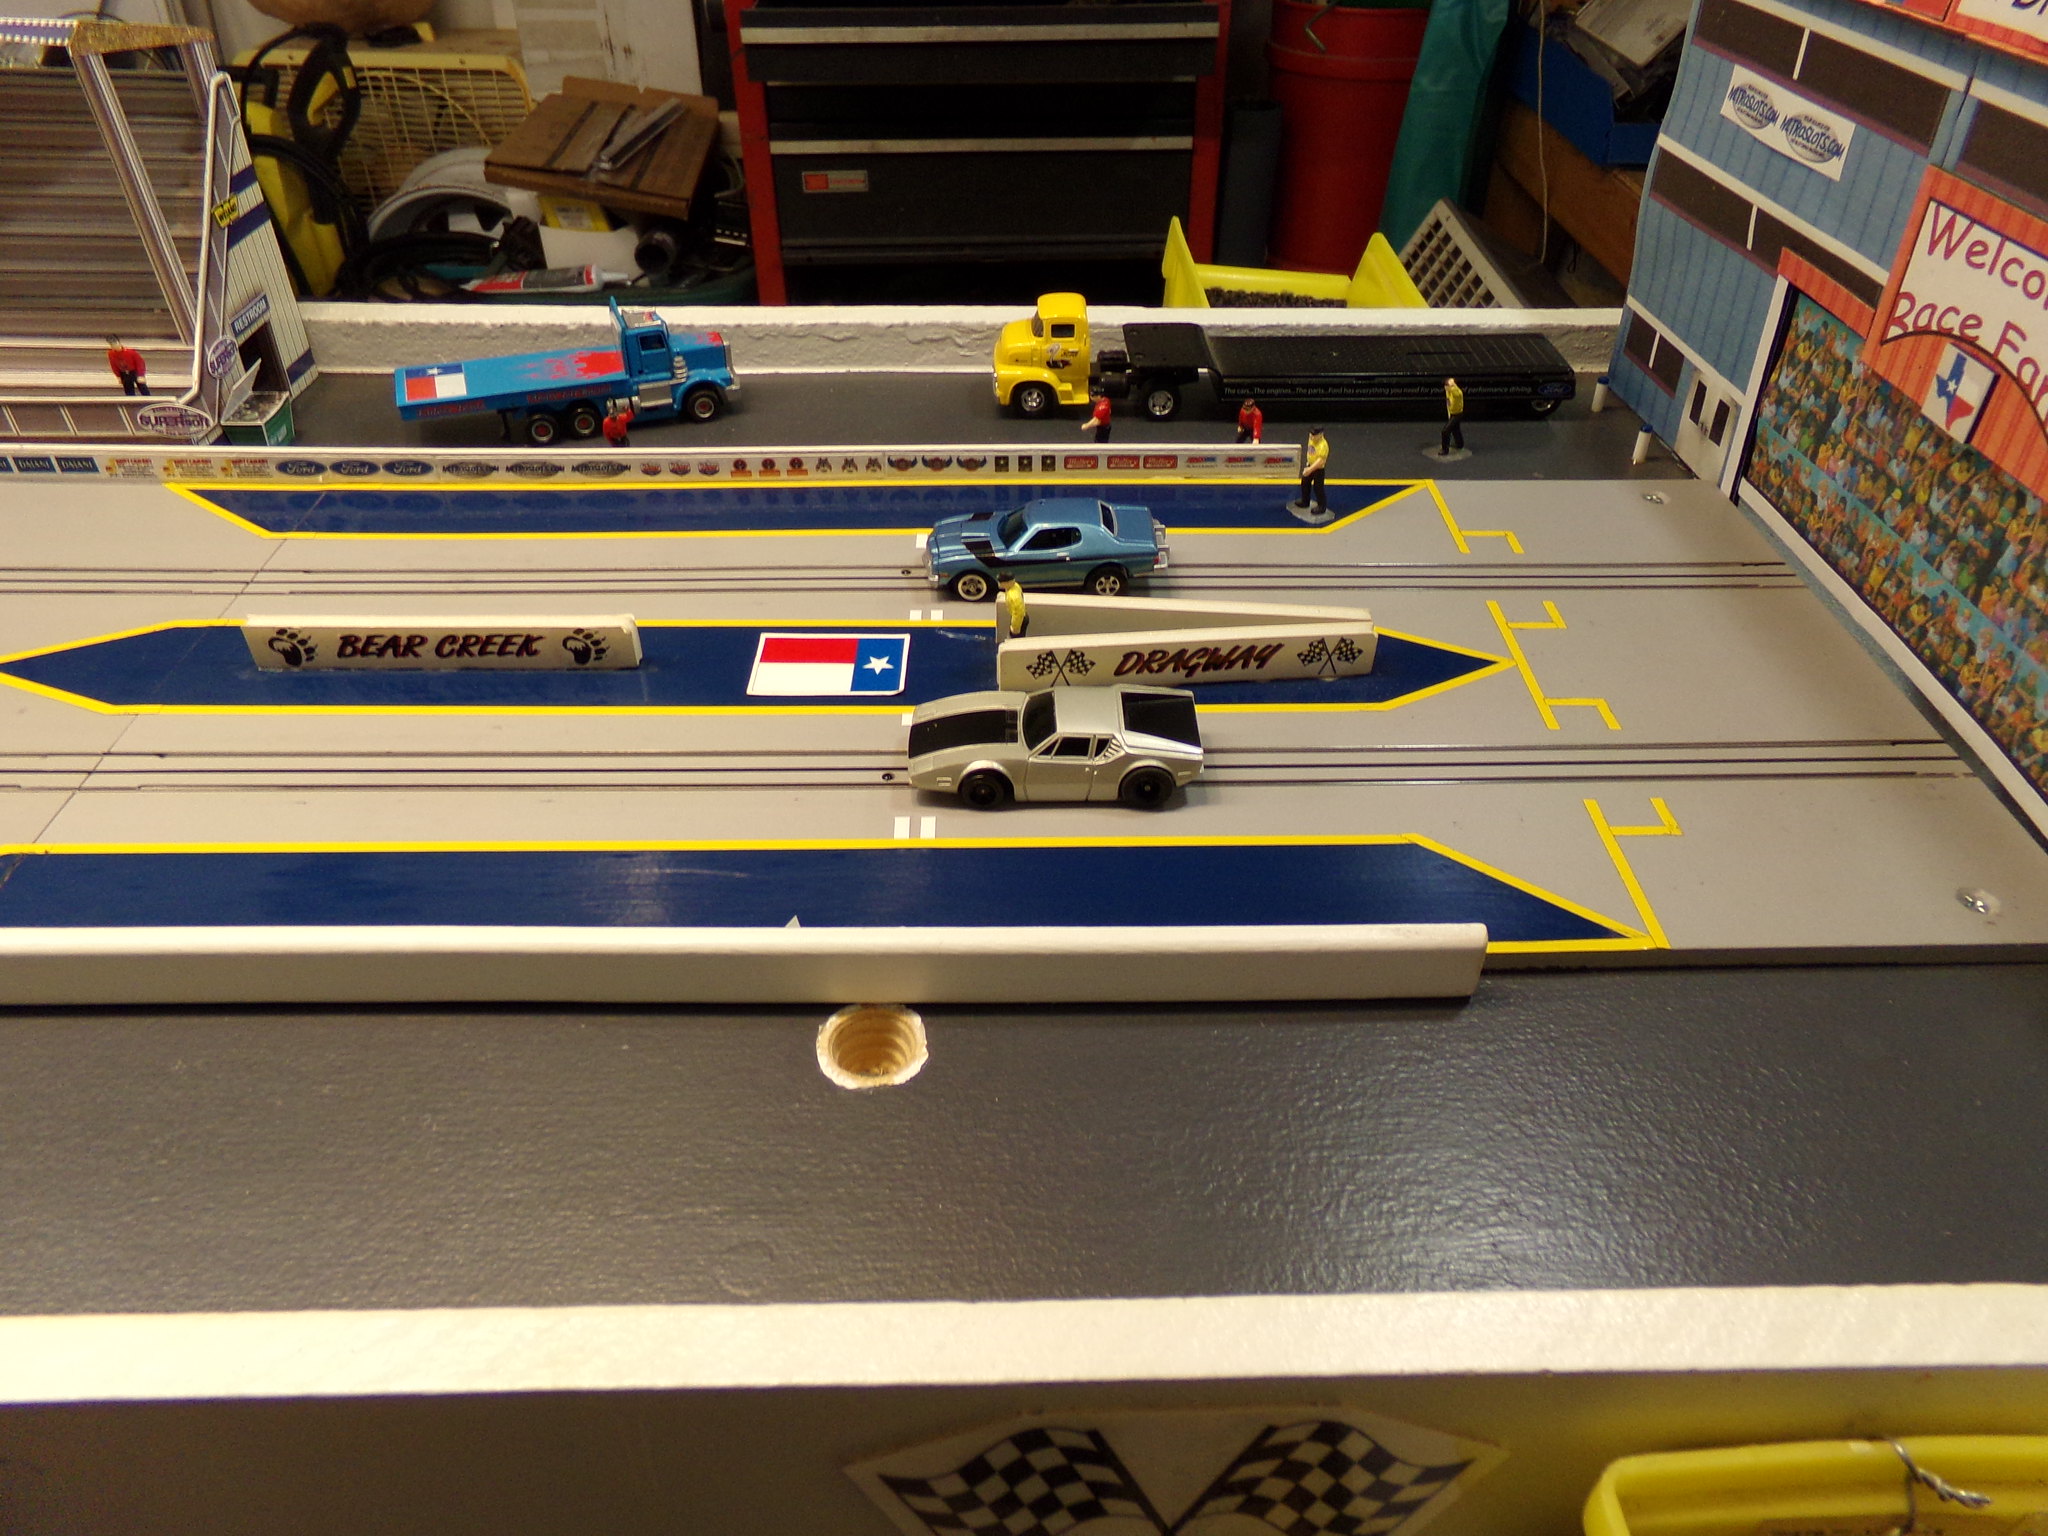
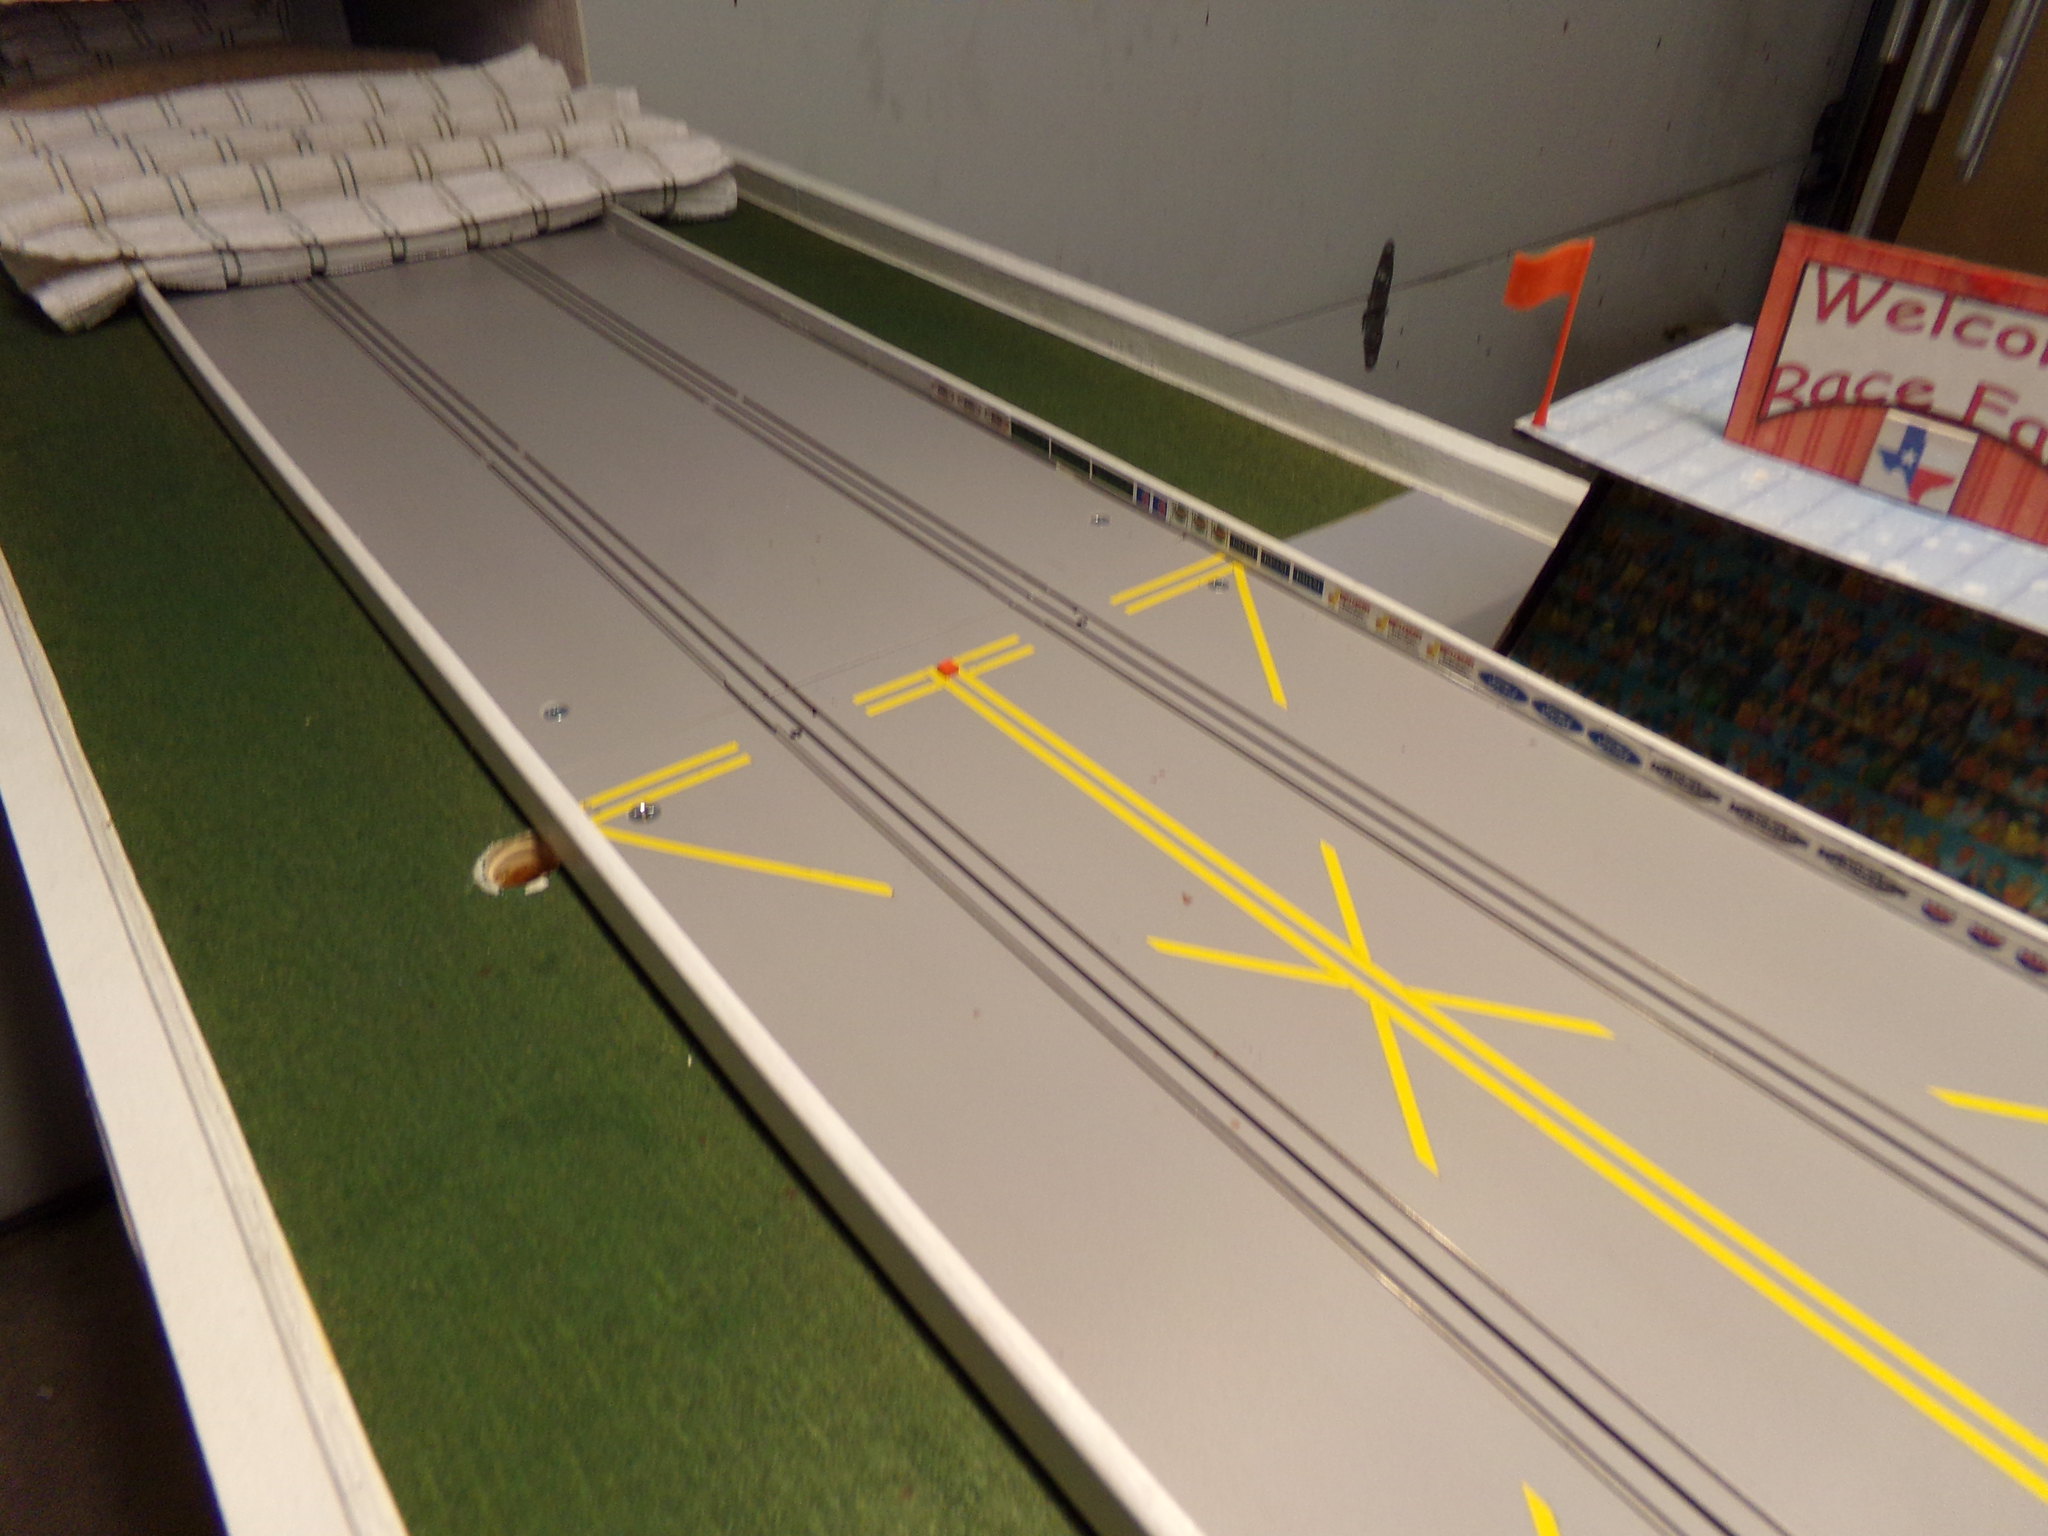
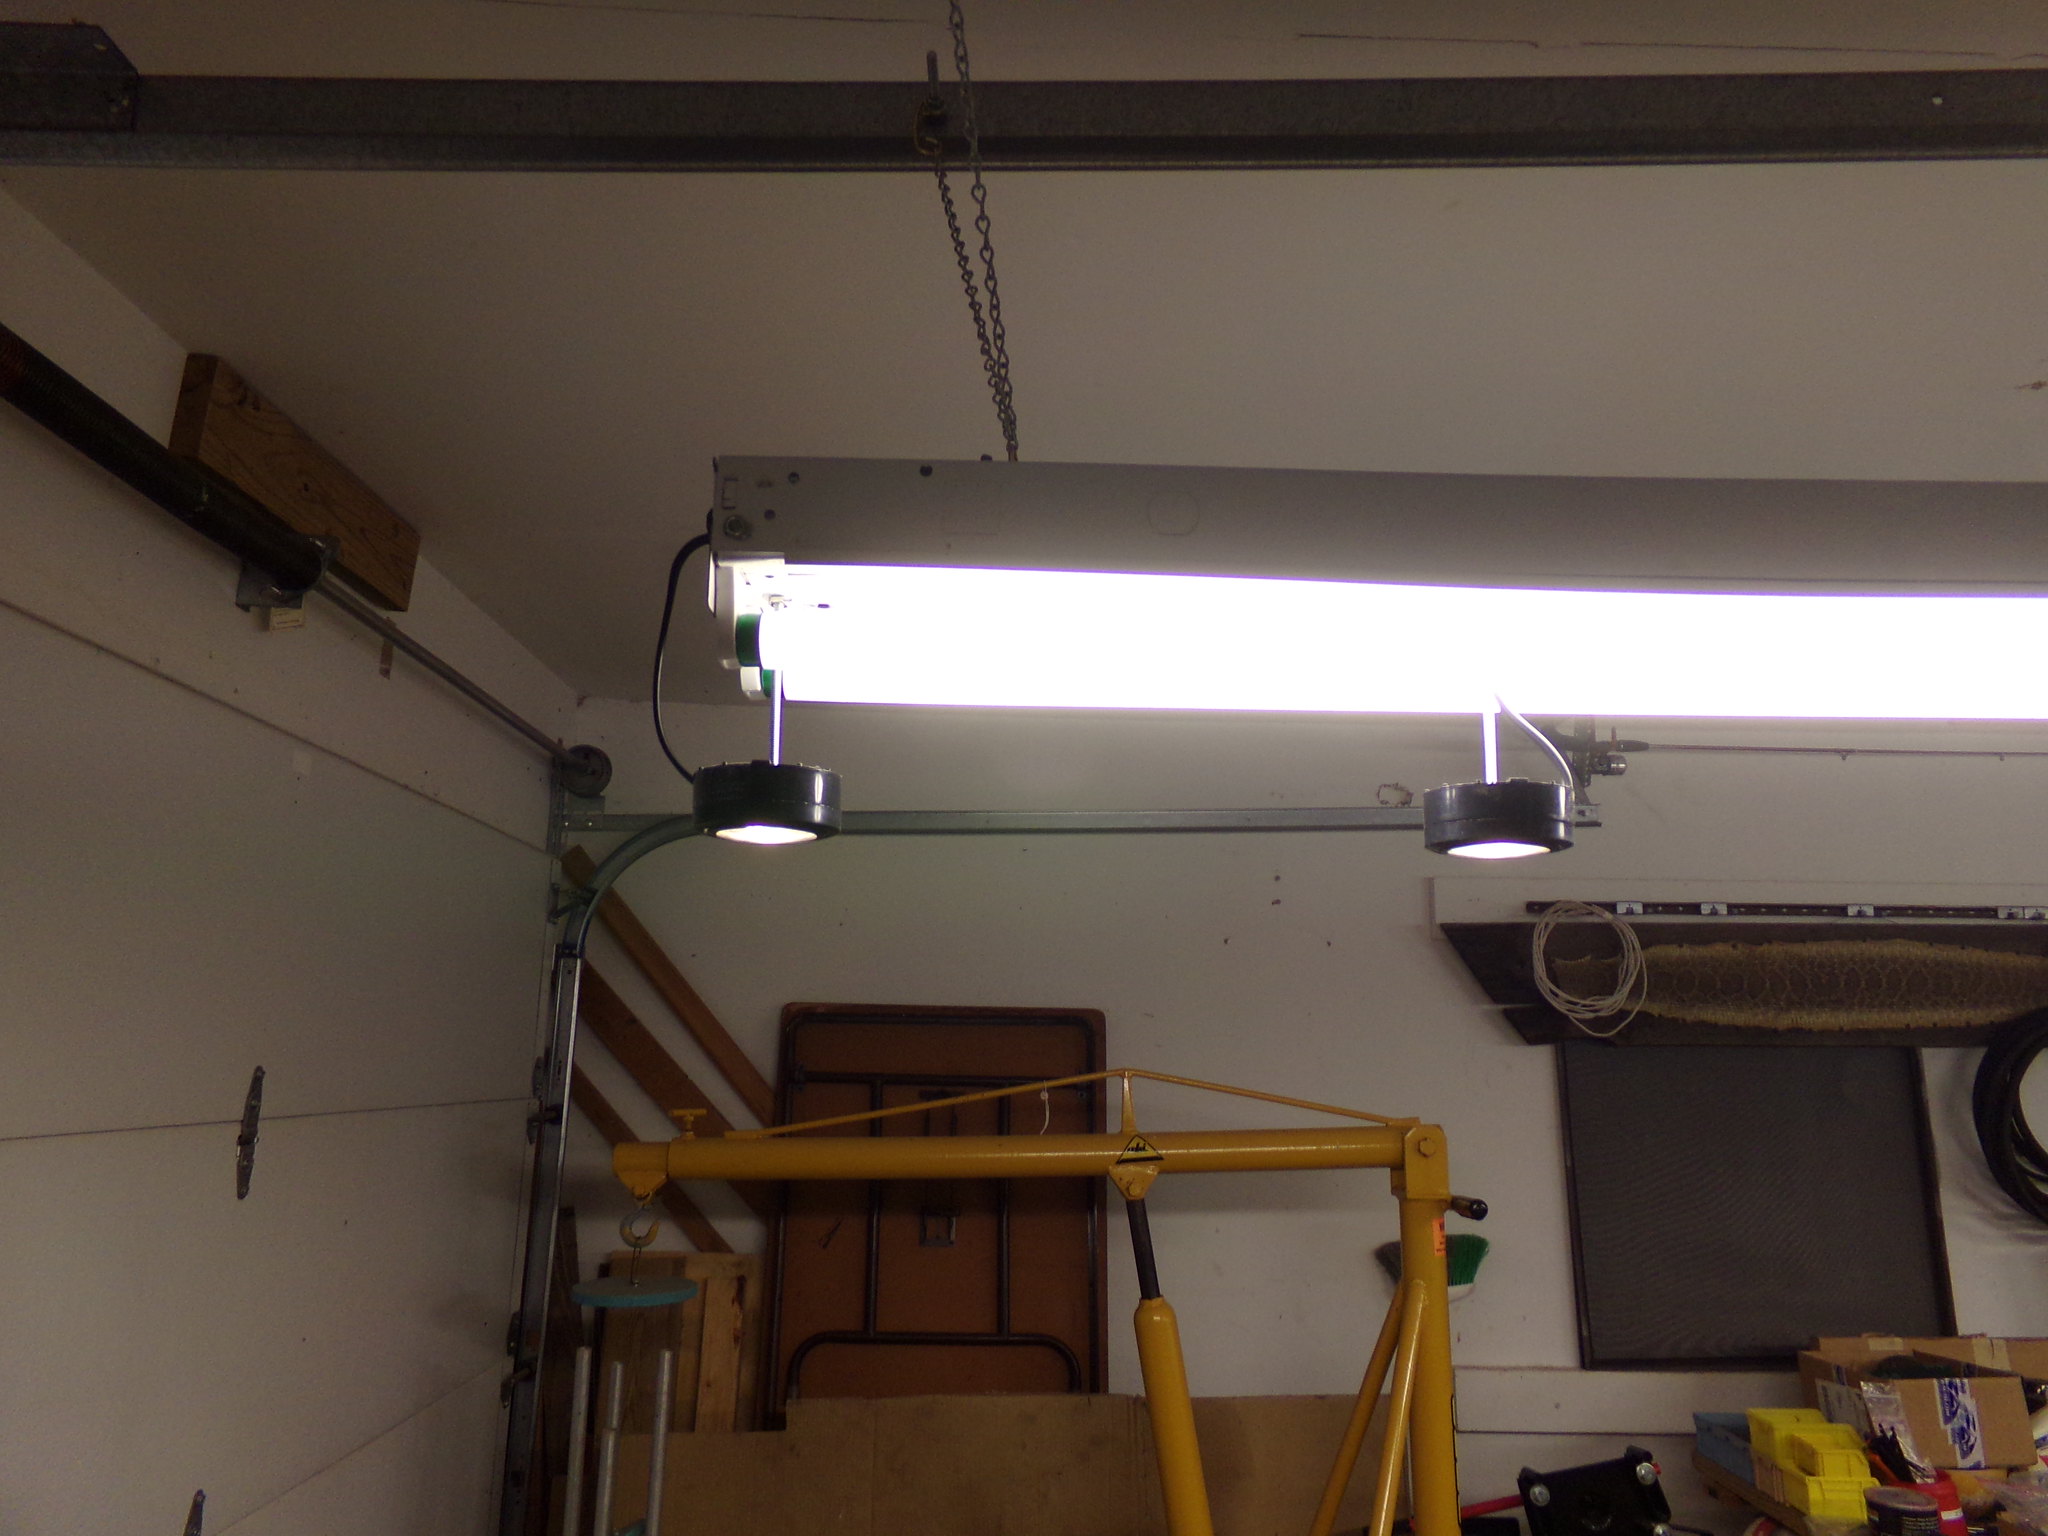
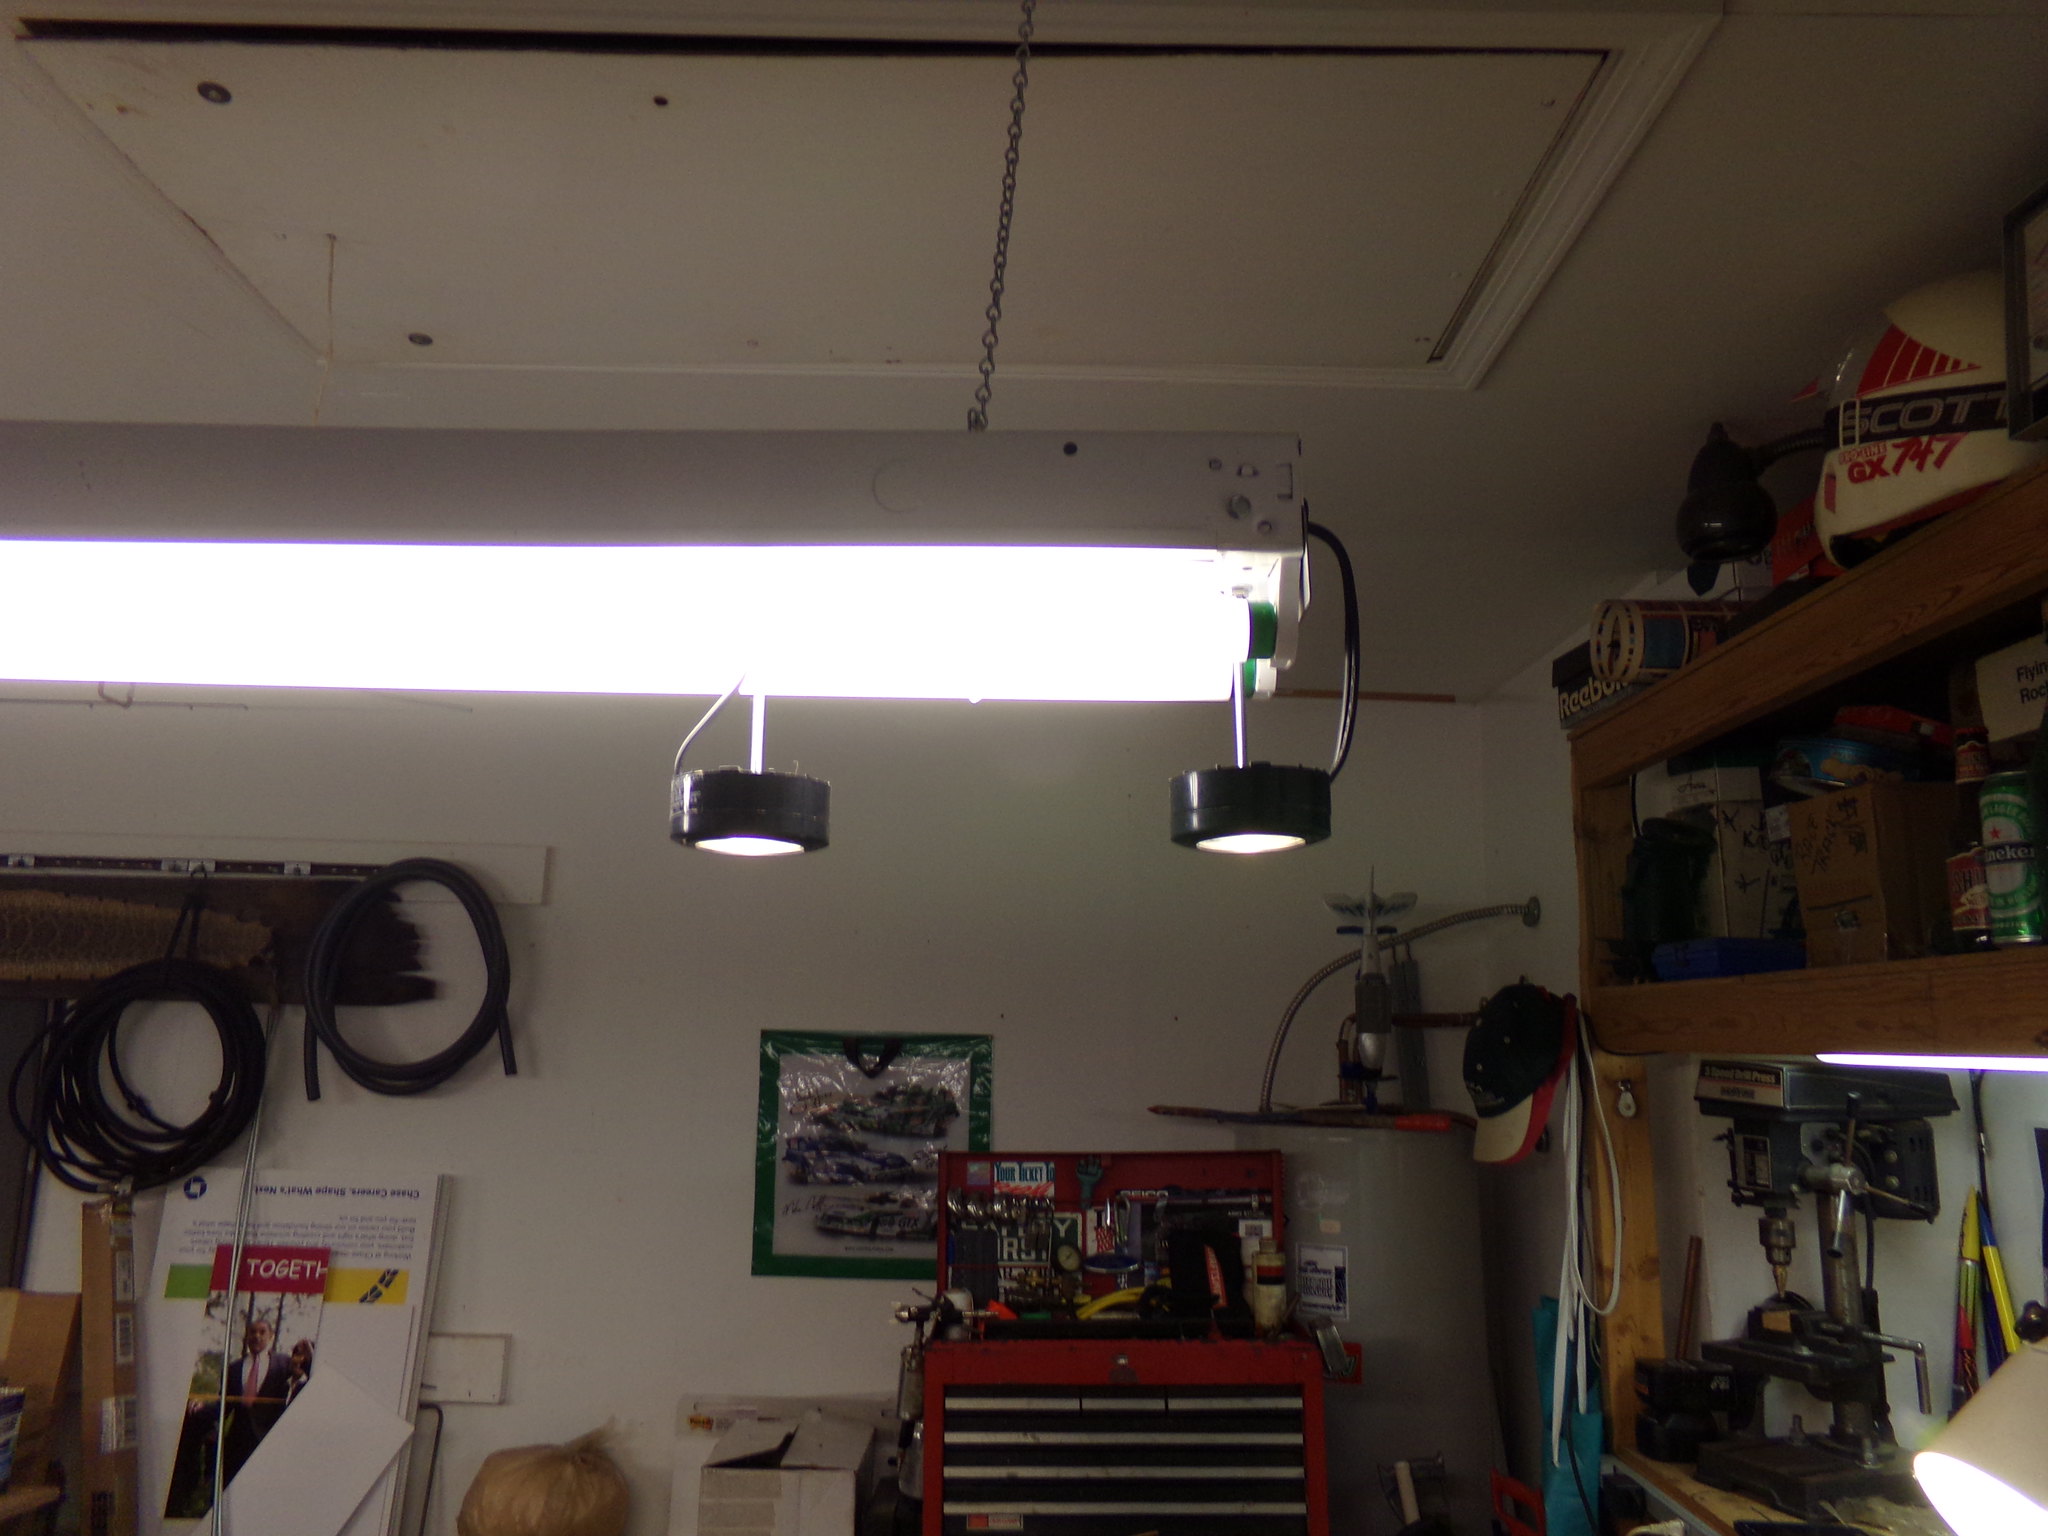
Bear Creek Dragway is now a completely clear track. No more gantry's at the Start and Finish line. They have been removed and two more overhead 120v puck lights installed. All sensors are now utilizing the overhead puck lights. I still have to fill in the holes left by the gantry's and I will be changing the track Start line colors for 2019. The track is always changing. My inspiration to go clear track comes from SKR's track Pike's Peak Dragway and GTS's most recent Good Times Speedway build. The gantry's were cool and worked flawlessly but they will have a new home in New York at Nosubfor3's track. Testing with the pucks was perfect. Pictures will now be unobstructed and this has added more light to the Start and Finish that will make picture quality better as well.
|
|
|
|
Post by dave632 on Dec 21, 2018 19:49:19 GMT -7
Looks good!
|
|
|
|
Post by GTS on Dec 22, 2018 9:16:17 GMT -7
|
|
Deleted
Deleted Member
Posts: 0
|
Post by Deleted on Dec 22, 2018 10:37:52 GMT -7
sweet.
I know this must have been covered, but, how about some info on the puck lights. where to get, brand.
thank you in advance and
Merry Christmas
|
|
|
|
Post by GTS on Dec 22, 2018 12:04:47 GMT -7
sweet. I know this must have been covered, but, how about some info on the puck lights. where to get, brand. thank you in advance and Merry Christmas In my situation;
- I mounted the puck lights to empty 4' fluorescent metal fixtures because I was concerned about the heat generated. At this time I feel I could have safely mounted them to 1x4 lumber hanging above the track. Very little heat generated upward from the puck fixture. - I don't have any scientific data to back it up but feel that the light spectrum from the xenon bulb is important to triggering the sensors. I've tried other types of lighting in different scenarios and none of it was nearly as sensitive as the xenon light. - There are lots of puck lights available out there. This just happens to be what I had good fortune with. I wanted to see & feel what I was getting.
- Xenon and being 20 watt bulbs was my main criteria for purchase.
Hope this helps! Gale
|
|
Deleted
Deleted Member
Posts: 0
|
Post by Deleted on Dec 22, 2018 12:19:02 GMT -7
thank you. I'm off this coming week and I can get them installed for my 1/8 mile.
thank you, Merry Christmas
Happy New Year
|
|
|
|
Post by AJR on Dec 22, 2018 16:01:48 GMT -7
sweet. I know this must have been covered, but, how about some info on the puck lights. where to get, brand. thank you in advance and Merry Christmas Al these are comparable to the one's that I purchased several years ago www.ebay.com/itm/Utilitech-120-V-6-Light-Xenon-Accent-kit-New-in-sealed-package-0240423-/292642620978?hash=item4422dc0632. Shipping is a little high on that particular listing, but there are some less expensive listings out there. I chose the 120v lights because I wanted to wire them into the fluorescent track light fixtures which are 120v. I used long machine screws to attach to the fixtures. Fluorescent fixtures are 36" and pucks are at 33". The infra red sensors need a light source that is strong in the red spectrum or infra red emitters. Fluorescent and regular leds are primarily blue spectrum. |
|
|
|
Post by dave632 on Dec 30, 2018 19:01:49 GMT -7
Great tips here Jeff. The rear wheels on the specialty chassis always seemed to heavy to me so I took your advice and cut some down. I did it slightly different as I had a band saw available so I stuck the rim in a drill mounted on an axle and cut some of the excess off the rim. Worked better than I expected so I will be cutting some rotating weight off any of the cars using that type of rim. I left a very small flange on the rim but I may cut one off completely just to see if it still holds on the axle, the rim is still to wide in my opinion. The piece on the right of the picture is what was left after cutting off the flange.  4G cut rim 4G cut rim
|
|
|
|
Post by AJR on Dec 31, 2018 7:04:07 GMT -7
Band saw definitely makes it a little easier I'm sure. The result looks good. Removing some rotating weight is one of the added benefits of cutting the wheel down. To me it looks better than that huge hub on there. Even the DR-1 wheels have that big hub. Like I said above and I'm sure you know this, but the 4g wheels are not very good. I opt for the DR-1 or AFX wheels anytime I want performance.
|
|
|
|
Post by GTS on Dec 31, 2018 9:10:32 GMT -7
I too, had some fun, cutting down some wheels after Jeff's excellent post. I used tools at my disposal as my fingers, I'm sure aren't as nimble as you guy's. So used a jig with the CNC. Fun stuff!
Is it the general consensus that the AW wheels lack because of the trueness of the axle hole in relation to the wheel? Reason for asking is that I'm pondering if it's worth while to re-do the axle hole.
|
|