|
|
Post by dave632 on Dec 31, 2018 12:12:09 GMT -7
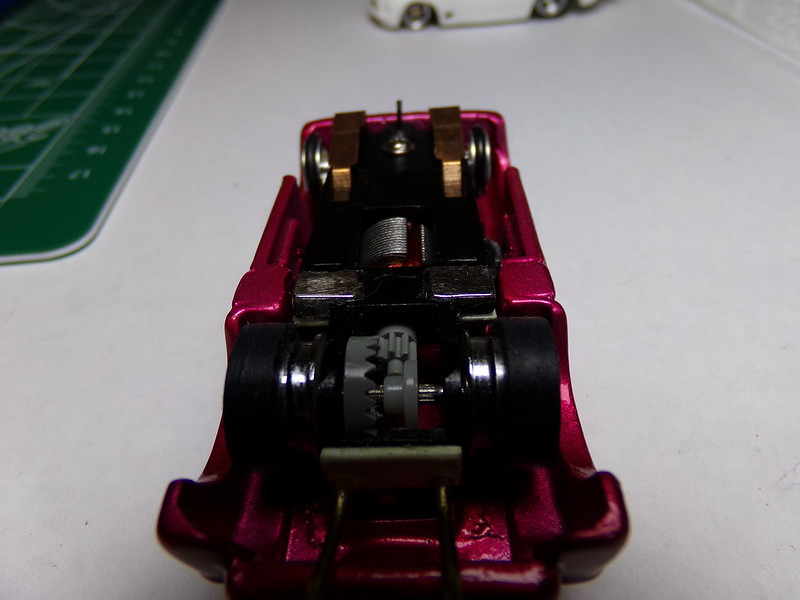
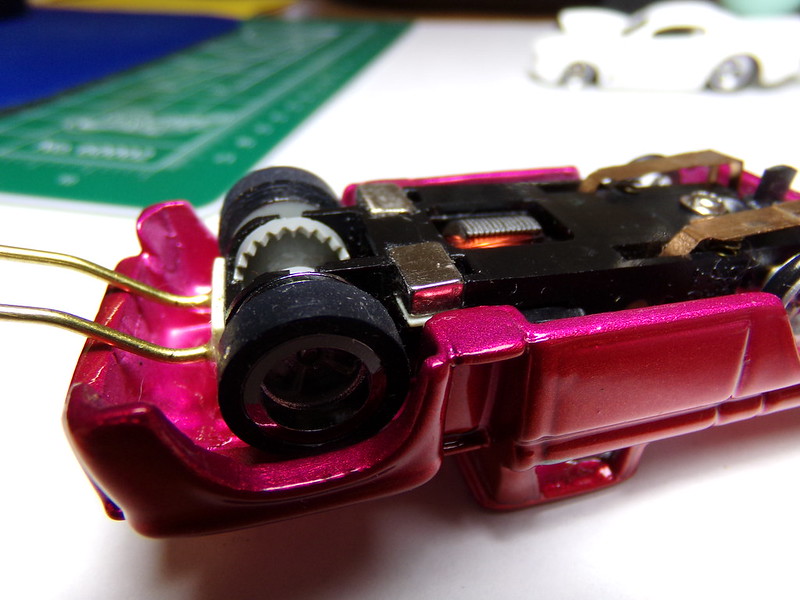
I cut down a couple of more making one a little too narrow then one as wide as a AFX .474 tire. That seems like a good size to try
and the tire is well inside of the body with that one. Only problem now is that the tire hits the traction magnet holder on the DR
chassis. Still working on it.
|
|
Deleted
Deleted Member
Posts: 0
|
Post by Deleted on Dec 31, 2018 13:42:36 GMT -7
my impression for the big "shoulder flange" on the inside of the wheel is to provide chassis and rail clearance.
note that all the "drag" specialty chassis from Aurora had a narrow flange.
remember that these were originally engineered as toys and had to be somewhat foolfool proof.
we know that they can be narrowed, both inside and outside and still provide adequate clearance and enhanced traction.
in light of the fact hat AW are still produced as toys, maybe other manufacturers can be convinced to make some narrower?
you know who they are AND who has their ear.
|
|
|
|
Post by AJR on Dec 31, 2018 15:25:33 GMT -7
I cut down a couple of more making one a little too narrow then one as wide as a AFX .474 tire. That seems like a good size to try and the tire is well inside of the body with that one. Only problem now is that the tire hits the traction magnet holder on the DR chassis. Still working on it. You have to cut that part of the magnet holder out Dave. Here's what I do. The plastic cuts very easy with a razor blade. I glue the magnets in place once I have them where I want them. Max tire size after that is about .568.   |
|
|
|
Post by AJR on Dec 31, 2018 15:33:06 GMT -7
my impression for the big "shoulder flange" on the inside of the wheel is to provide chassis and rail clearance. note that all the "drag" specialty chassis from Aurora had a narrow flange. remember that these were originally engineered as toys and had to be somewhat foolfool proof. we know that they can be narrowed, both inside and outside and still provide adequate clearance and enhanced traction. in light of the fact hat AW are still produced as toys, maybe other manufacturers can be convinced to make some narrower? you know who they are AND who has their ear. I agree the "shoulder flange" was the "rail buffer"  for the tires and it's twice as wide as it needed to be.......so there's the foolfool proofing you were talking about. I narrow my wheels as much for looks as I do for performance. I think all of my 4g race cars are narrowed with wheels tucked except for the open wheel cars. |
|
|
|
Post by GTS on Dec 31, 2018 17:18:25 GMT -7
Where'd ya get those gears? |
|
|
|
Post by dave632 on Dec 31, 2018 17:54:47 GMT -7
I cut the rims down to .210 or the same width as a Super tire AFX .474. There is still enough for the axle to hold on to the rim and it will fits inside most bodies with only a little clearancing done to the traction magnet holder. This cut the weight of the rim about in half. Did not see any difference in ET with the change but in theory it has got to help.  Rims cut to .210 Rims cut to .210 |
|
|
|
Post by AJR on Dec 31, 2018 19:21:46 GMT -7
Where'd ya get those gears? Wizzard High Performance page 18 of the Download Product Catalog starts the gears. www.wizzardho.com/Main.htm |
|
|
|
Post by AJR on Jan 21, 2019 6:54:06 GMT -7
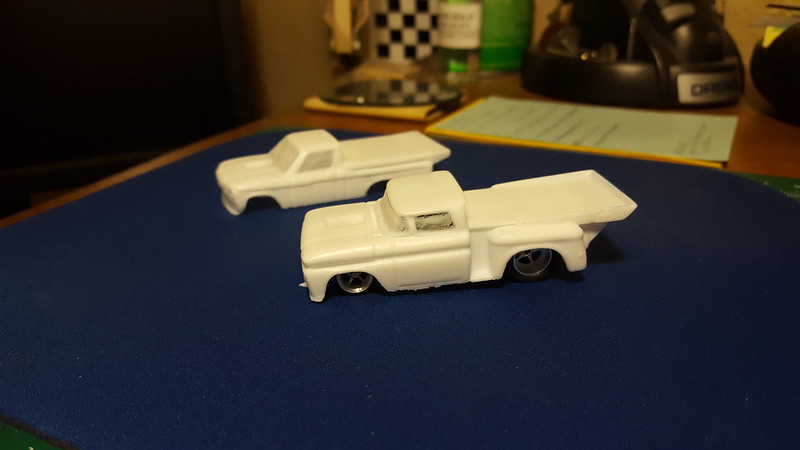
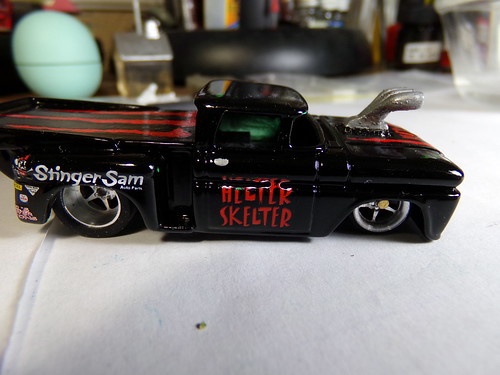
Molded the '62 C10 Pro Mod and re-molded the '72 Luv Pro Mod this weekend. Got the first castings out yesterday and everything looks pretty good. I'm not very good at replica cars, but I think I am going to try a Fast Freddy replica next?? Been waiting for the '62 for awhile now.  

|
|
|
|
Post by AJR on Feb 23, 2019 14:02:36 GMT -7
Everybody is working an projects.....cars....dynos. Here is a little electronics project going on at AJR. Building some Infra Red emitters for a members track to work with a Trackmate timing system. This will be the fourth set that I have made. They seem to be holding up very well and are more than powerful enough to have the gantry's well above the track. Parts are super cheap.

|
|
|
|
Post by dave632 on Feb 23, 2019 14:44:36 GMT -7
Look like the same IRs I used on my track.
|
|
|
|
Post by AJR on Feb 24, 2019 3:49:44 GMT -7
Look like the same IRs I used on my track. They are the same ones that I believe I gave you the info. for. I ordered all of the electronics from Digikey. Literally pennies each for these. |
|
|
|
Post by pete on Feb 24, 2019 4:54:04 GMT -7
JJ any chance you can post the finished gantry? Im looking for ideas
|
|
|
|
Post by AJR on Feb 24, 2019 6:50:57 GMT -7
|
|
|
|
Post by pete on Feb 24, 2019 18:42:28 GMT -7
Ok JJ I see how you did it. Very nice. I zoomed in on the towers. Sturdy.
Eyeing the power supply's, I'll pick them up next week or so., The track mate timing and power distribution is installed.
The gantry sensors worked well during testing. I will keep a check on sensor Green lights.
I need to move a few things for the track to fit. I have a road course that needs a new location.
Thanks J
|
|
|
|
Post by AJR on Mar 4, 2019 16:54:02 GMT -7
I had something happen that I've never had happen before while working on a custom. I have had decals react to clear coats before, but not to this extent. Now this is not my final clear. This is just a sealer coat. I use an acrylic lacquer for this and apply only a light even coat. Evidently I did not have this decal all the way down in the body crease and the clear got underneath and ate completely through the decal. Pretty big deal since the next step was to sand and apply the final urethane clear. The white part of the decal is where it curled up. After a few choice words I decided to make an attempt at repair. I am going to cut away the curled part and lay another identical decal over the top. We will see how it turns out?? My point to posting this is to show that mistakes happen, but there is usually a way to fix it. If my decal had been set properly, none of this would have happened. The other side is perfect. If it doesn't turn out right then I keep it for me   . My best talent.......covering up my mistakes. . My best talent.......covering up my mistakes.


|
|