|
|
Post by kiwidave on Feb 21, 2018 23:08:20 GMT -7
Congrats on 100,000 views. Great thread Eagle. Looking forward to to more of your cool projects!
|
|
|
|
Post by Eagle Racing on Feb 22, 2018 6:39:50 GMT -7
Congrats on 100,000 views. Great thread Eagle. Looking forward to to more of your cool projects! Thanks, that is wild. I try to share as much as I can. I have had some request to start making metal gears and metal wheel sets. So I am retooling all of my molds to do this. New for this year I hope to share 3D scanning and CNC Mill work on the thread....  |
|
|
|
Post by Eagle Racing on Feb 26, 2018 6:47:58 GMT -7
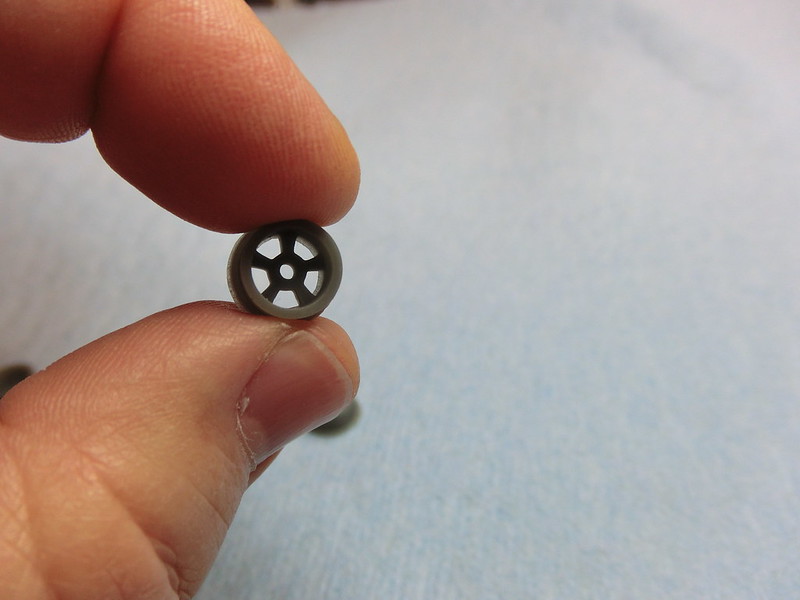
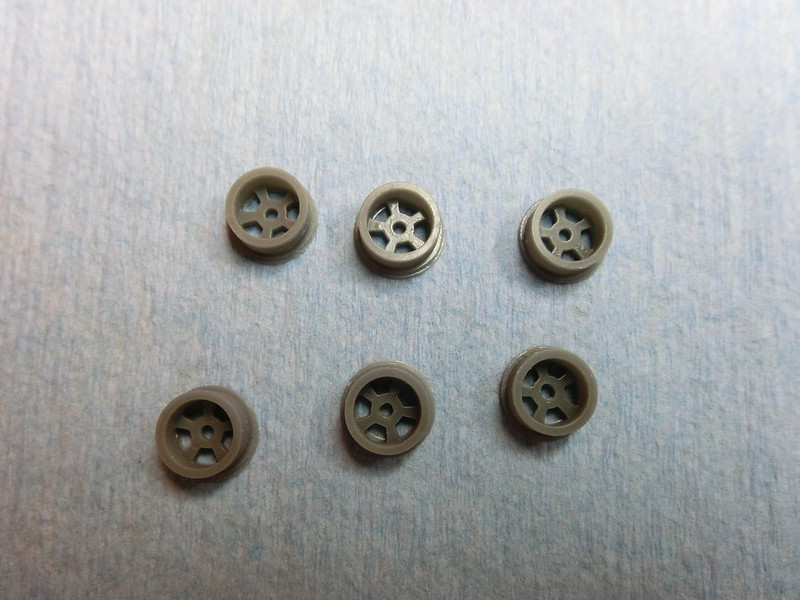
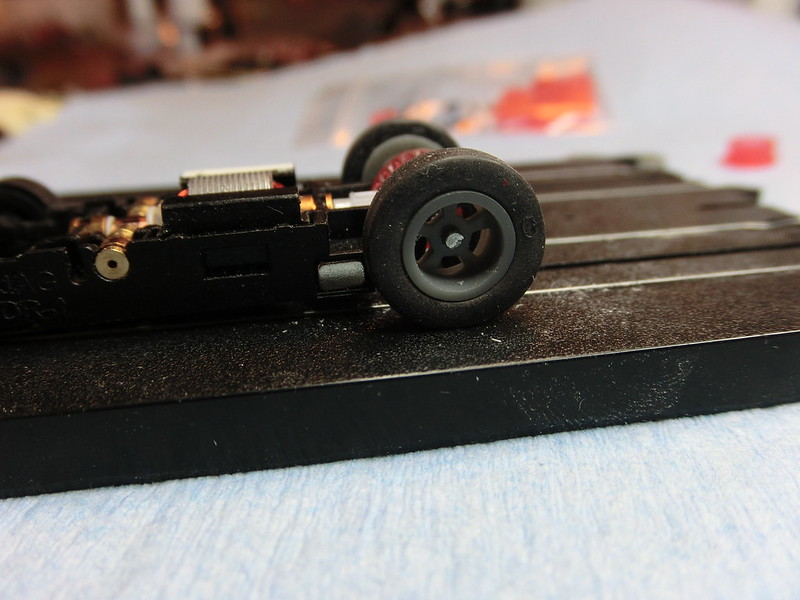
The retooling of my wheel molds for metal casting and gears begins today. Here are a few pics of some of the masters in 3D resin. This new resin material is super smooth. It is by Maker Juice and is called G+ fast....LOL.....for real.
   |
|
|
|
Post by gnome on Feb 26, 2018 8:49:47 GMT -7
Those look very nice. I also like the little red crown gears do you think they will hold up to neo jet.would like to build one but don't have the crown gear . Your efforts this weekend are greatly appreciated. What is the wait difference between the metal and plastic wheels. Think im going to be needing bolth
|
|
|
|
Post by dave632 on Feb 26, 2018 9:52:16 GMT -7
Looking forward to the new gears.
|
|
|
|
Post by Eagle Racing on Feb 27, 2018 5:29:49 GMT -7
Those look very nice. I also like the little red crown gears do you think they will hold up to neo jet.would like to build one but don't have the crown gear . Your efforts this weekend are greatly appreciated. What is the wait difference between the metal and plastic wheels. Think im going to be needing bolth Thank you, plastic gears and wheels just a matter of printing. The metal version is more involved and takes a lot more time. I am redoing master molds for metal wheels and gears. I should have some ready middle of March or sooner. |
|
|
|
Post by Eagle Racing on Mar 7, 2018 7:37:28 GMT -7
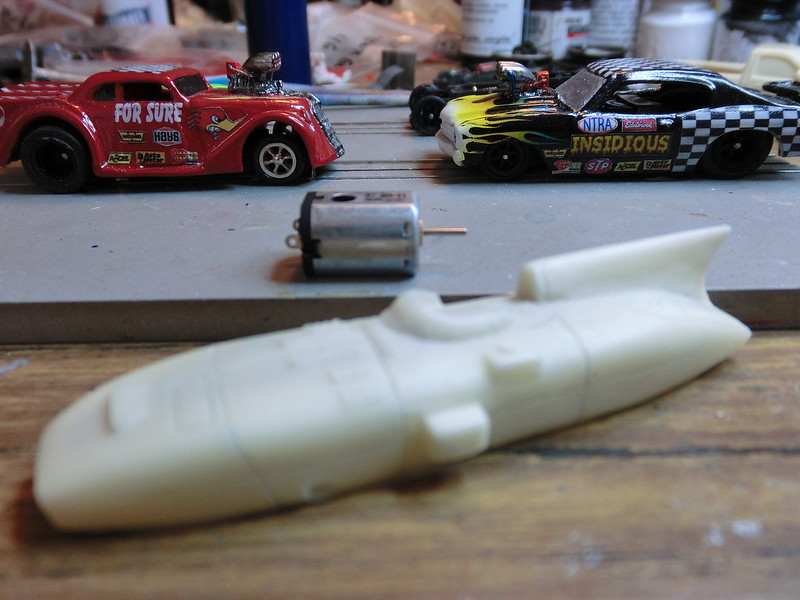
Here is a pic of my 33 Willys and 70 Chevelle. The 33 Willys has a set of my front 6 spoke metal wheels on it. They polished out nice IMHO. The motor in the picture is an N20. I bought this for a road race project. The little motor ohm's out at 3.3 not to bad. It has carbon brush's. I may have to scratch build a drag chassis after I get through scratch building the road race chassis. Oh yea the Chevelle will be the one I do the 4G snap in axle mod to. Looks everybody is on broad for that. So I will start taking pics and write the DIY info down.
 |
|
|
|
Post by hilltopspeedway on Mar 7, 2018 7:59:00 GMT -7
I like those wheels For Sure!!! Also, that's one good looking Chevelle!!! RM
P.S. Will you be selling wheel sets???
|
|
|
|
Post by Eagle Racing on Mar 7, 2018 12:09:16 GMT -7
I like those wheels For Sure!!! Also, that's one good looking Chevelle!!! RM P.S. Will you be selling wheel sets??? Yes I will be selling wheel sets, once I have the new molds complete and tested. I have 4 styles ready and one I am working on in Autodesk. |
|
|
|
Post by ecbill on Mar 7, 2018 15:47:27 GMT -7
Will you be selling 33 Willys and 70 Chevelle bodies too?
Thanks,
Bill
|
|
|
|
Post by Eagle Racing on Mar 8, 2018 5:24:10 GMT -7
Will you be selling 33 Willys and 70 Chevelle bodies too? Thanks, Bill Bill just send me a PM for what you want. |
|
|
|
Post by Eagle Racing on Mar 9, 2018 5:50:51 GMT -7
I used Autodesk to come up with my own bushings for a scratch built chassis I am working on. The photo shows them on a .063 axle. These were printed on my 3D resin printer. Hmmm can you say scratch built drag chassis. Let the experiment begin. 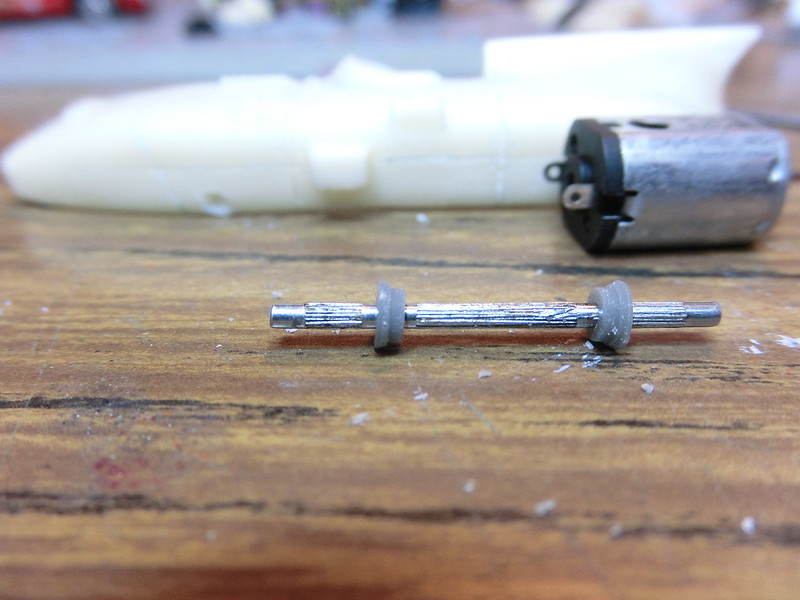 |
|
|
|
Post by Eagle Racing on Mar 10, 2018 14:29:36 GMT -7
Busy weekend.....15 to detail.....15 to sand & primer. I sure am glad I like doing this or it might feel like work..... 
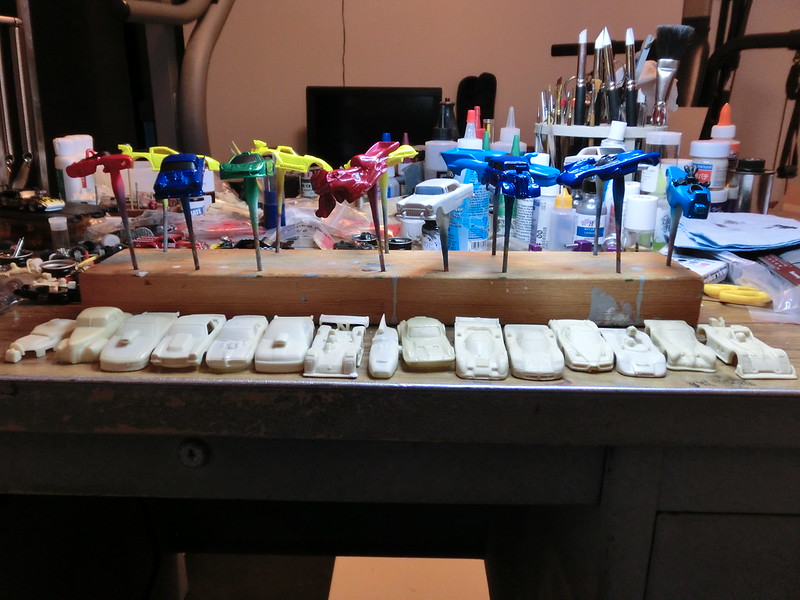 |
|
|
|
Post by Eagle Racing on Mar 12, 2018 6:16:47 GMT -7
DIY 4G Snap in Axle Mod.1. Tools you will need: Dremel, flat file, triangle file, xacto knife with #11 blade, Sharpie ultra fine, Xacto precision edge, diamond drill bit ( set from Harbor Freight) bit is second from left and measures .048 at tip, digital caliphers 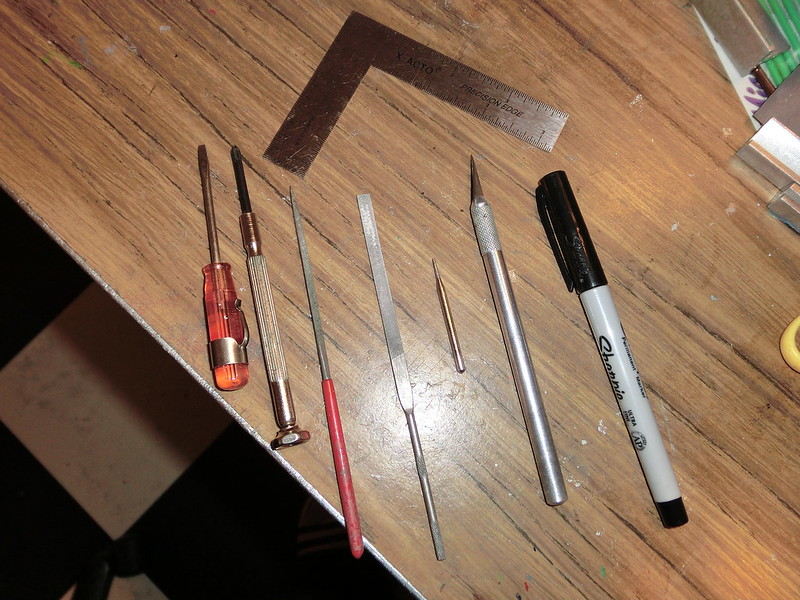 2. Start with bare 4G chassis. 3.Take Sharpie and draw outline of area to be removed. The photos show the area. 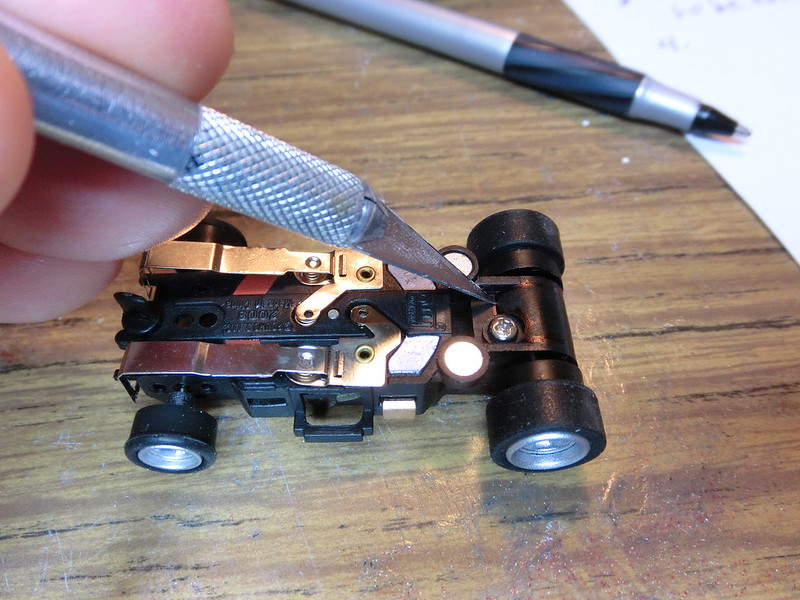 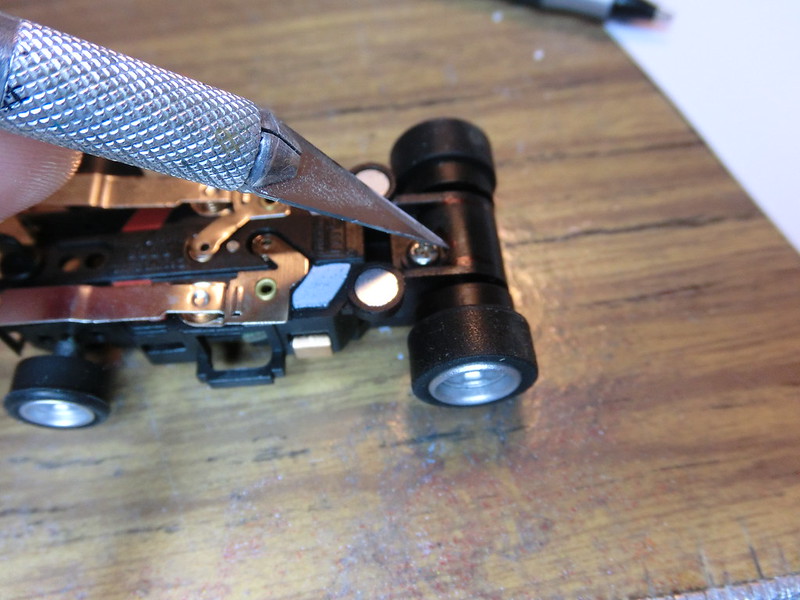  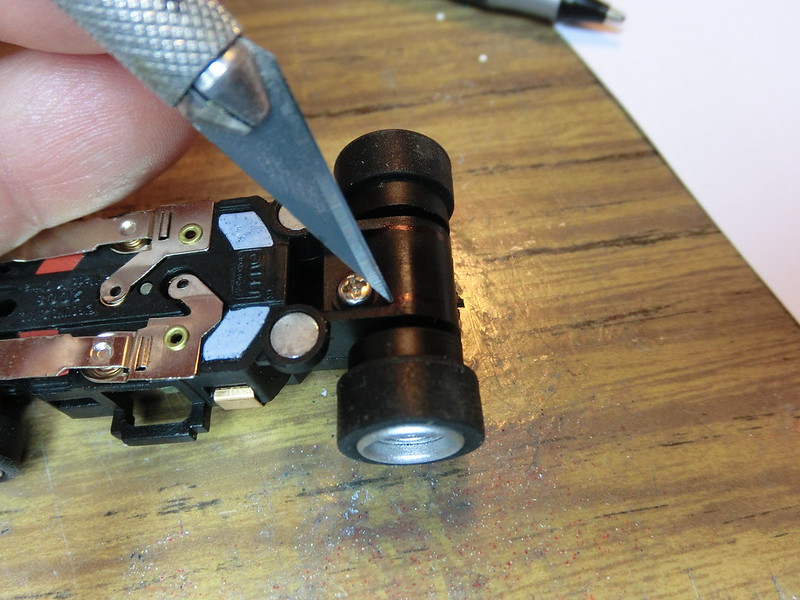 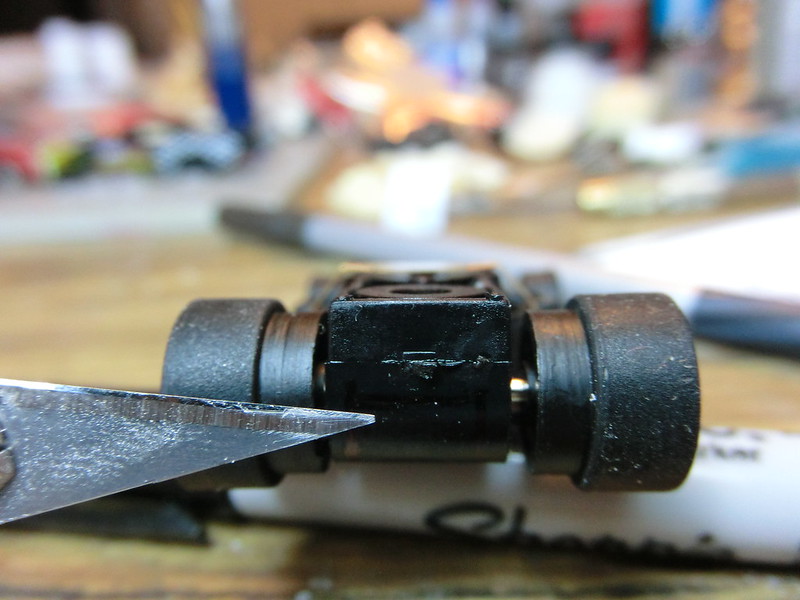 4. Once the area is removed use your file to smooth and finish area. Do not file past or into screw hole area, side area where axle holes are at, the back of chassis should be filed no more than .068" measured from top of chassis to bottom of opening. The next photo shows what it should look like when you remove the area. (except axle slots we have not covered that yet) 5. Slots for SNAPING AXLE IN or OUT. a. Take straight edge place flush against traction magnet housing. 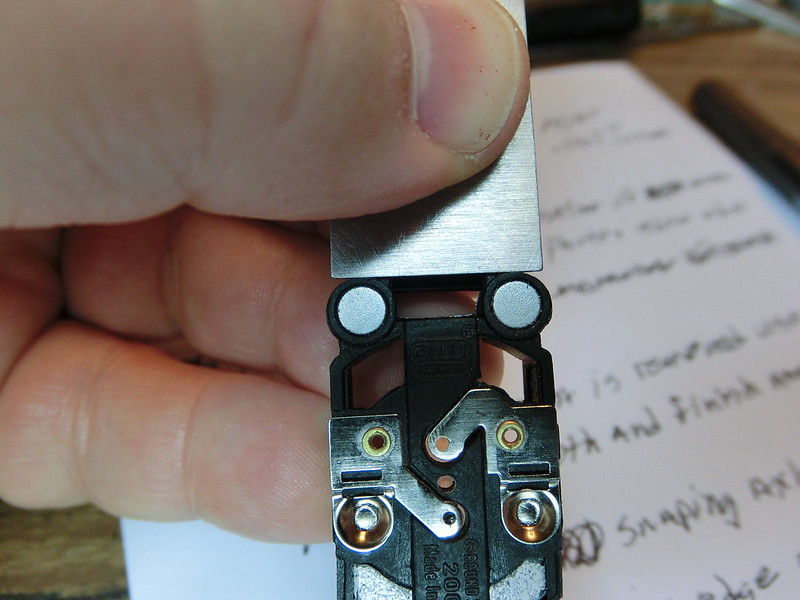 b. Hold straight edge in place flip over so you can see marks on ruler. Now find 12/32" and mark on chassis. 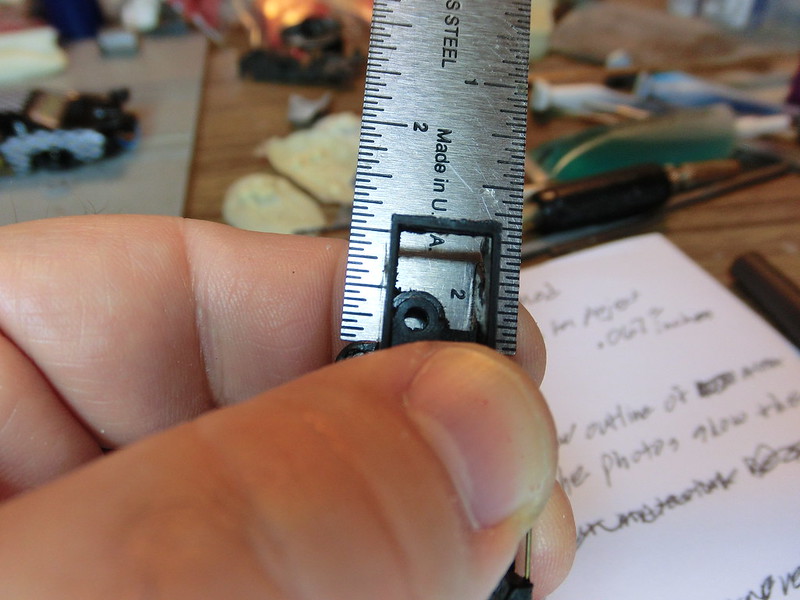 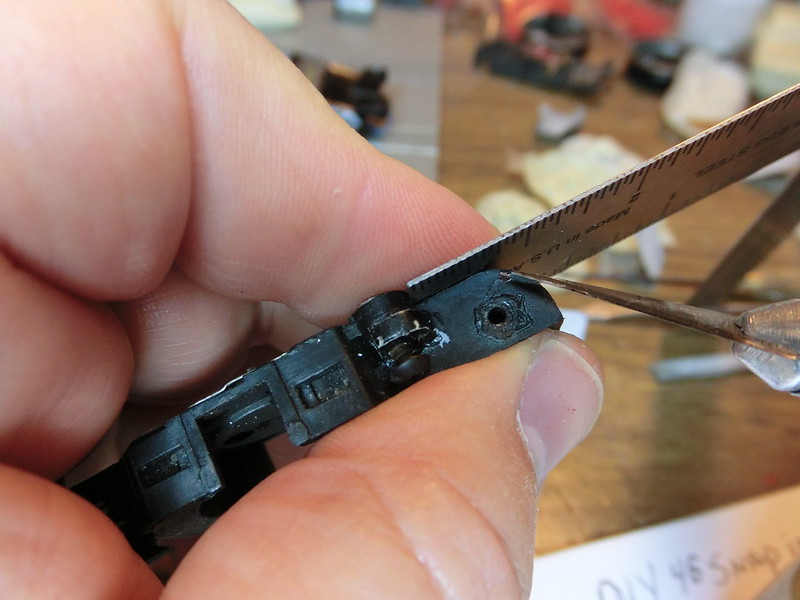 CIMG1249 CIMG1249 by Robert Shell, on Flickr c. Draw line from mark to center of axle hole. This can be by eye does not have to be exact. 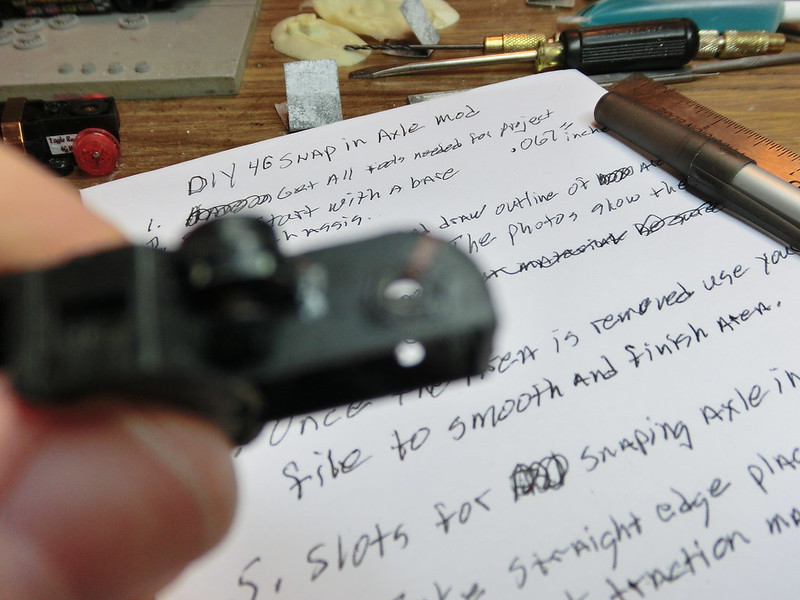 d. Take Xatco knife and score the line. e. Take triangle file and find score line and file groove from axle hole to edge of chassis. ( This is so the diamond drill bit lays in groove to cut slot.) 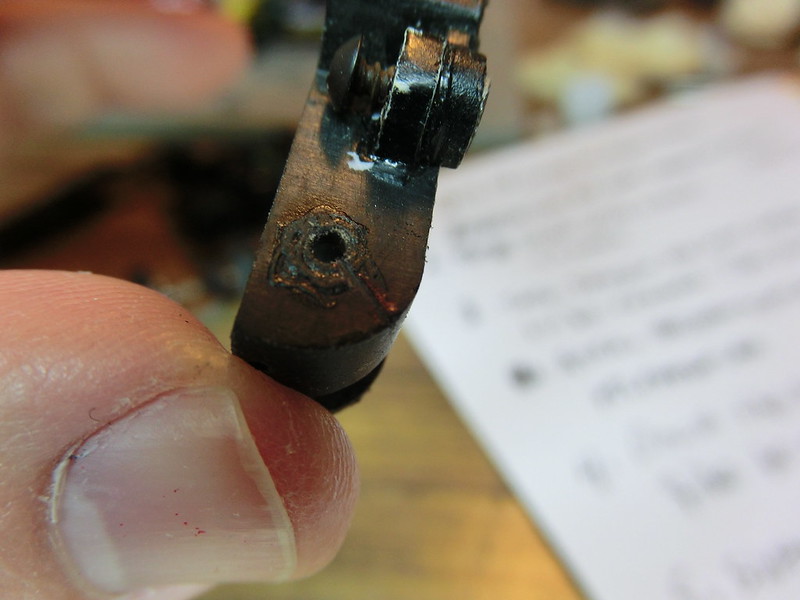 f. Cut slot on slow setting. ( My Dremel is variable up to 30,000rpm) 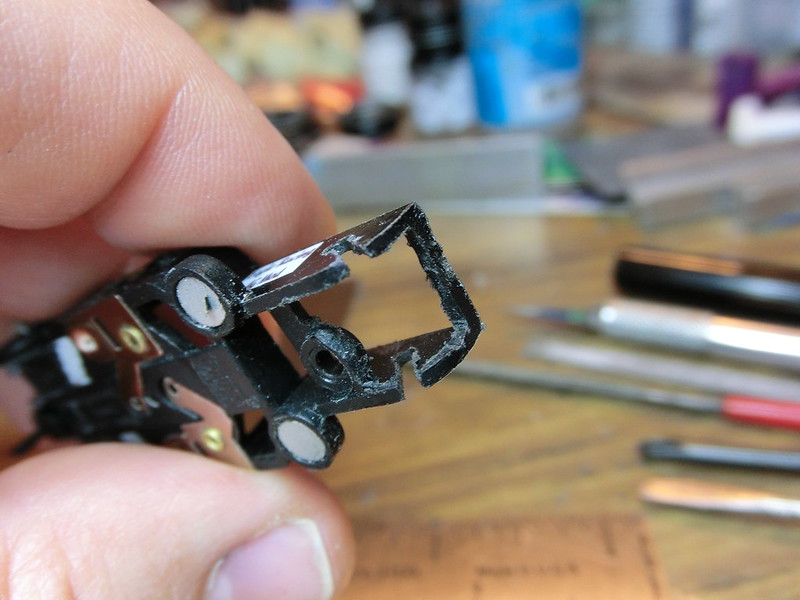 g. Snap in axle your done. 6. TO SNAP AXLE IN AND OUT YOU MUST REMOVE TOP PLATE OR YOU WILL DAMAGE YOUR GEARS.
|
|
|
|
Post by gnome on Mar 12, 2018 7:27:41 GMT -7
Like the adjustable mags and bushings. How are the bushings secured and when will they be available. With snap in axle adjustable mags and bushed rear axle. Think im going to mess with the one I've put on the shelf. Its a custom altered on all world chassis. I've heard it screaming sand fly at night.
|
|